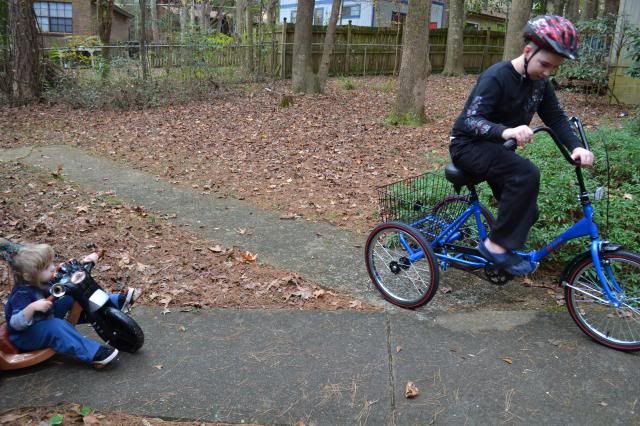
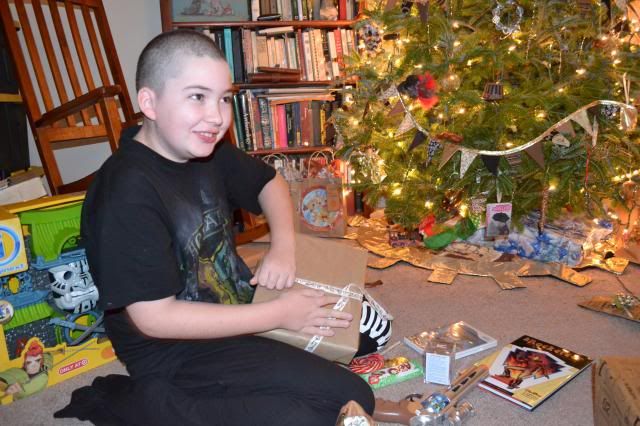
Since Blaze got a new bike for Christmas, I wanted the little girl I babysit for to have one too, so they could ride around together.
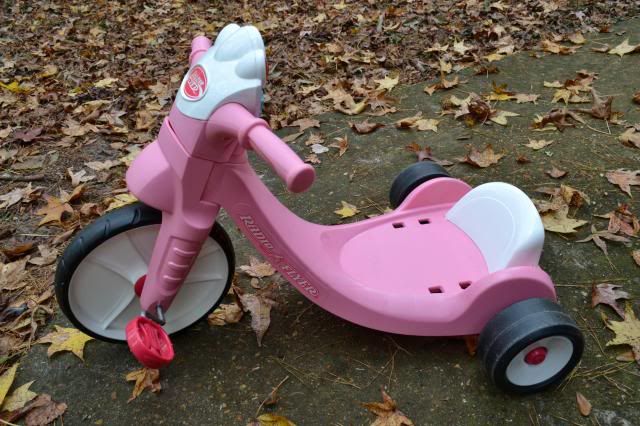
I found this one at a moving sale:
At first, I was just going to give it to her like this, but the more I looked at it, the more I wasn't satisfied with the way it looked.
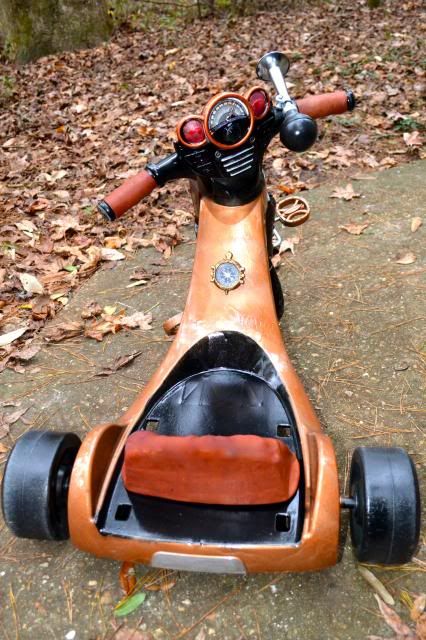
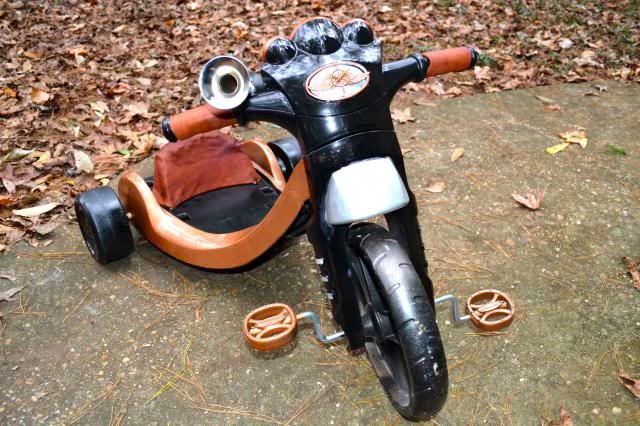
So, I painted it and added leather handlebar grips and seat cover. I also added some decorative touches, like a compass and a bike horn. Now, this is a ride that seems more suited to the child.
We gave her the bike today. She doesn't know how to pedal yet, but she did try.
The buttons were fun to play with.
Saturday, December 28, 2013
Thursday, December 26, 2013
Christmas Time in Tampa
I'm now going to jump back in time a few days, because I never had a chance before to post pictures from the rest of our mini-vacation this past weekend.
After the train ride in Tavares on Saturday, we spent the night in a hotel in Clearwater.
Tired child having snacks and watching The Wizard of Oz:
Sunday, we had the perfect Christmasy day in Tampa!
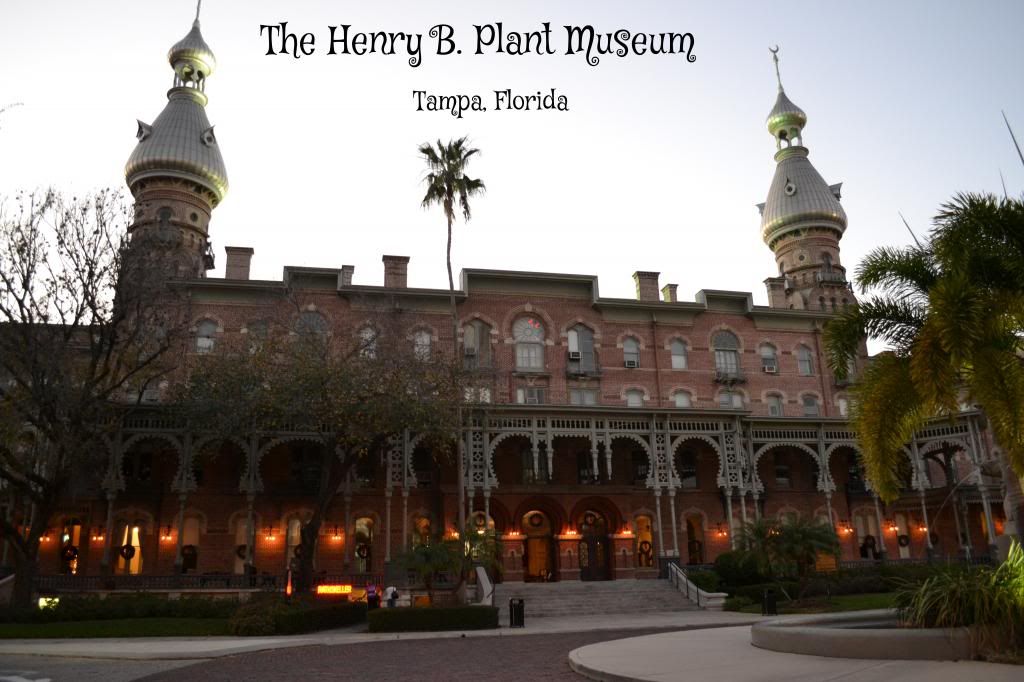
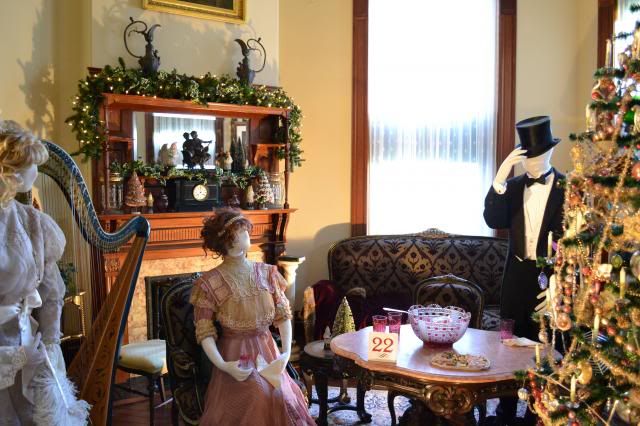
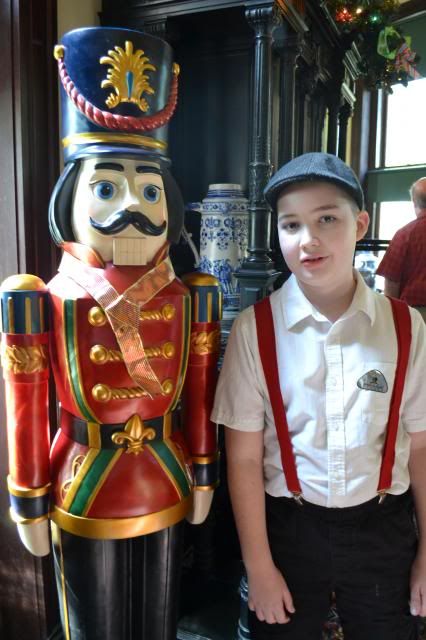
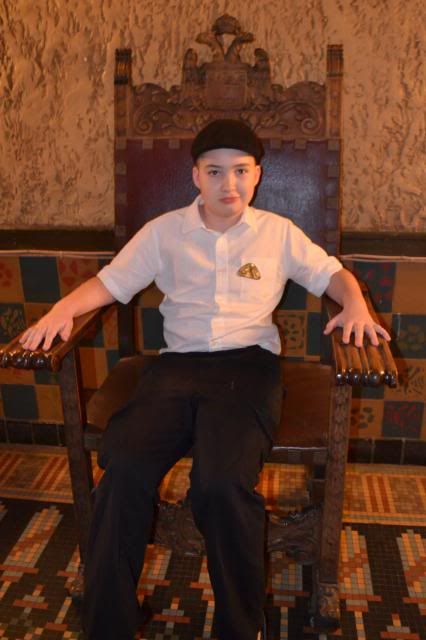
We started off with the Henry B. Plant Museum's Victorian Christmas Stroll.
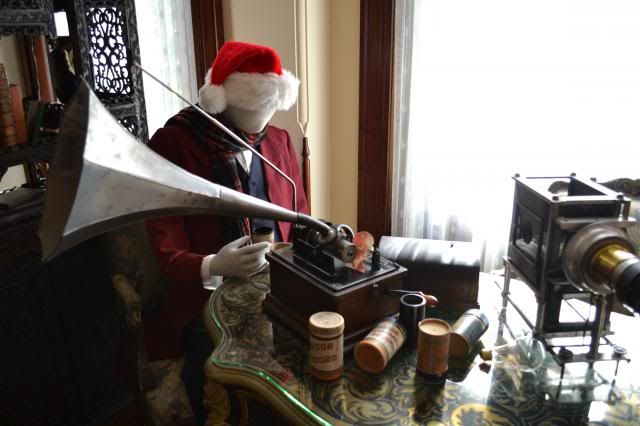
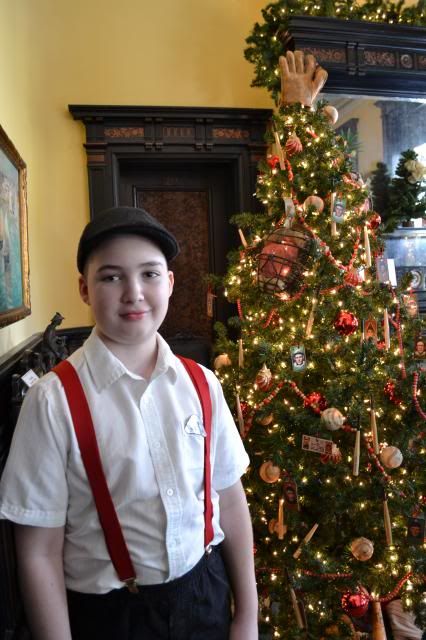
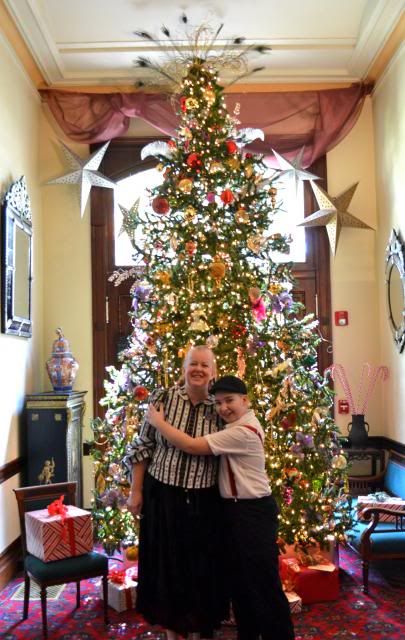
The museum is the ideal place to take holiday pictures.
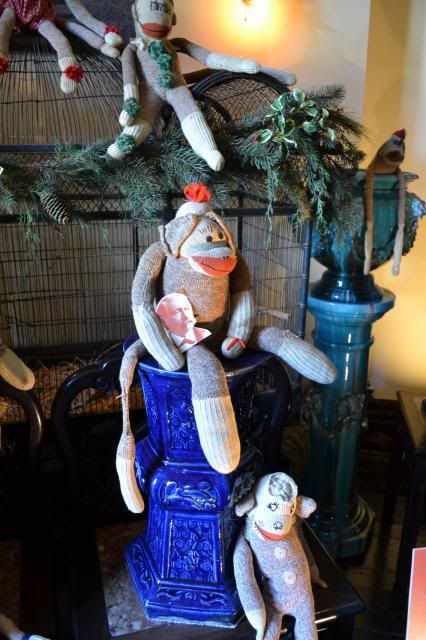
To make the stroll through the museum more fun, there was a scavenger hunt for pictures of Henry B. Plant.
After the tour, there was hot cider and cookies on the veranda.
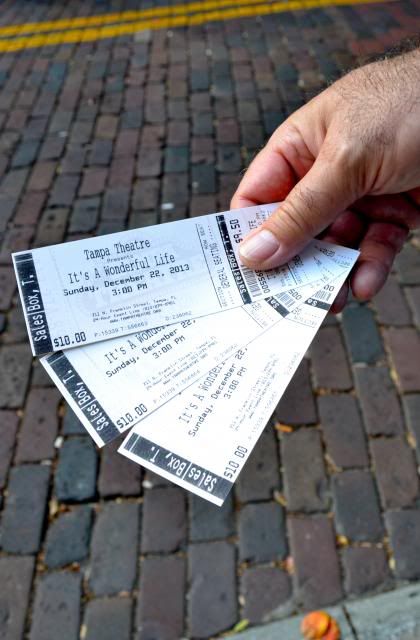
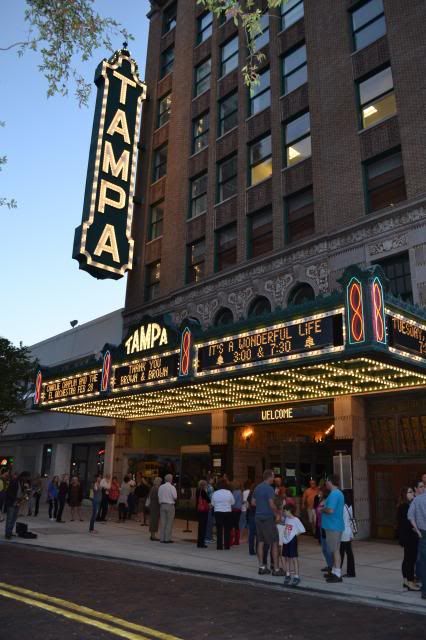
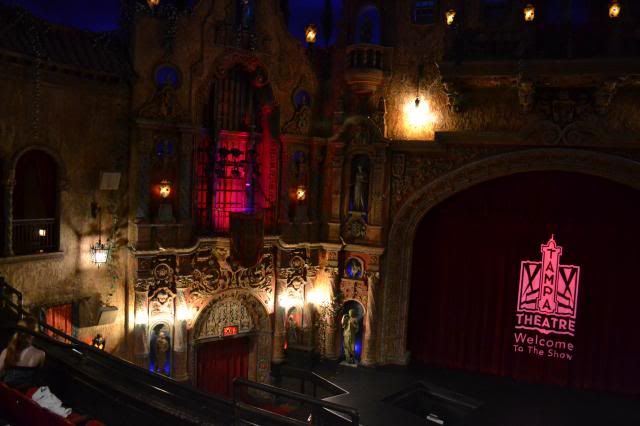
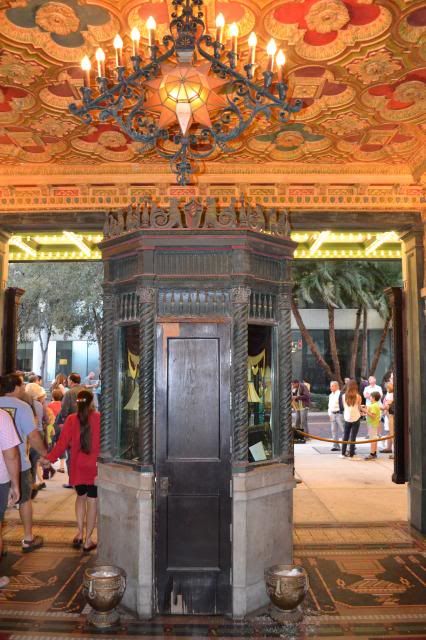
We then walked a few blocks to the Tampa Theater, a real old time movie palace, to watch It's a Wonderful Life.
On the way to the Theater, we wandered through a small farmers market, where a jazz band played Christmas carols, while children had their pictures taken with Santa Claus.
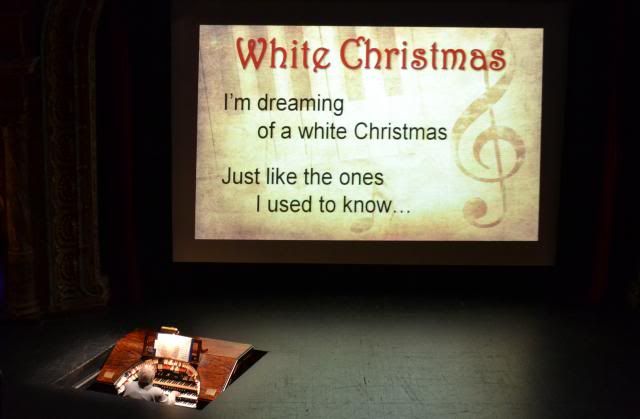
Before the movie started, the amazing Wurlitzer rose from a hole in the stage floor and began to play Christmas carols.
After about 15 minutes, the instrument sank partway down and the audience sang along with lyrics projected on the screen.
Wednesday, December 25, 2013
Tuesday, December 24, 2013
The Cannonball Christmas Express
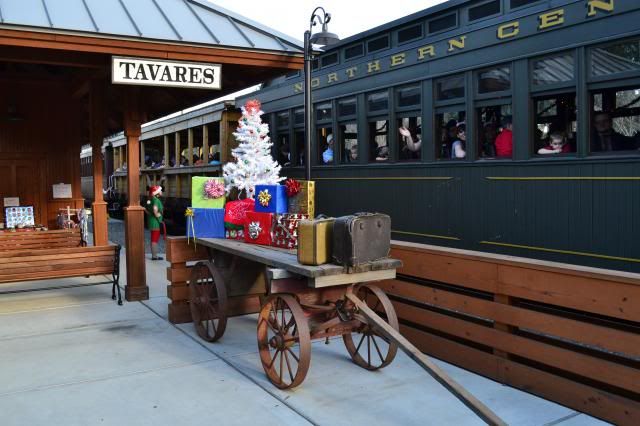
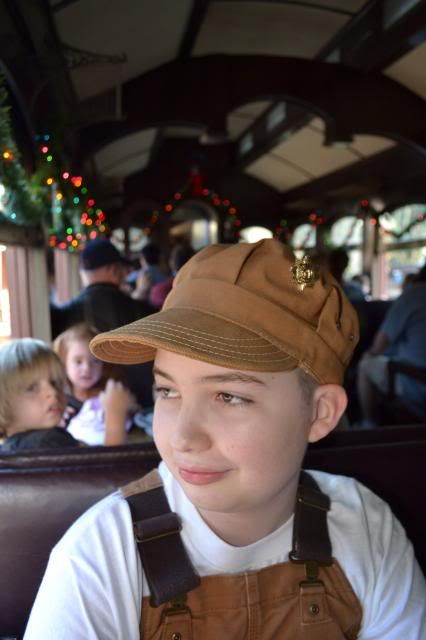
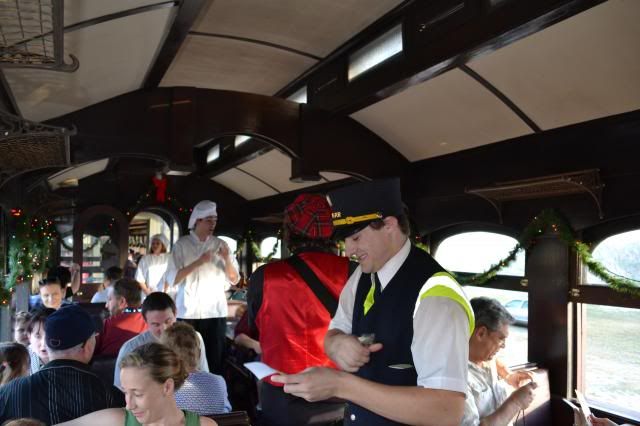
We took a mini vacation over the weekend, which started with a ride on the Orange Blossom Cannonball steam train in Tavares, Florida. The tracks are being repaired right now, so the Christmas train ride didn't go very far, just back and forth on the same stretch of tracks several times, but the crew made up for that by being very friendly and entertaining.
The Christmas event is very much geared towards young children and they certainly all seemed to be having a good time. Blaze thought he was too old for some of the sing-a-long songs, but he still had fun.
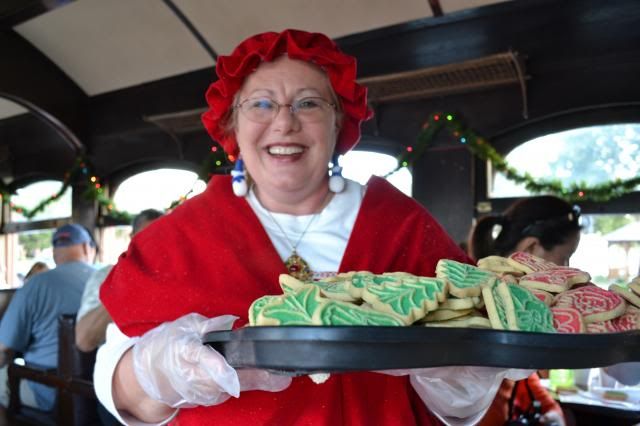
Crew members in chef's coats and hats served hot chocolate and sang to us and Mrs. Claus served Christmas cookies.
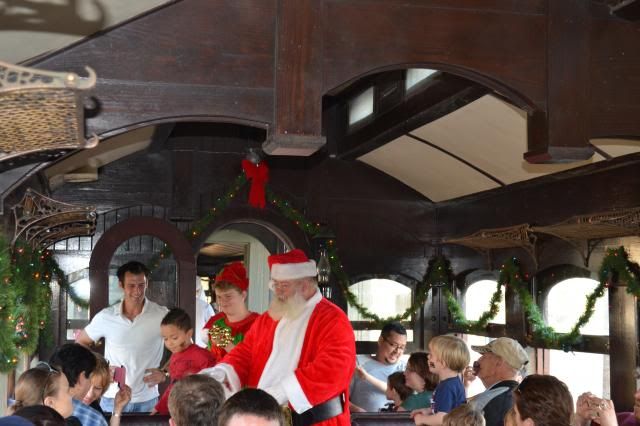
Then Santa made his rounds with elves who gave each child a jingle bell necklace.
The Santa Claus was really excellent! He stopped to talk, hug, and have pictures taken with each child and had a magnificent real beard.
Because of the problems with the track, each passenger was given a voucher for a free ride once all the repairs are complete, so we will definitely be going back.
Wednesday, December 18, 2013
Homemade Christmas Crackers
Christmas crackers are an English Christmas tradition that dates back to 1847. The cracker gets it's name from the cracking noise it makes when pulled apart and is used as a party favor at Christmas dinner.
They are available at many stores, in many colors, sizes, and prices, but I decided to make my own to go with our steampunk Christmas theme.
1. Use the cardboard tube from a a roll of paper towels. Measure 3-inches from each end and cut. I found that a serrated-edged bread knife does a good job of cutting through the tube without mashing it.
The "cracker snaps", the exploding strips of brown paper that make the crackers pop when they are pulled, can be purchased, along with other supplies, from Olde English Crackers.
2. Place the parts of the tube close together and cut a piece of wrapping paper big enough to cover all the parts of the tube. Do not tape or glue the paper in place just yet.
3. Slide the cracker snap into the tube.
4. Make a paper hat. Tissue paper is used because the thin paper is easy to fold into a small space and these must fit into the cardboard tube.
Cut a strip of tissue paper long enough to go around the recipient's head, plus a half-inch. Fold the strip in half length-wise, then in half again. One more fold in half will give you a crown with four points, two more folds will give you an eight pointed crown.
Make one cut at an angle. Then unfold.
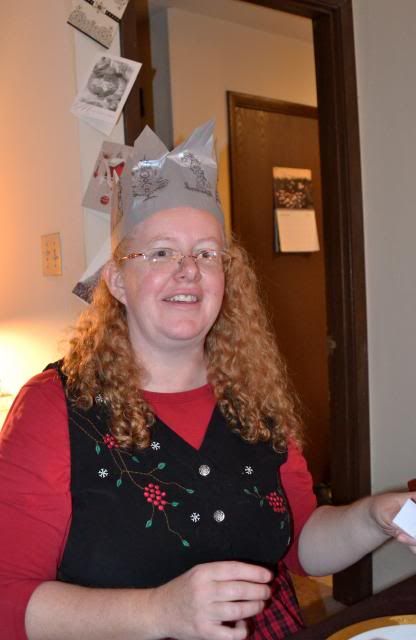
If you wish to decorate the crown with rubber stamps, the way I did, this is the time to do that. Put newspapers or cardboard under the tissue paper before stamping, because the ink will bleed through the paper. Let the ink dry, then overlap the ends of the paper and tape or glue in place to form the crown.
Stickers can also be used to decorate the crowns.
The hat doesn't have to be a crown. For my Steampunk Christmas panel at the Gaslight Industries Expo, I made a paper top hat. It worked, but it was more time consuming to make and harder to fit into the cardboard tube.
5. Fill the center section of the tube with a paper hat, a joke, and a candy or prize.
6. Tape or glue the wrapping paper around the tube.
7. Gently pinch the area in between the tubes and tie a ribbon there. Discard the two end pieces of the tube.
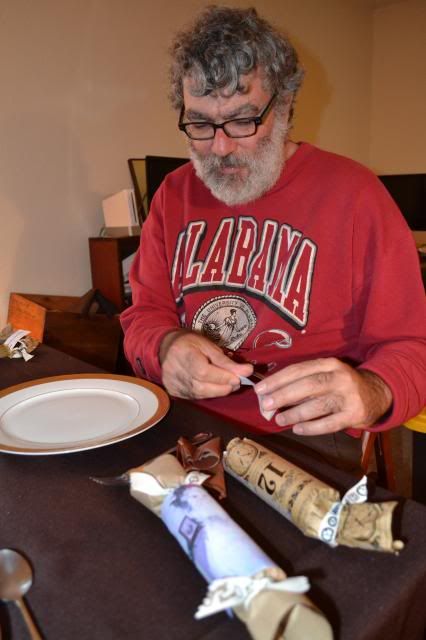
The crackers can even be personalized by using a festive looking picture of each family member on the cracker, that will double as a place card for Christmas dinner.
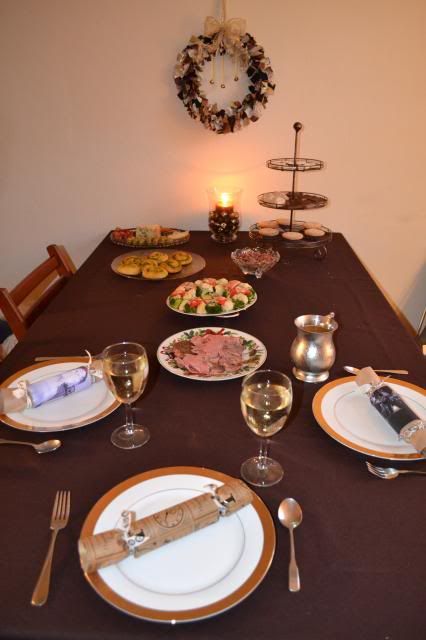
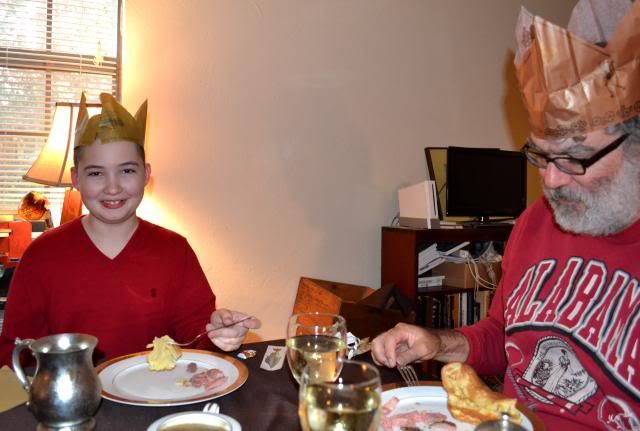
Place a cracker at each place setting at a festive holiday meal.
They are available at many stores, in many colors, sizes, and prices, but I decided to make my own to go with our steampunk Christmas theme.
1. Use the cardboard tube from a a roll of paper towels. Measure 3-inches from each end and cut. I found that a serrated-edged bread knife does a good job of cutting through the tube without mashing it.
The "cracker snaps", the exploding strips of brown paper that make the crackers pop when they are pulled, can be purchased, along with other supplies, from Olde English Crackers.
2. Place the parts of the tube close together and cut a piece of wrapping paper big enough to cover all the parts of the tube. Do not tape or glue the paper in place just yet.
3. Slide the cracker snap into the tube.
4. Make a paper hat. Tissue paper is used because the thin paper is easy to fold into a small space and these must fit into the cardboard tube.
Cut a strip of tissue paper long enough to go around the recipient's head, plus a half-inch. Fold the strip in half length-wise, then in half again. One more fold in half will give you a crown with four points, two more folds will give you an eight pointed crown.
Make one cut at an angle. Then unfold.
If you wish to decorate the crown with rubber stamps, the way I did, this is the time to do that. Put newspapers or cardboard under the tissue paper before stamping, because the ink will bleed through the paper. Let the ink dry, then overlap the ends of the paper and tape or glue in place to form the crown.
Stickers can also be used to decorate the crowns.
The hat doesn't have to be a crown. For my Steampunk Christmas panel at the Gaslight Industries Expo, I made a paper top hat. It worked, but it was more time consuming to make and harder to fit into the cardboard tube.
5. Fill the center section of the tube with a paper hat, a joke, and a candy or prize.
6. Tape or glue the wrapping paper around the tube.
7. Gently pinch the area in between the tubes and tie a ribbon there. Discard the two end pieces of the tube.
The crackers can even be personalized by using a festive looking picture of each family member on the cracker, that will double as a place card for Christmas dinner.
Place a cracker at each place setting at a festive holiday meal.