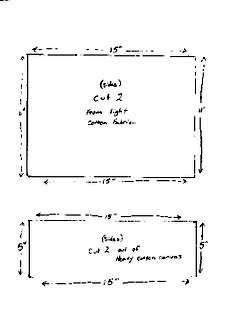
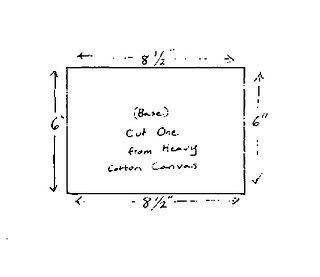
1. Cut out the pieces of fabric. There should be two small side panels (15 inches by 5 inches) and the base (8 1/2 inches by 6 inches) cut from heavy canvas and two larger side panels (15 inches by 11 inches) cut from lighter cotton. I sewed a zigzag stitch around all of the pieces before I began sewing them together, to prevent unraveling.
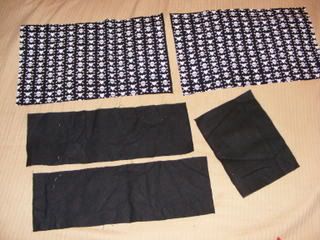
2. Facing right sides together, sew a small canvas panel to the bottom of a larger panel using a half inch seam allowance ( be sure that the printed fabric will be facing the right direction when this is done). Repeat with the other two side panels.
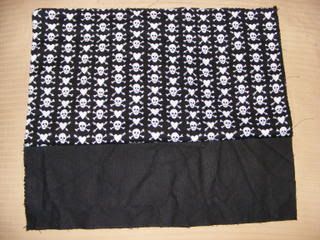
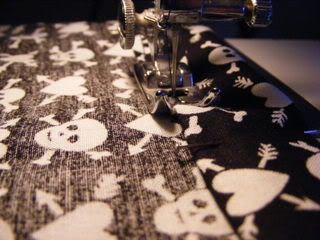
3. With the right side of the fabric facing down, fold the seam allowance down flat to one side and sew in place to make a "flat felled seam". This will strengthen the seam and get it out of the way, so things don't catch on it as items are put in or taken out of the bag.
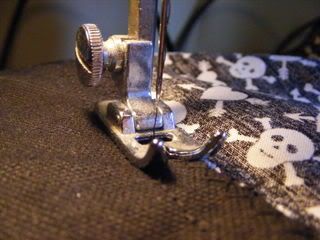
4. Next, match up the two sides of the bag, right sides together, and sew up the sides, stopping 2 inches from the top.
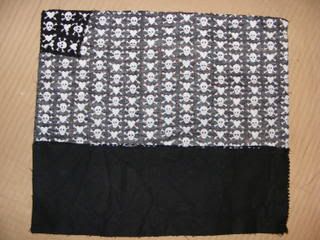
5. flatten the side seam so they are open. From the two inch mark to the top sew the fabric down to form a V at the top, as shown in the photo.
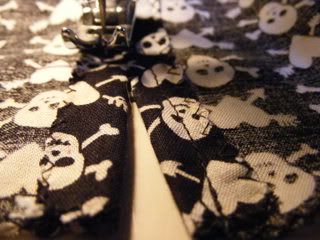
6. Fold over a quarter inch of fabric all around the top of the bag and press in place. This will prevent any raw edges from showing.
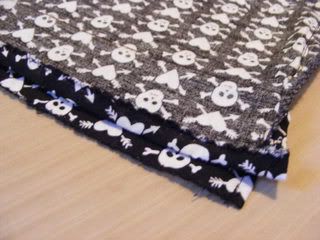
7. Fold the top edge down so that it is even with the Two inch from the top markings. Sew in place. This will be the casing for your draw string and it should have openings on each side.
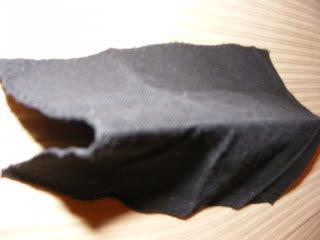
8. Fold the piece that will be the bottom of the bag in half long ways (hot dog style) and crease it. This will show you where the middle is on the short sides of the cloth.
9. Match the middle line on the bottom panel to the side seams on the bag. Pin in place.
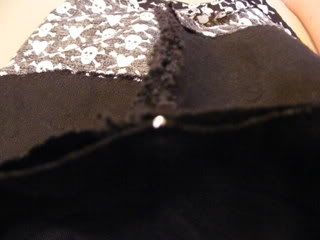
10. Continue pinning all the way around the bottom edge of the bag.
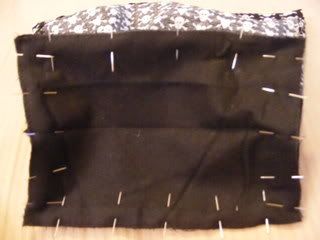
11. Sew around the bottom edge using a half inch seam allowance. Turn bag right side out. Option 1:Cut two pieces of cotton cord ( the kind used as draw strings on sweatpants), two feet (24 inches) each. Thread the cord through the casing at the top of the bag and tie the cords together on each side. or Option 2: Cut one piece of cotton cord, 4 feet long. Thread it through both sides of the casing. Tie the two ends together, cut off any extra cord, and pull the cord so that the knot is inside the casing and hidden from view.
The washable cotton lunch bag is ready to use.
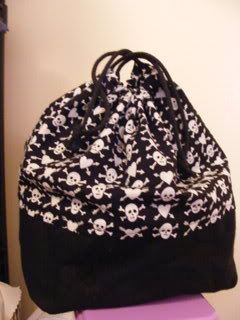
The bag above was made to go with Ula's lunchbox, because she loves all things pirate.
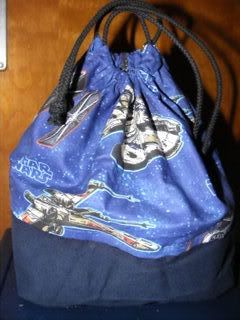
This one is DH's:
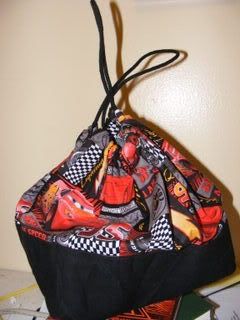
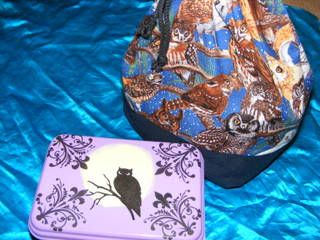
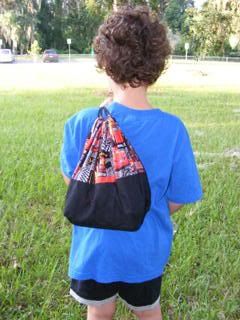
The Cars themed bag is for Blaze and mine is owls:
No comments:
Post a Comment