
I couldn't find the spool of candle wicking, which I know I have, so we just stuck a birthday candle in the middle of each candle we were making, to be the wick.
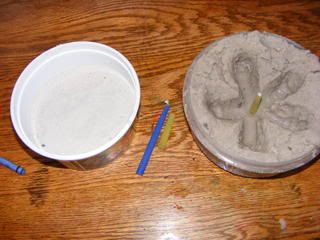
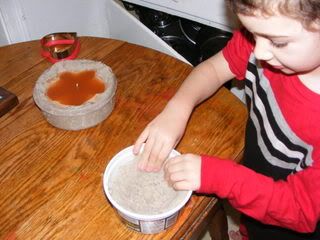
We started by filling two small containers with sand and pouring in just enough water to make the sand wet, without being soupy.
Then we made an indentation in the sand, the shape that we wanted our candle to be and stuck the birthday candle into the indentation. If you are using regular wicking, you will need to tie it to a stick which can sit across the top of the container.
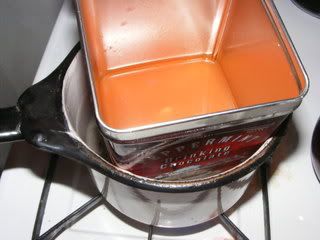
Next, melt the wax in a double boiler, or in our case, a can sitting in a pan of water. Color is added to the wax by breaking up an old crayon into the melted wax.
Then we poured the wax into the mold and let it cool.
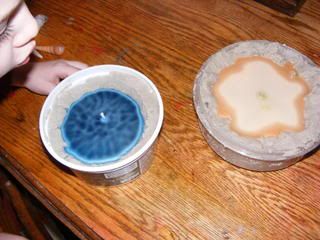
Blaze chose to add shells to his candle, so we stuck them in just as the top layer of wax was hardening, but before it was cool underneath.
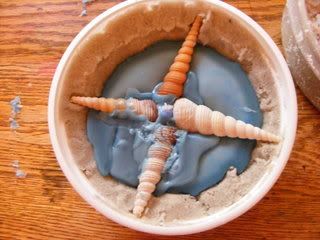
After the wax was completely hard, it was time to take the candle out of the container, dust off the sand , and put it on display.
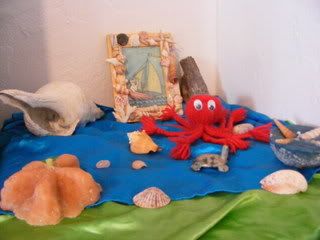
The other items on our Sea Life Nature Table:
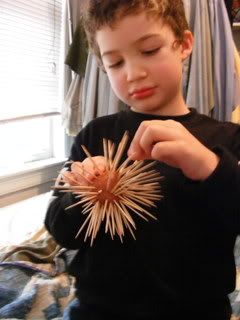
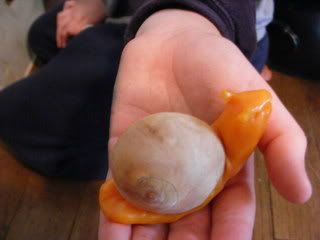
A ball of clay stuck full of tooth picks became a Sea Anemone and we used an idea from Living Crafts Magazine to make a Sea Snail out of a real shell and some moldable beeswax.
No comments:
Post a Comment