To prepare for this trip, we've been learning some new ways to start a fire and some fire safety.
Buddy Burners:
First we made "buddy burners". I'm not sure where the name came from originally, I just know that's what they were called when I learned how to make these at a 4-H day camp when I was about twelve years old. They are a bit like homemade cans of Sterno.
Start by melting wax in a double boiler. Wax should never be melted directly on the stove, because it can get too hot and catch fire. An easy double boiler can be made by placing a tall can in a pot of water or, in this case, I placed an old coffee pot in a pan of water ( be careful removing the can from the water; the can will be very hot and steam burns can happen around boiling water).
The wax that you use for this project can be paraffin, beeswax (although that's more expensive), melted down candle stubs, or even old crayons with the paper labels removed. We used mostly paraffin, with a little beeswax that was left in the bottom of the pot from our last wax project.
Remove the labels from cleaned, shallow cans (we used tuna cans).
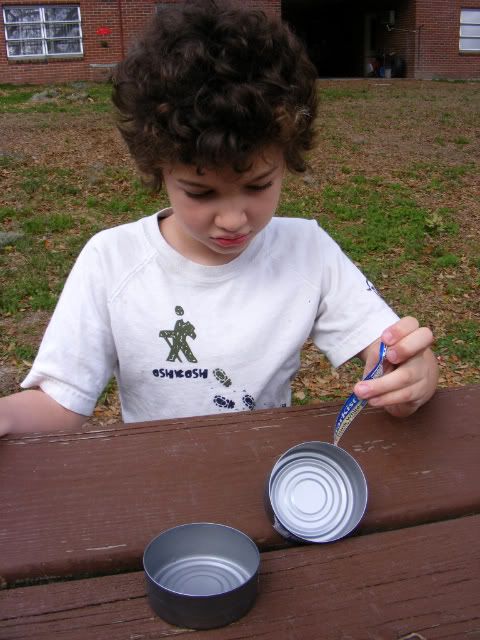
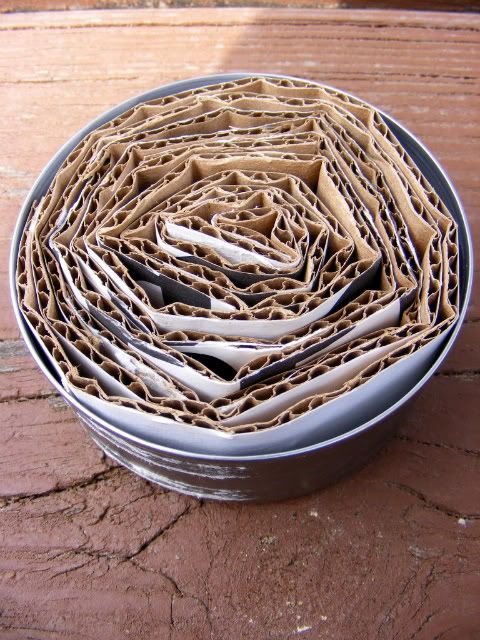
Cut strips of corrugated cardboard as wide as the can is tall and roll the strips up tightly. If you come to the end of one strip of cardboard, grab another and continue until you have enough to fill a can.
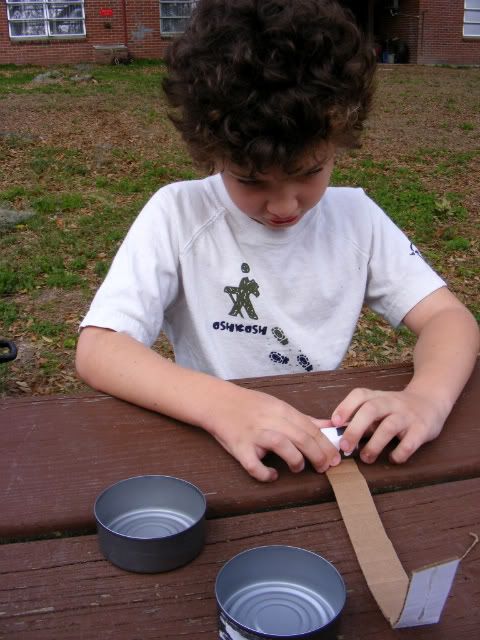
Using corrugated cardboard, instead of smooth cardboard, is very important because melted wax will need to fill the little holes to the corrugation.
Place the cans on news paper, because it is very hard to pour the melted wax neatly. I use an old coffee pot for melting wax, because it's easy to pour from it, but there was still a lot of splashing and dripping.
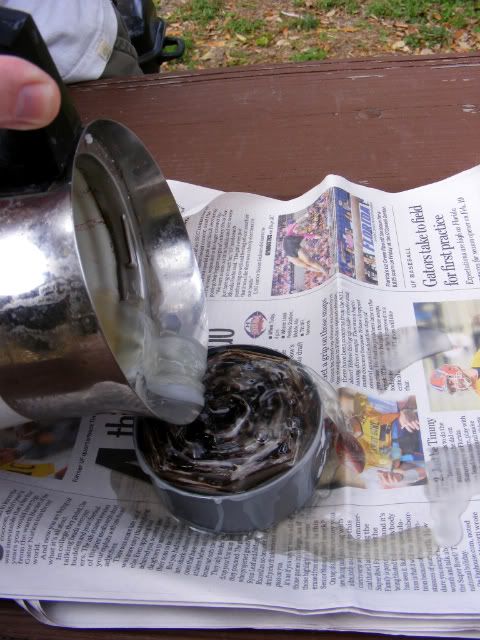
Fill the cans to the top edge with the melted wax, leaving just a little cardboard sticking up out of the wax, so that it can be used as a wick to start the fire. Then, let the buddy burners sit until the wax has hardened.
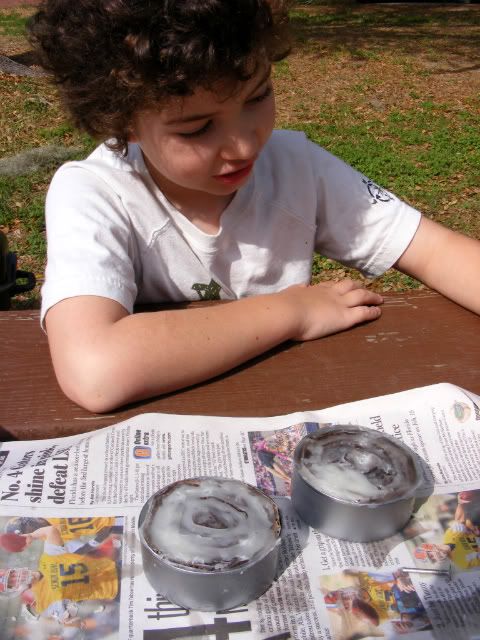
Pack the buddy burners to take along on your next camping trip.
The Hobo Stove:
Now that we had our heat source, it was time to make the stove that the buddy burner would fit into. A clean coffee can, with no paper label is perfect for this. Use a hammer and a nail to put holes all the way around the can, near the solid bottom of the can. This will provide ventilation for your fire (fire needs plenty of oxygen in order to burn).

This next part is a little more difficult and should be done by a grown-up.
Cut a door in the can, big enough for the buddy burner to slide in and out of. I had trouble finding the proper tool for this job. I broke a pair of scissors. Wire cutters were good for cutting through the rim of the can, but they aren't good for cutting out the whole door. I think tin-snips would probably be best, but we don't seem to have any, so I ended up using kitchen shears.
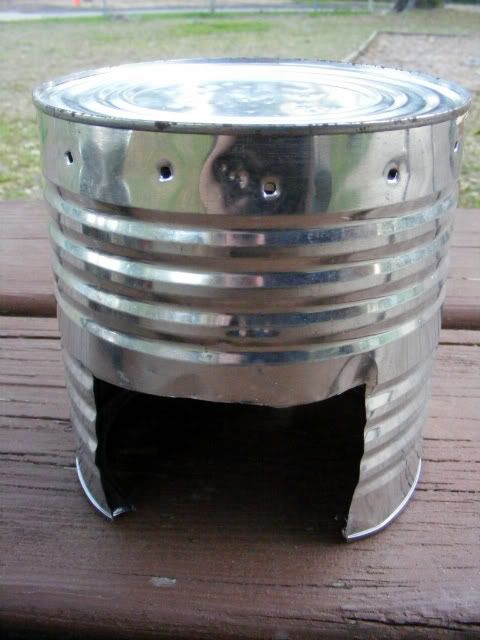
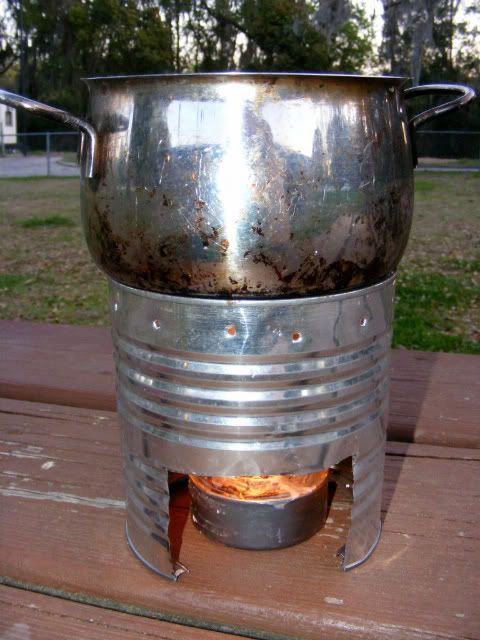
To use, place the coffee can upside-down (open side down) on a flat surface and place the buddy burner inside the coffee can stove ( this will protect your flame from wind). Light the burner with a long lighter.
The coffee can will get hot very quickly, so do not touch it while you are cooking.
The Smoky the Bear song:
Eddy Arnold singing "Smokey the Bear" in 1952
Buddy burners and hobo stoves! I remember making these when I was a kid!!! What a fun trip down memory lane this has been. :)
ReplyDeleteBy the way, we used tuna cans for the buddy burners, too. :)
This is one that Alex would LOVE to make! I will have to try it out. :)
ReplyDeleteVal