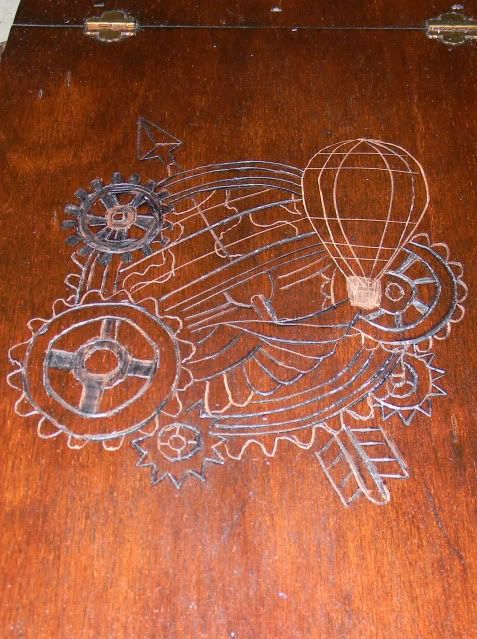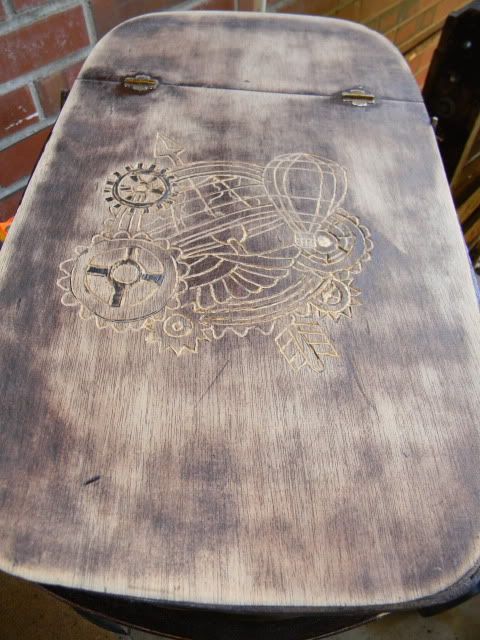
I noticed some rough edges caused by the burning, so I got out a piece of sandpaper to rub at them, and scratched the basket lid pretty bad. I could undo the scratch, so I just put scratches all over the lid to give it a more worn, rugged look. I hated it! There are no close pictures of it at that point, because I was so unhappy with it.
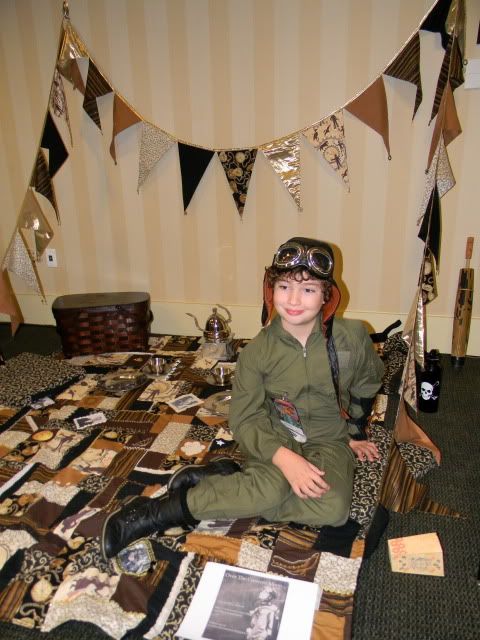
As you can see, I stuffed it into the back corner of my display to make it less obvious.

I have finally had time to fix it.
Over the weekend I sanded it down.

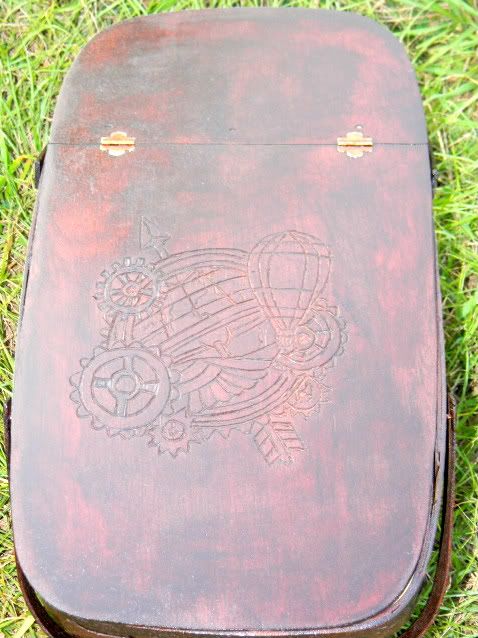
I went over all the lines in the design with the Dremel, which did a far better job than the wood burner. Then refinished it with red mahogany wood finish and clear polyurethane.

It's not perfect, but I'm much happier with it now. I had never used the Dremel for wood engraving like this before and now that I kind of know what I'm doing, I want to try more.
For more about the picnic basket click here.
Ahh... yes, it looks much better now! I'm glad it worked out for you. (I have the same basket:)
ReplyDeleteCongrats on showing your steampunk quilt!