Tuesday, December 28, 2010
Greetings From Chicago
We had a nice Christmas in down-state Illinois and we are now in the Chicago area. There will be many pictures coming, once we get home, but for now I'd just like to wish everyone a HAPPY NEW YEAR!
Tuesday, December 21, 2010
The Winter Solstice Lunar Eclipse
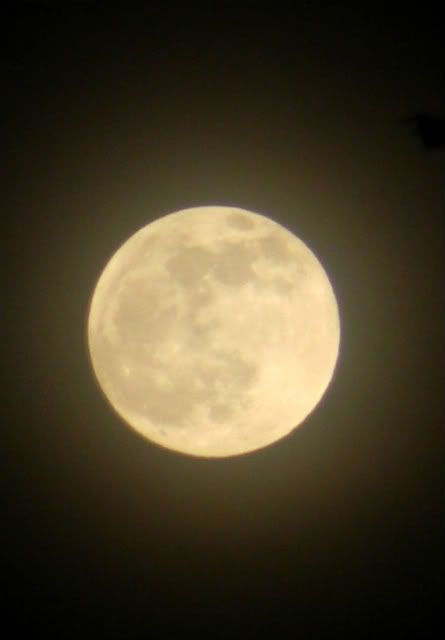
The full moon on Dec. 20th at 6:10 p.m. EST:
The eclipse has begun, 1:35 a.m. EST
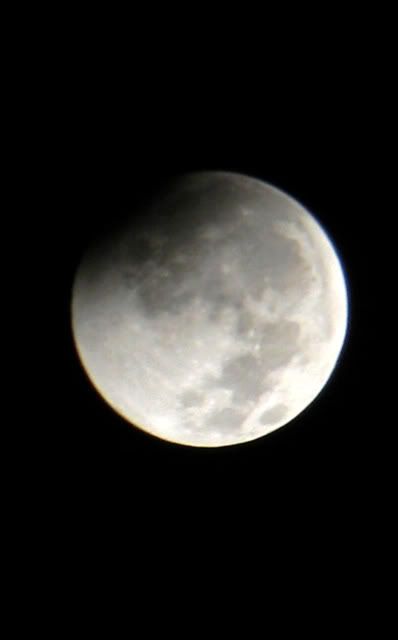
Hey, besides being the Winter Solstice and the day of a lunar eclipse, today is also a palindrome, 12-21.
O.K., back to bed for another little cat nap.
3:30 a.m.
Blaze told me to wake him up for this part, so I tried, but he told me it was too bright outside and he had been having a good dream, and promptly went back to sleep.
The fully eclipsed moon:
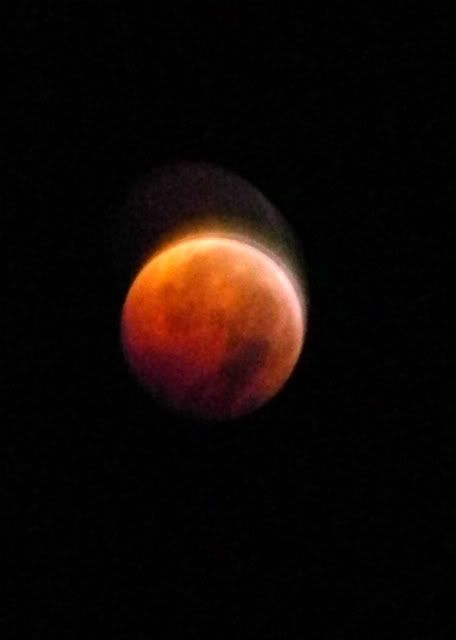
This was the hardest phase to photograph. I don't have a tripod, and I had a very difficult time holding the camera steady, so that the moon didn't appear to be bouncing.
When the girls were little (and we lived much closer to nature, so the darkest part of the year really meant something), I started the tradition of giving them something related to light or the sun on the Winter Solstice each year. The solar powered keychain that played "You are My Sunshine" was a mistake, but other than that, it's a good tradition. I am continuing it this year with the gift that Blaze will get when he wakes up in the morning.
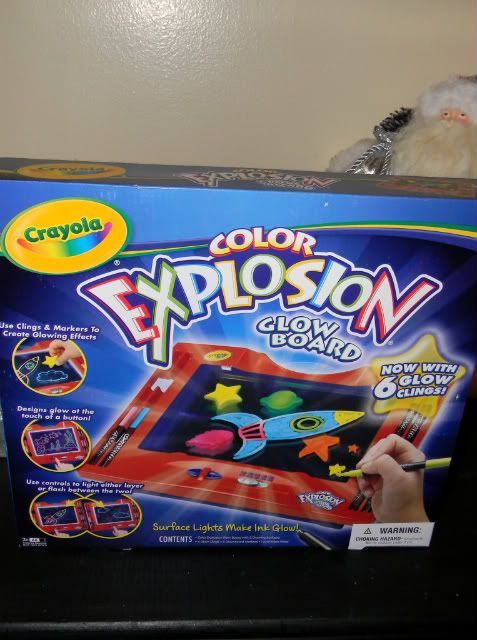
We will be spending an awful lot of the holiday break in the car and I'm hoping that this, along with over 5 hours of Magic Tree House audio books on the Ipod, will keep him entertained.
Back to bed. There are still a couple hours until dawn.

The eclipse has begun, 1:35 a.m. EST

Hey, besides being the Winter Solstice and the day of a lunar eclipse, today is also a palindrome, 12-21.
O.K., back to bed for another little cat nap.
3:30 a.m.
Blaze told me to wake him up for this part, so I tried, but he told me it was too bright outside and he had been having a good dream, and promptly went back to sleep.
The fully eclipsed moon:

This was the hardest phase to photograph. I don't have a tripod, and I had a very difficult time holding the camera steady, so that the moon didn't appear to be bouncing.
When the girls were little (and we lived much closer to nature, so the darkest part of the year really meant something), I started the tradition of giving them something related to light or the sun on the Winter Solstice each year. The solar powered keychain that played "You are My Sunshine" was a mistake, but other than that, it's a good tradition. I am continuing it this year with the gift that Blaze will get when he wakes up in the morning.

We will be spending an awful lot of the holiday break in the car and I'm hoping that this, along with over 5 hours of Magic Tree House audio books on the Ipod, will keep him entertained.
Back to bed. There are still a couple hours until dawn.
Lemon Cupcakes
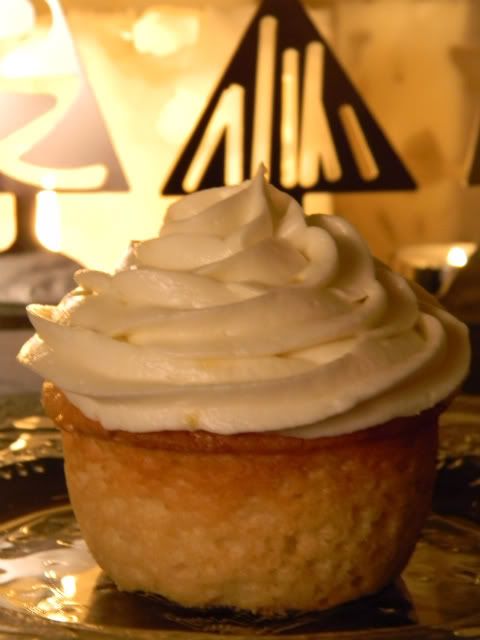
I used this recipe to make half of the cupcakes for Blaze's birthday party. Last night, I used it again, to bake a treat for our moon watching.
2 cups unbleached white flour
1 cup sugar
3/4 tsp. baking soda
1/2 tsp. salt
1/2 cup milk
1/2 cup vegetable oil
2 eggs, well beaten
the juice and grated peel from one lemon
preheat oven to 350 degrees F.
Mix all the dry ingredients together. In a two cup glass measuring cup, combine the liquid ingredients and beat with a fork until the eggs are well beaten and everything is blended. Add the liquids to the flour mixture and stir until smooth. Fill greased muffin cups 3/4 full and bake 30 minutes.
Cool before frosting.
Lemon frosting
1/2 cup ( one stick) butter, softened
the juice and grated peel of one lemon
1 tablespoon milk
3 1/2 cups of powdered sugar ( add a little more it needed, it really depends on how much juice the lemon yields)
Beat everything together with an electric mixer, until it becomes a smooth, fluffy frosting.
Monday, December 20, 2010
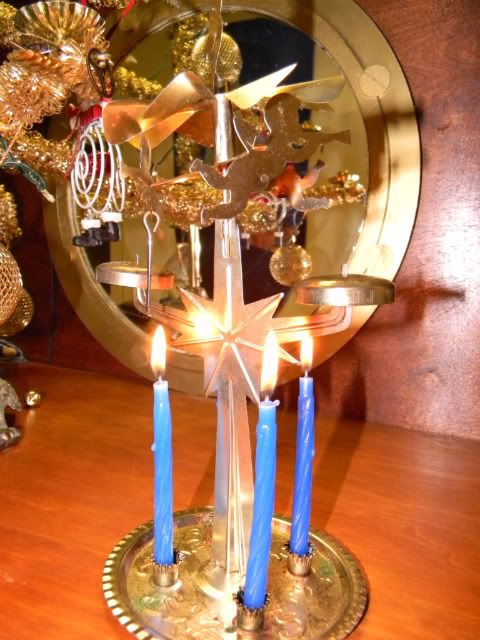
Candles A-Glow
Sunday, December 19, 2010
Lunar Eclipse
I just found out that in the wee hours of the morning of the 21st., there will be a lunar eclipse. More information can be found here:
http://en.wikipedia.org/wiki/December_2010_lunar_eclipse
http://en.wikipedia.org/wiki/December_2010_lunar_eclipse
Ice Candles / Happy Solstice
Happy Winter Solstice!
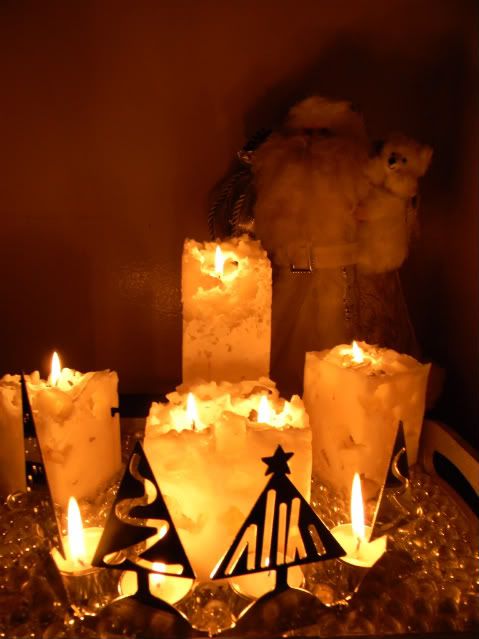
December 21st. is the shortest day of the year, so it's a great time to make some wintery looking candles to give light and warmth.
The storage locker was not kind to my candy cane striped candles this year. When I took them out of the box this morning, every single one was cracked.
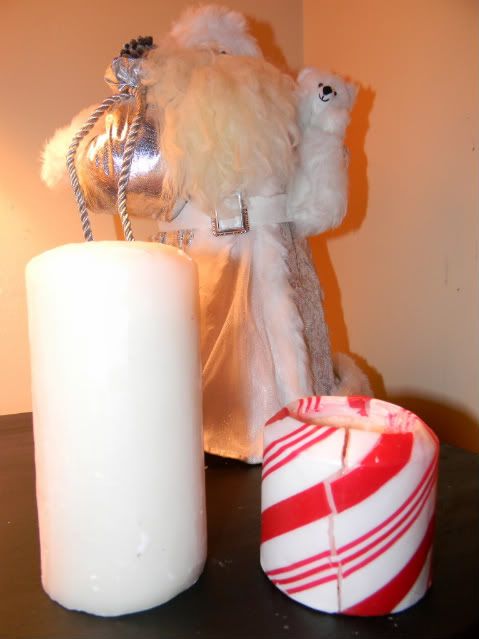
I had been wanting wax to make ice candle, so instead of buying any, I just used a pocket knife to peel off all of the red and white stripes from the outside of the candles, and then melted them down.
An old juice can made a fine disposable top level for a double boiler.
I had been saving various sizes of wax coated cardboard cartons ( from eggnog, milk, and half and half) for this purpose. Those were the candle molds. For a round pillar candle, the containers from frozen concentrated juices work well.
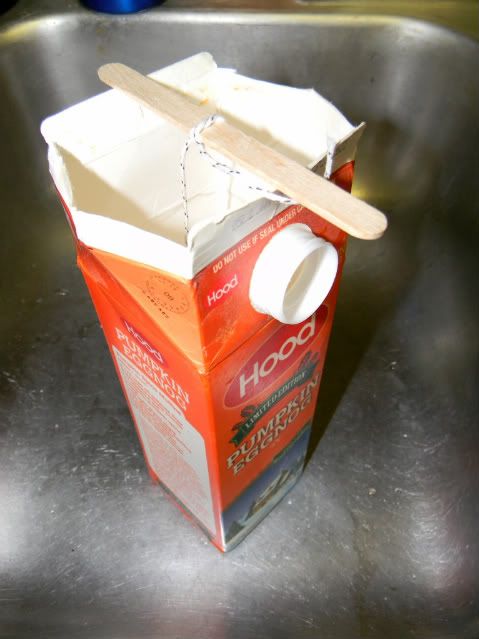
A wick was tied to a popcycle stick, which rested on the lip of the open carton, and small ice cubes and crushed ice were dropped into the carton until it was full. The melted wax was then poured in on top of the ice, covering the ice completely.
The carton was set aside for about an hour and then the cardboard carton was ripped and peeled off to reveal the candle (be sure to do this over a sink, because the water from the melted ice will come gushing out).
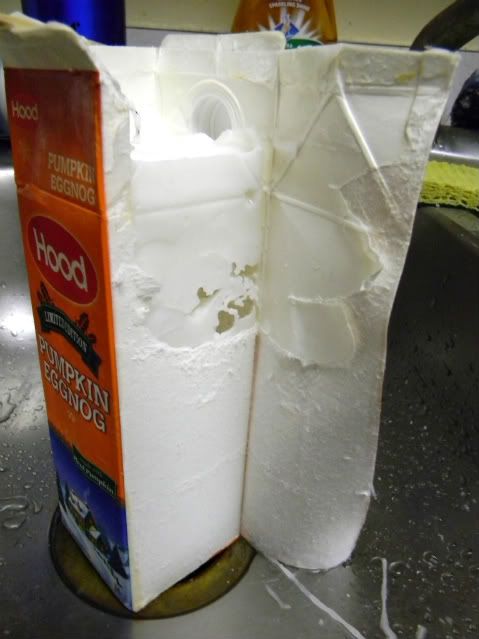
The candles were left in the sink for another couple of hours to melt more and dry out.
I displayed ours on a wood tray that had been painted silver. After the candles were placed on the tray, I covered the tray with clear marbles, because they reminded me of ice, and I like the way they reflect the candle light.
I made a lot of ice candles when I was a teenager and I've always enjoyed the unique, freeform way they turn out. Like snowflakes, no two ice candles are ever alike.
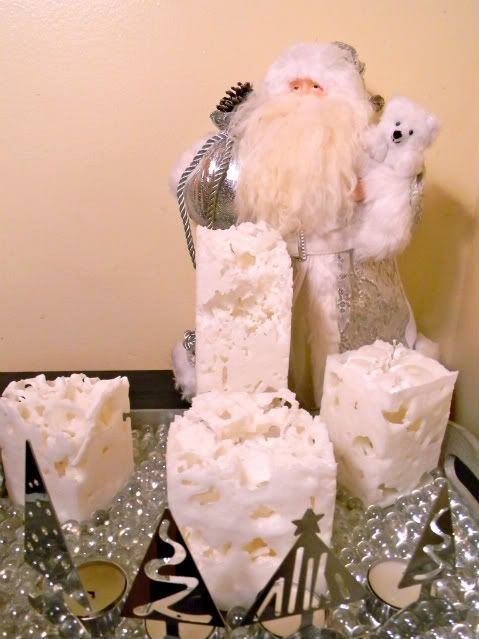
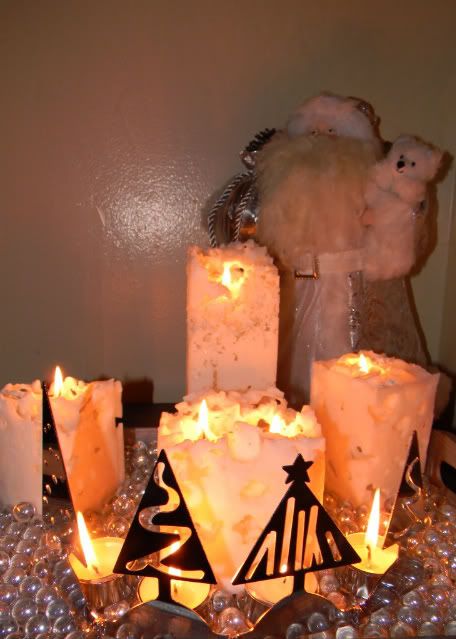

December 21st. is the shortest day of the year, so it's a great time to make some wintery looking candles to give light and warmth.
The storage locker was not kind to my candy cane striped candles this year. When I took them out of the box this morning, every single one was cracked.

I had been wanting wax to make ice candle, so instead of buying any, I just used a pocket knife to peel off all of the red and white stripes from the outside of the candles, and then melted them down.
An old juice can made a fine disposable top level for a double boiler.
I had been saving various sizes of wax coated cardboard cartons ( from eggnog, milk, and half and half) for this purpose. Those were the candle molds. For a round pillar candle, the containers from frozen concentrated juices work well.

A wick was tied to a popcycle stick, which rested on the lip of the open carton, and small ice cubes and crushed ice were dropped into the carton until it was full. The melted wax was then poured in on top of the ice, covering the ice completely.
The carton was set aside for about an hour and then the cardboard carton was ripped and peeled off to reveal the candle (be sure to do this over a sink, because the water from the melted ice will come gushing out).

The candles were left in the sink for another couple of hours to melt more and dry out.
I displayed ours on a wood tray that had been painted silver. After the candles were placed on the tray, I covered the tray with clear marbles, because they reminded me of ice, and I like the way they reflect the candle light.
I made a lot of ice candles when I was a teenager and I've always enjoyed the unique, freeform way they turn out. Like snowflakes, no two ice candles are ever alike.


Thursday, December 16, 2010
Christmas Cuteness
The elementary children at school were broken up into 4 groups today, to decorate gingerbread houses for the teachers. I just want to show you how cute mine is.
Mine was decorated by a 9 year old boy and a 10 year old girl.
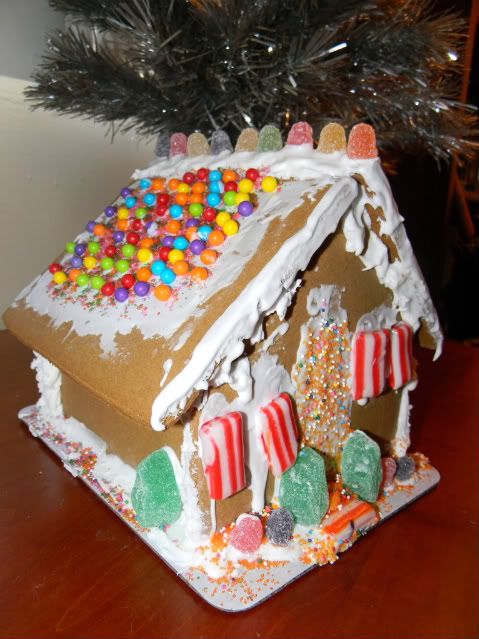
The royal icing was a bit runny and hard to work with, but they did a fantastic job.
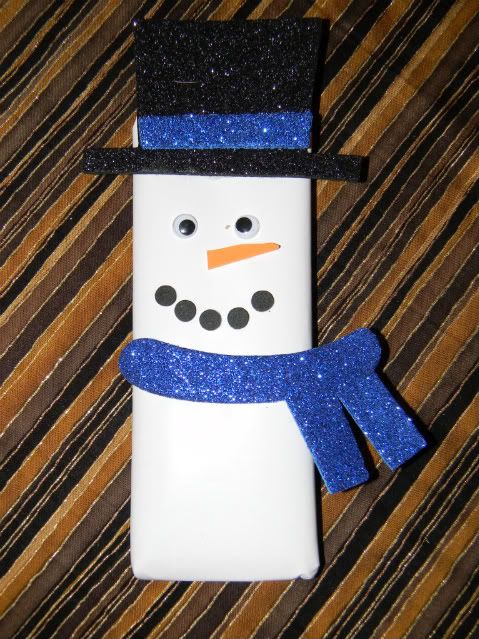
We also have very creative and kind parents and grandparents at the school. One of the grandmothers, who also volunteers in the classroom, made these candy bar snow men for all 16 of the elementary students. They are made by wrapping a Hershey bar with butcher's paper and then gluing on the hat, scarf, and face. She said that she found the snowman parts as a kit for making a foam photo frame, that was marked down at Joann Fabrics.
Tomorrow should be fun. The children have all been invited to the lead-teacher/principal's house for a Christmas party, which will include a Secret Santa gift exchange, baking cookies, and watching the original cartoon version of The Grinch Who Stole Christmas.
Mine was decorated by a 9 year old boy and a 10 year old girl.

The royal icing was a bit runny and hard to work with, but they did a fantastic job.
We also have very creative and kind parents and grandparents at the school. One of the grandmothers, who also volunteers in the classroom, made these candy bar snow men for all 16 of the elementary students. They are made by wrapping a Hershey bar with butcher's paper and then gluing on the hat, scarf, and face. She said that she found the snowman parts as a kit for making a foam photo frame, that was marked down at Joann Fabrics.

Tomorrow should be fun. The children have all been invited to the lead-teacher/principal's house for a Christmas party, which will include a Secret Santa gift exchange, baking cookies, and watching the original cartoon version of The Grinch Who Stole Christmas.
Tuesday, December 14, 2010
Blaze's New Tinsel Tree
This is the story of an old lamp that found new life as a tinsel tree.
I love the base of this lamp, it was the rest of the lamp that I didn't like, so I got rid of the rest.

Blaze has been bemoaning his lack of holiday decorations, so I decided to make a tinsel tree for his room.
The first level of "branches" are three old metal clothes hangers, straightened out and then cut in half. I then folded each of those pieces of wire in-half. Victorian feather trees often had a bead at the tip of each branch. I placed a gear on the tip of each of my branches, instead. I bent a bit of each wire down and wired the 6 branches to the tree using thin brass wire.

For the two remaining levels, I used floral wire, which was much easier to work with.
Then, starting with the area right under the first level of branches, I wrapped everything with antique, gold tinsel that I found at Goodwill.

It took 2 rolls of tinsel to cover a tree this size. I would have liked to build it up a little taller, but that was all the tinsel of that type that I had.

Blaze went to sleep while I was still making the tree, so I'm putting a few decorations on it tonight, so he'll have a nice surprise when he wakes up in the morning.

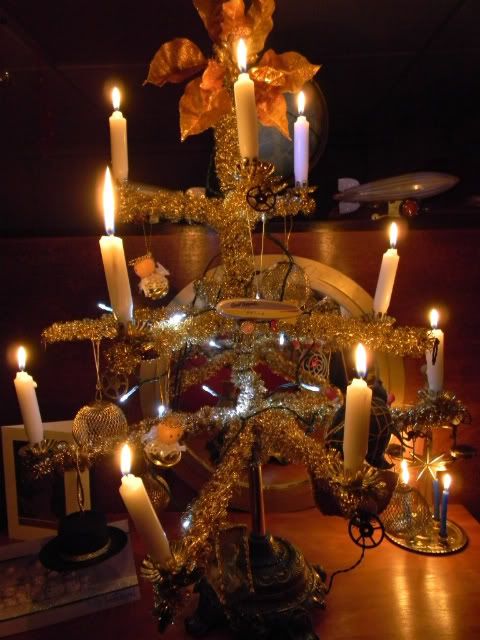
The design is based on the Victorian feather trees, the first artificial Christmas trees, but since the tinsel is flame resistant, I felt better about using clip-on candle holders for this tree. I don't leave the candles burning for very long, though, and never unsupervised.

I love the base of this lamp, it was the rest of the lamp that I didn't like, so I got rid of the rest.

Blaze has been bemoaning his lack of holiday decorations, so I decided to make a tinsel tree for his room.
The first level of "branches" are three old metal clothes hangers, straightened out and then cut in half. I then folded each of those pieces of wire in-half. Victorian feather trees often had a bead at the tip of each branch. I placed a gear on the tip of each of my branches, instead. I bent a bit of each wire down and wired the 6 branches to the tree using thin brass wire.

For the two remaining levels, I used floral wire, which was much easier to work with.
Then, starting with the area right under the first level of branches, I wrapped everything with antique, gold tinsel that I found at Goodwill.

It took 2 rolls of tinsel to cover a tree this size. I would have liked to build it up a little taller, but that was all the tinsel of that type that I had.

Blaze went to sleep while I was still making the tree, so I'm putting a few decorations on it tonight, so he'll have a nice surprise when he wakes up in the morning.

The design is based on the Victorian feather trees, the first artificial Christmas trees, but since the tinsel is flame resistant, I felt better about using clip-on candle holders for this tree. I don't leave the candles burning for very long, though, and never unsupervised.

Sunday, December 12, 2010
Blaze's 10th Birthday
I made this little slideshow of Blaze's airship pirate birthday party, using the song "Across the Sky" by Emilie Autumn as the background music.
I only had two hours to turn a plain white room, with crayon marked folding tables, into a birthday party, so I ran out of time before some things got done. It didn't really matter, though. The kids had a great time. As DH said, "they don't know what it looked like in your head."
I only had two hours to turn a plain white room, with crayon marked folding tables, into a birthday party, so I ran out of time before some things got done. It didn't really matter, though. The kids had a great time. As DH said, "they don't know what it looked like in your head."
Saturday, December 11, 2010
The Noah's Endeavor Christmas Party
Last night, we were able to take a break from all of the cooking for Blaze's party, which is later today, to go have fun at a Christmas party at The Boys and Girls Club.
Blaze was very happy to have his friend from school there to dance with. The two of them have been practicing their dance moves before school for about two weeks.
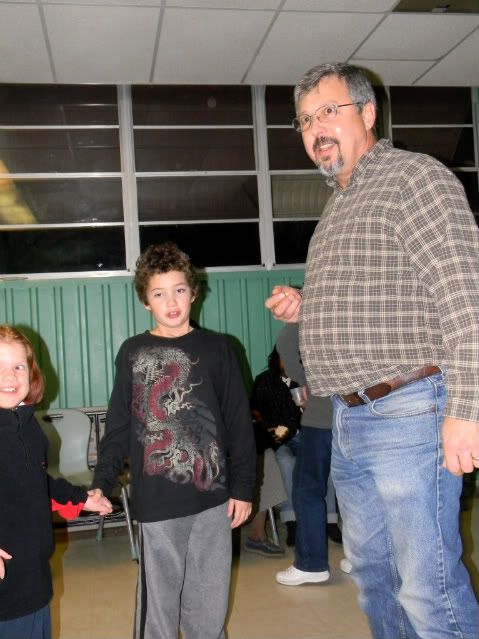
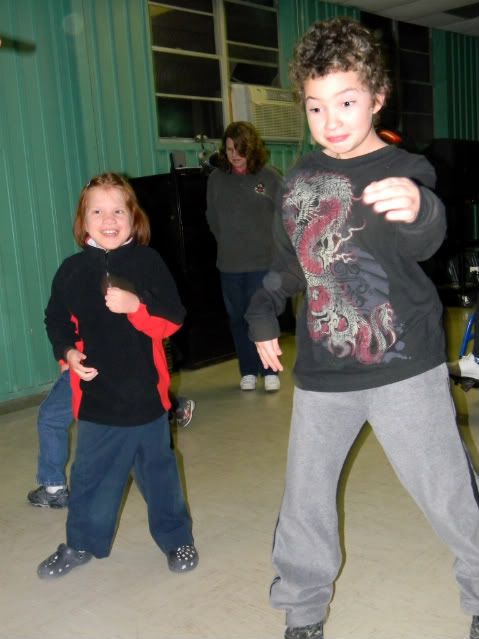
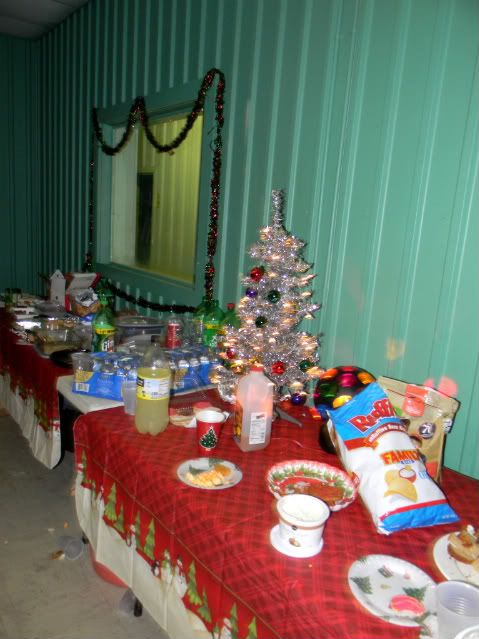
There was a potluck snack buffet
and then, more Christmas and dance music.
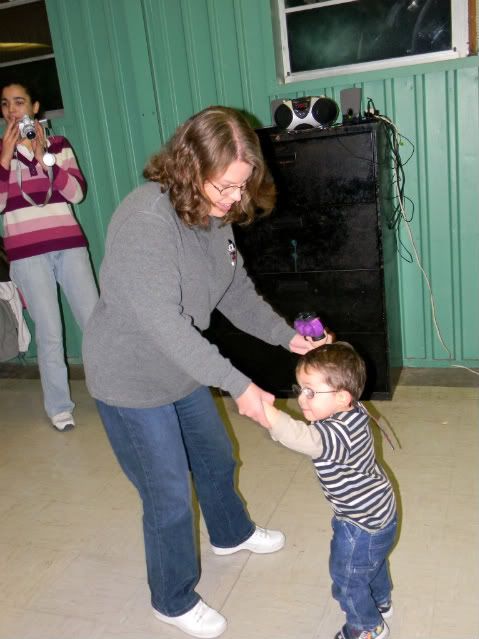
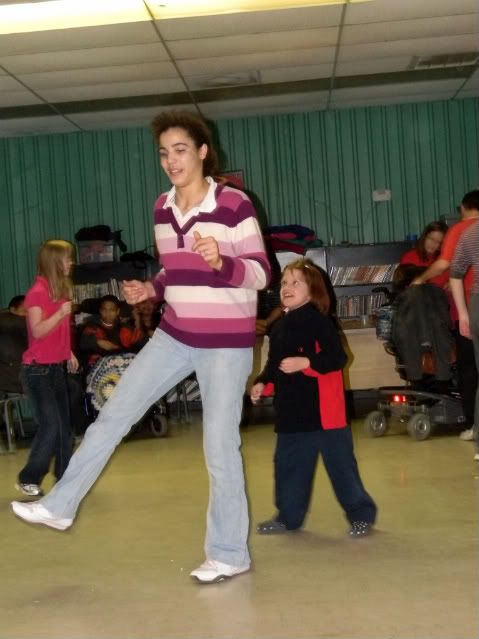
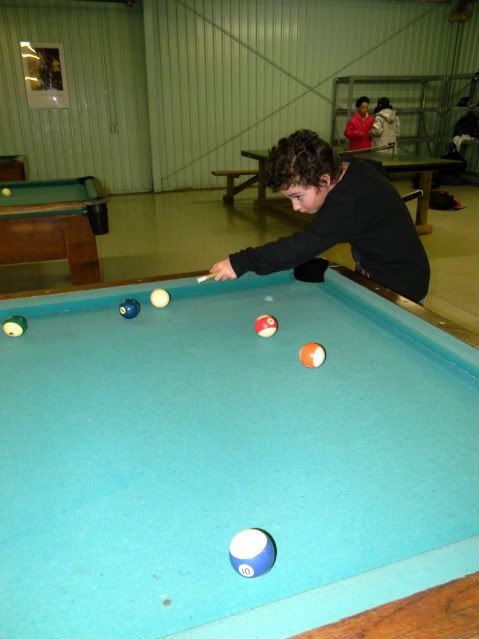
After a while, it ended up being mostly the girls dancing, while the boys ran off to play pool or Beyblades.
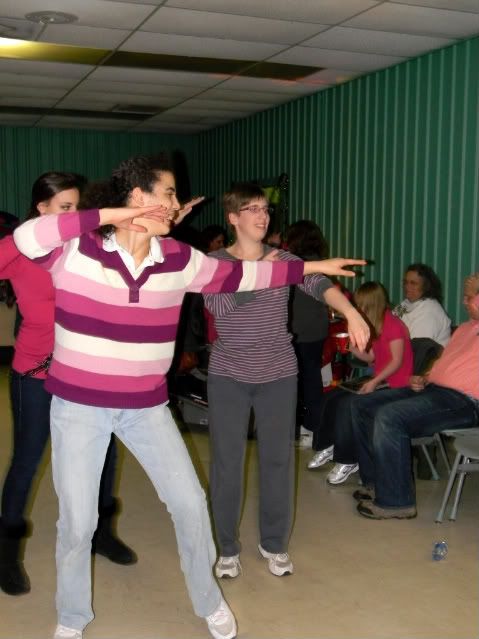
A good time was had by all!
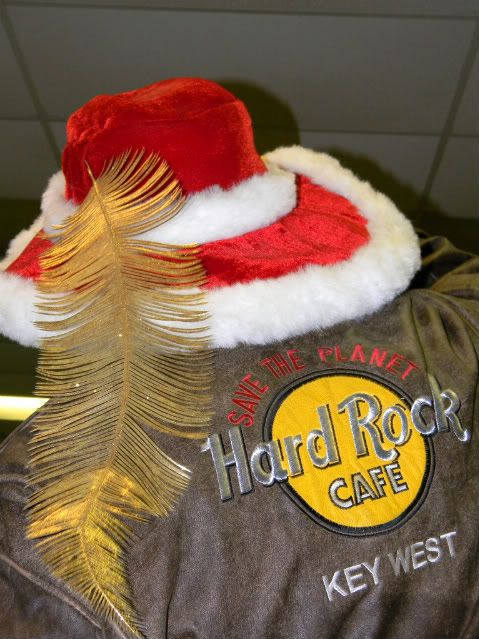
Now, back to the frantic cooking. Blaze's party is tonight and I still have a lot to do, which is being interrupted at lunch time by a tenant's meeting about bullying.
Blaze was very happy to have his friend from school there to dance with. The two of them have been practicing their dance moves before school for about two weeks.


There was a potluck snack buffet

and then, more Christmas and dance music.


After a while, it ended up being mostly the girls dancing, while the boys ran off to play pool or Beyblades.


A good time was had by all!

Now, back to the frantic cooking. Blaze's party is tonight and I still have a lot to do, which is being interrupted at lunch time by a tenant's meeting about bullying.
Tuesday, December 7, 2010
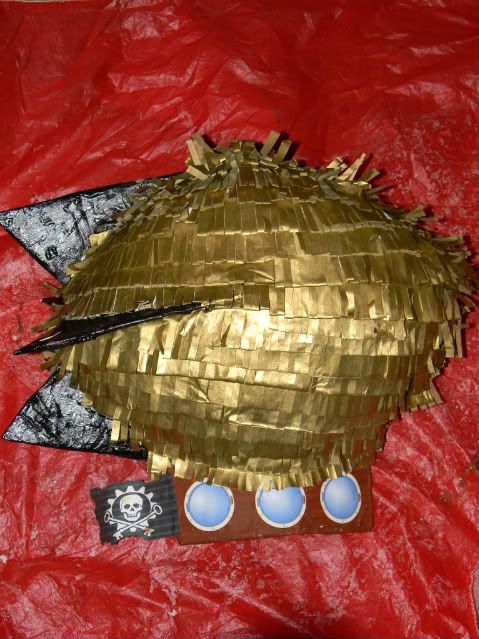
The Airship Pinata
The airship pinata started it's existence as a football shaped Mylar balloon,

but then it was encased in newspaper strips that were dipped into paper mache paste, made from equal parts white flour and water (this first bowl of paste was 3 cups of flour to 3 cups of water).

When the entire balloon, except for the neck, was covered in newspaper, it was left to dry and harden.

When it was completely hard and dry, the balloon was cut

and pulled out of its paper mache shell.

The tail fins and gondola were cut from cardboard and attached with small amounts of duct tape, just enough to hold them in place.
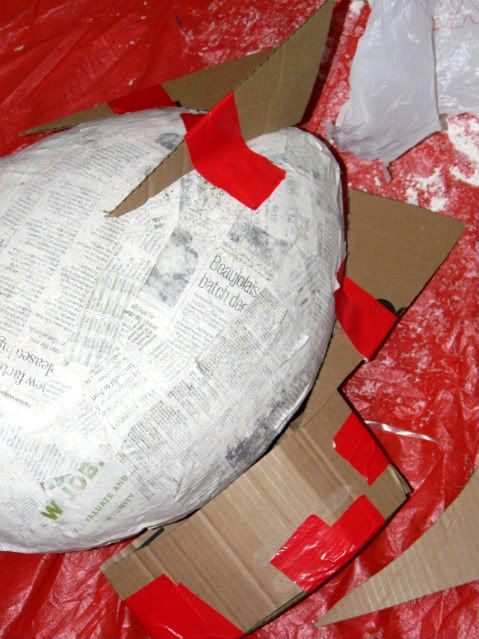
Paper mache was then used to cover all the cardboard and it was again left for a couple days to dry.
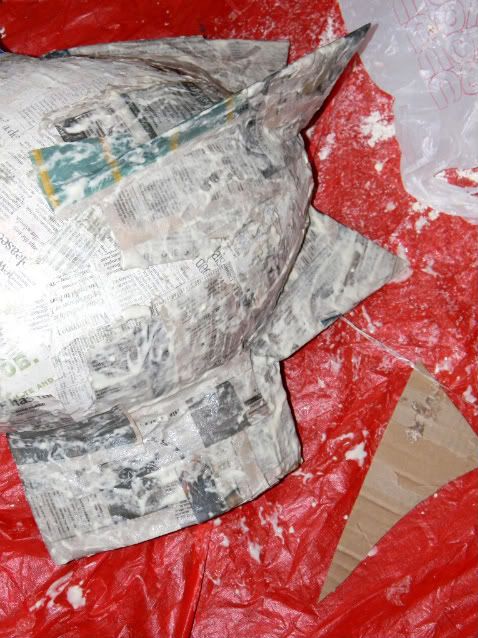
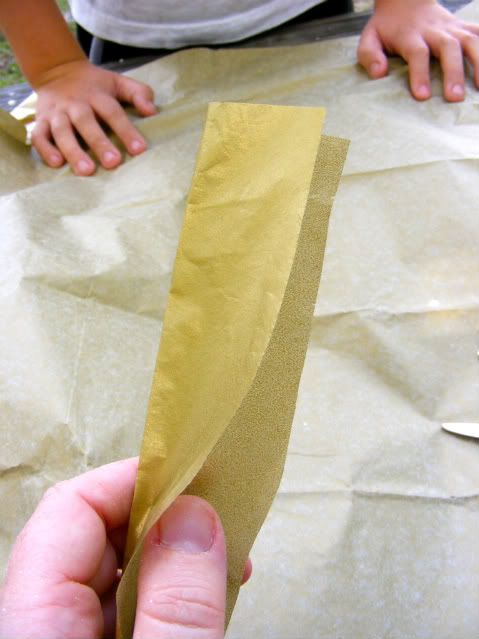
To add the tissue paper to the outside of the pinata, gold tissue paper was cut into strips along the fold-line of the paper. Each strip was then folded in half.
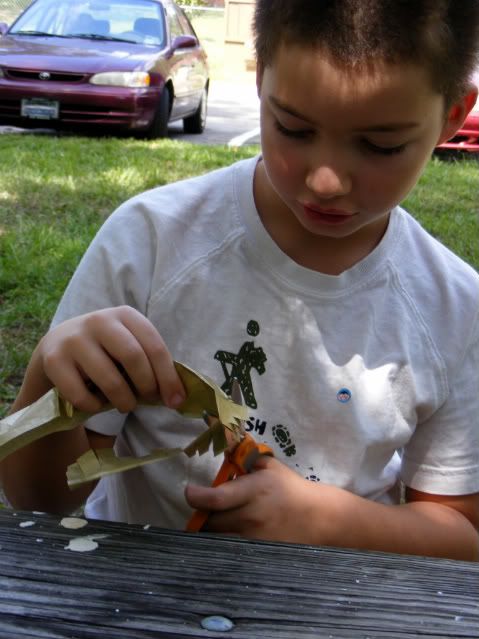
Then each folded strip was cut into fringe.
For smaller children, the tissue paper can be cut into squares by the parent and then have the child squish them up into balls before gluing them on the pinata. That was how we decorated most of the pinatas we made when my daughters were little.
It is time for one of those "do as I say, not as I do" moments. I did not decide to paint part of the pinata, instead of covering the whole thing in tissue paper, until after I had already added a lot of tissue paper. Better planning and doing all the painting first, would have made this easier.
Next, the fringe was glued in place, each strip over lapping the previous strip, using Elmers glue.
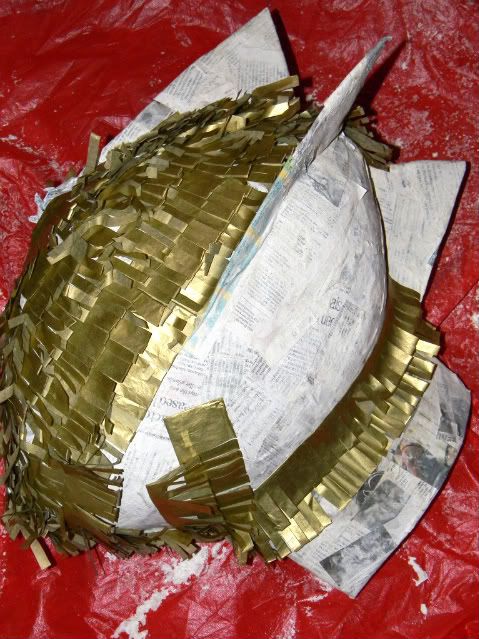
Final decorative touches were added, using images I found on the internet.
I'll give it a day or two to be sure it is really dry and then fill it with candy.

but then it was encased in newspaper strips that were dipped into paper mache paste, made from equal parts white flour and water (this first bowl of paste was 3 cups of flour to 3 cups of water).

When the entire balloon, except for the neck, was covered in newspaper, it was left to dry and harden.

When it was completely hard and dry, the balloon was cut

and pulled out of its paper mache shell.

The tail fins and gondola were cut from cardboard and attached with small amounts of duct tape, just enough to hold them in place.

Paper mache was then used to cover all the cardboard and it was again left for a couple days to dry.

To add the tissue paper to the outside of the pinata, gold tissue paper was cut into strips along the fold-line of the paper. Each strip was then folded in half.

Then each folded strip was cut into fringe.

For smaller children, the tissue paper can be cut into squares by the parent and then have the child squish them up into balls before gluing them on the pinata. That was how we decorated most of the pinatas we made when my daughters were little.
It is time for one of those "do as I say, not as I do" moments. I did not decide to paint part of the pinata, instead of covering the whole thing in tissue paper, until after I had already added a lot of tissue paper. Better planning and doing all the painting first, would have made this easier.
Next, the fringe was glued in place, each strip over lapping the previous strip, using Elmers glue.

Final decorative touches were added, using images I found on the internet.
I'll give it a day or two to be sure it is really dry and then fill it with candy.

Saturday, December 4, 2010
Model Trains at the Matheson
Yesterday afternoon, Blaze and I went to our local history museum for the first time, so we could see a small show of model trains. The trains will be on display today and tomorrow, as well.
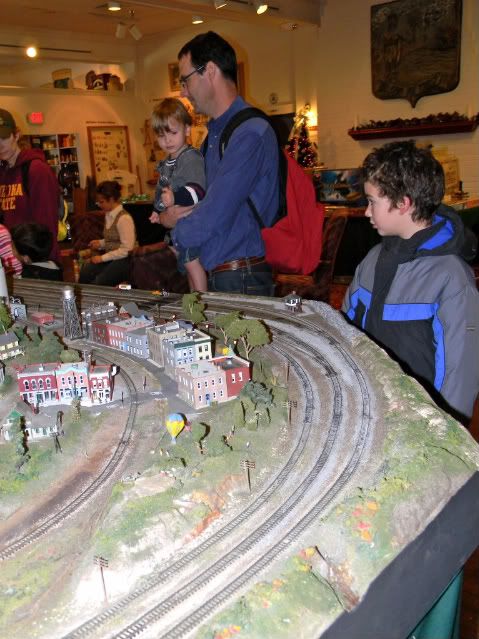
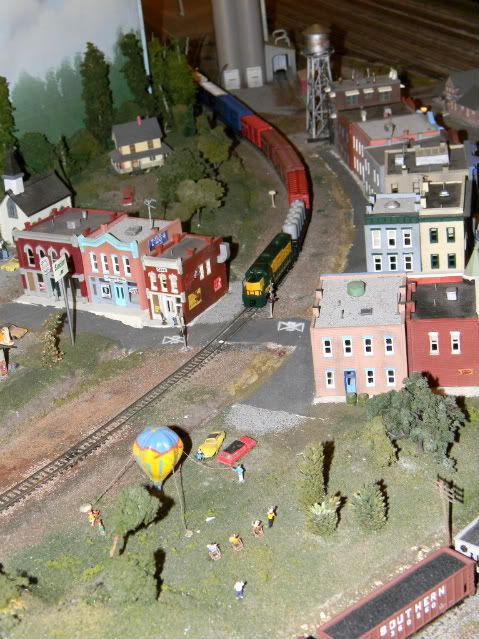
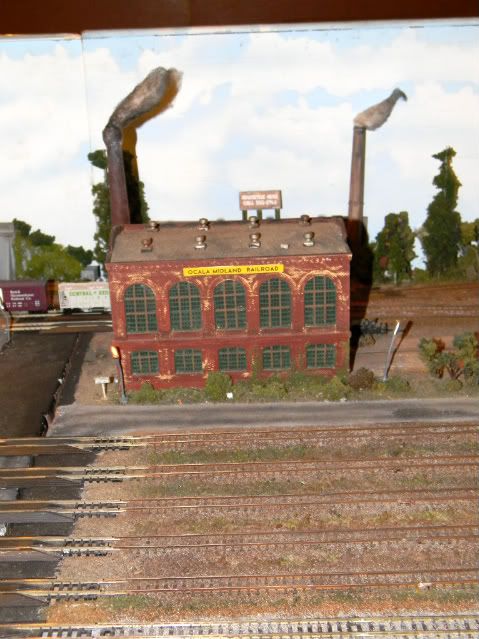
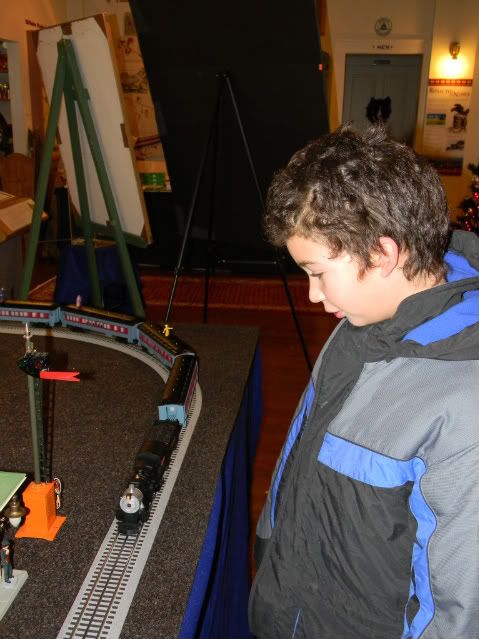
Although some of the local history displays had been moved out of the way to make room for the trains, there were still some non-train related things that I thought were interesting to look at,
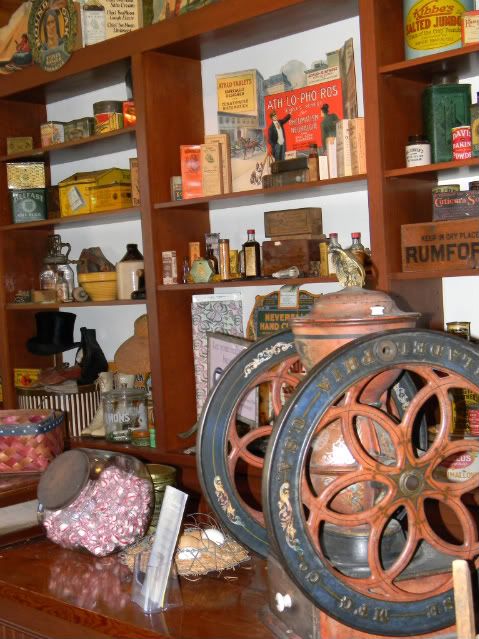
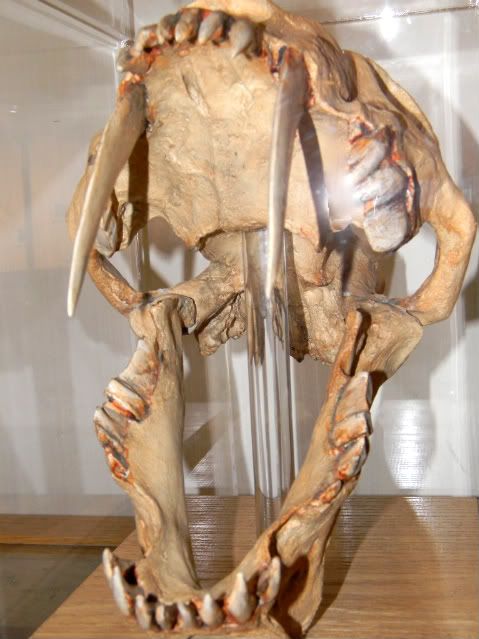
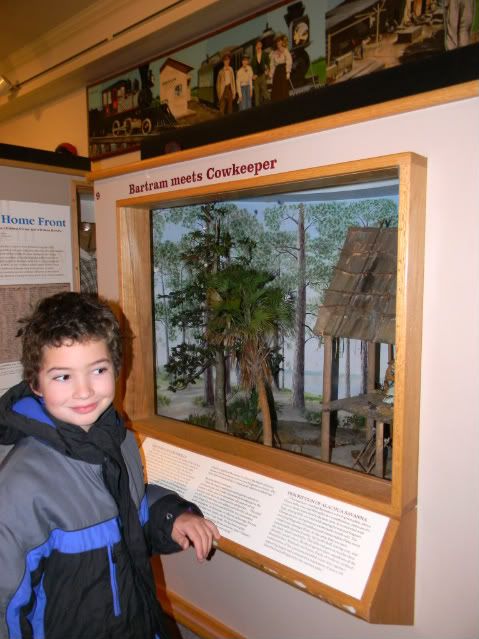
but Blaze had eyes only for the trains, and I was not even able to read the complete passage under this diorama to him before he ran off, back to the largest train table.
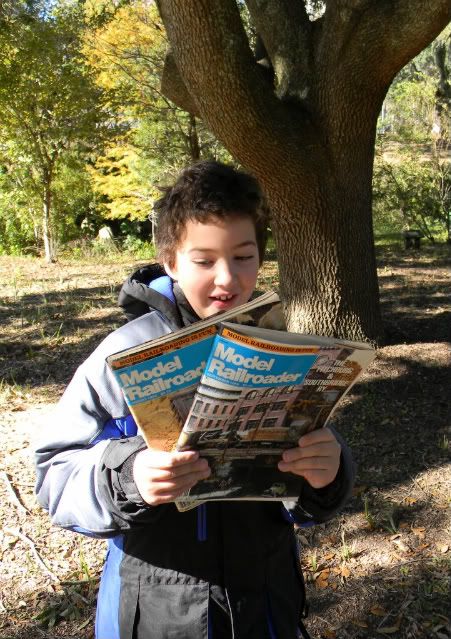
As we were leaving, one of the model train operators stopped Blaze and gave him two old copies of Model Railroader Magazine. He was very excited and informed me that as soon as we got to the car, he was going to start studying these.
For more information about the Matheson Museum, the website can be found here:
http://www.mathesonmuseum.org/


Although some of the local history displays had been moved out of the way to make room for the trains, there were still some non-train related things that I thought were interesting to look at,


but Blaze had eyes only for the trains, and I was not even able to read the complete passage under this diorama to him before he ran off, back to the largest train table.

As we were leaving, one of the model train operators stopped Blaze and gave him two old copies of Model Railroader Magazine. He was very excited and informed me that as soon as we got to the car, he was going to start studying these.

For more information about the Matheson Museum, the website can be found here:
http://www.mathesonmuseum.org/
Friday, December 3, 2010
Florida "Snow"
It has been cold enough to snow the past couple nights, but it hasn't really done so. Blaze and I had fun pretending it was snowing, though.
These fluffy white seeds sure look like snow when they're blowing around in the air.
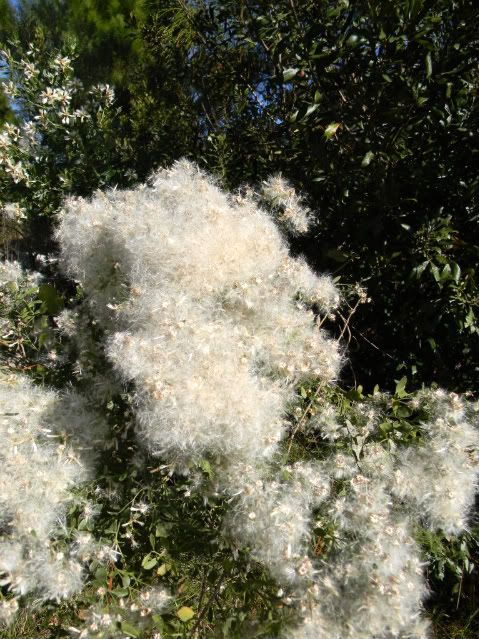
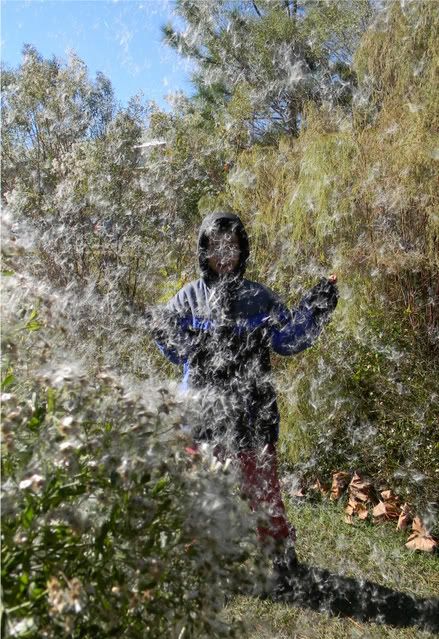
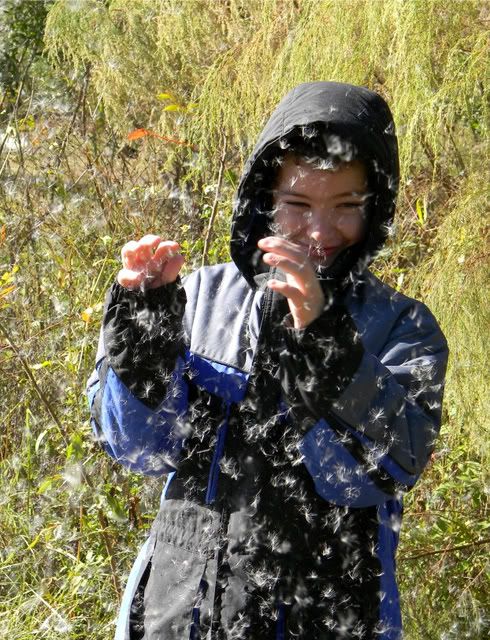
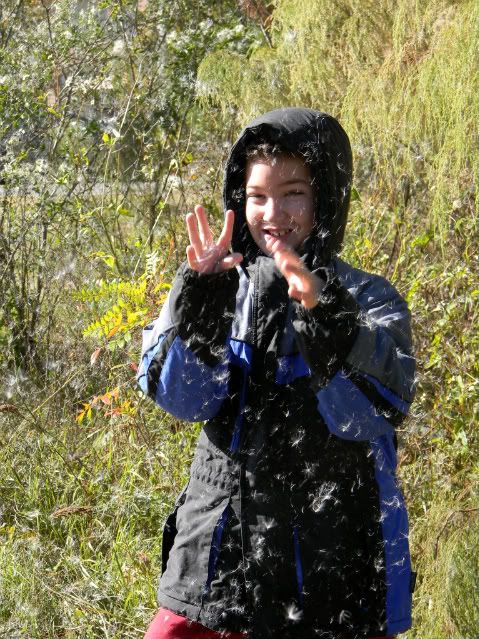
These fluffy white seeds sure look like snow when they're blowing around in the air.


Subscribe to:
Comments (Atom)
