Last night was Tallahassee's Winter Festival downtown. Yesterday was also Blaze's 14th birthday, so the winter festival was a fun way to end a fun day.
Showing posts with label Winter. Show all posts
Showing posts with label Winter. Show all posts
Sunday, December 7, 2014

Thursday, December 22, 2011
Happy Solstice!

It doesn't really feel like winter solstice here, it's supposed to reach 80 degrees today, but we are celebrating anyway.
DH made Alton Brown's Free Range Fruitcake Recipe. For the past two weeks, he has lovingly cared for the cake, spritzing it with brandy every couple days.

This morning, the fruitcake was sliced and served.

DH isn't normally a big fan of fruitcake, because he doesn't like the brightly colored candied cherries. The Edward Gorey Holiday card that Ula sent us, sums up his feelings pretty well.

This fruitcake, though, has only natural dried fruit and he really likes it. He said it was like a homemade Cliff Bar.
One of my contributions to today's festivities was Steam Piggy.
For more than a year, Blaze has been saving all monetary gifts, because he wants to buy a Victrola. Last Summer, while DH and I were both out of work, I borrowed most of that money and it has taken me until now to pay him back. The idea behind Steam Piggy, was the thought that by this time, Blaze probably thought he'd be paid back "when pigs fly", so Steam Piggy is the newest member of Blaze's airship crew.
He is really a chalkboard piggy bank from Target. The goggles were made from two of the plastic compasses left over from Blaze's 10th birthday party. I used the Dremel to cut the back out of each compass. The goggle strap is a leather belt from a resale store. Everything is put together and attached to the piggy bank with Super Glue Gel.


Since it is such a beautiful day, we had lunch out at the picnic table. Steamed buns filled with teriyaki chicken and ginger ale with star shaped ice cubes made from orange juice and cranberry juice.


Sunday, December 19, 2010
Ice Candles / Happy Solstice
Happy Winter Solstice!
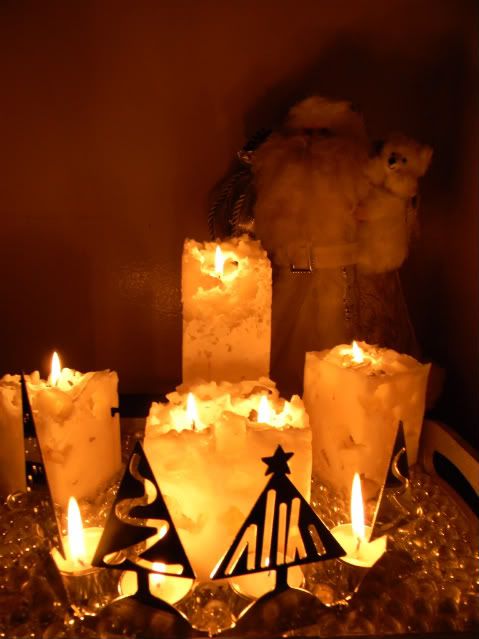
December 21st. is the shortest day of the year, so it's a great time to make some wintery looking candles to give light and warmth.
The storage locker was not kind to my candy cane striped candles this year. When I took them out of the box this morning, every single one was cracked.
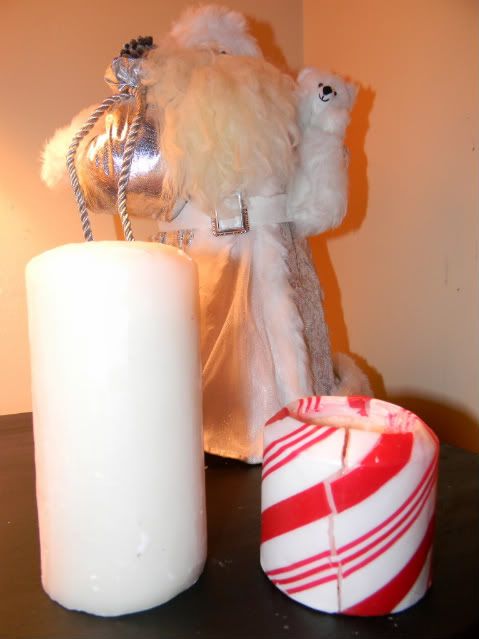
I had been wanting wax to make ice candle, so instead of buying any, I just used a pocket knife to peel off all of the red and white stripes from the outside of the candles, and then melted them down.
An old juice can made a fine disposable top level for a double boiler.
I had been saving various sizes of wax coated cardboard cartons ( from eggnog, milk, and half and half) for this purpose. Those were the candle molds. For a round pillar candle, the containers from frozen concentrated juices work well.
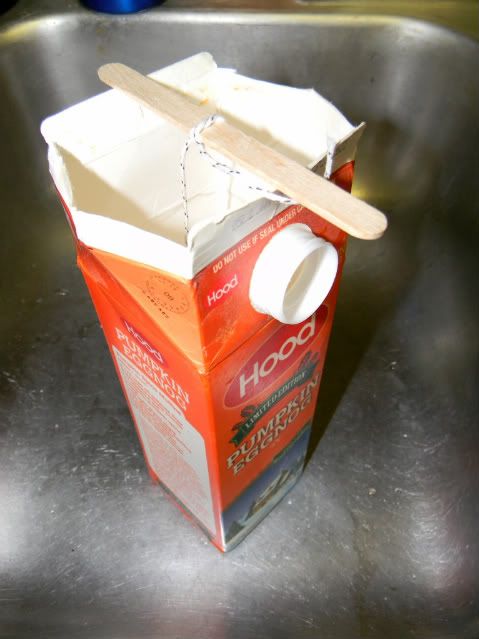
A wick was tied to a popcycle stick, which rested on the lip of the open carton, and small ice cubes and crushed ice were dropped into the carton until it was full. The melted wax was then poured in on top of the ice, covering the ice completely.
The carton was set aside for about an hour and then the cardboard carton was ripped and peeled off to reveal the candle (be sure to do this over a sink, because the water from the melted ice will come gushing out).
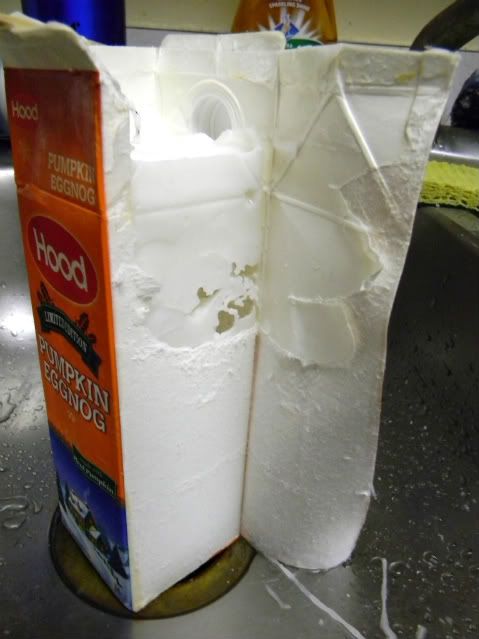
The candles were left in the sink for another couple of hours to melt more and dry out.
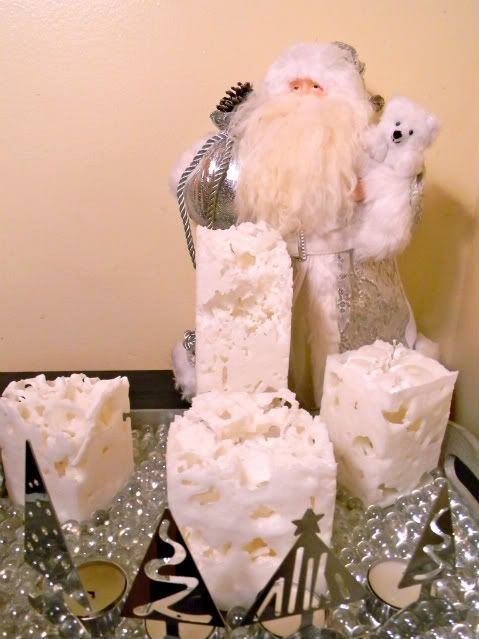
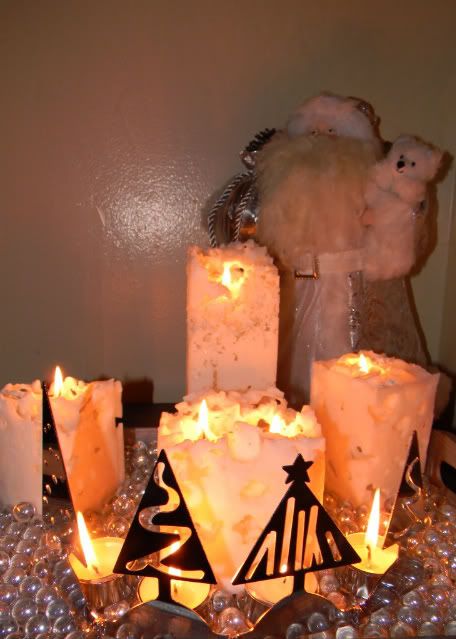
I displayed ours on a wood tray that had been painted silver. After the candles were placed on the tray, I covered the tray with clear marbles, because they reminded me of ice, and I like the way they reflect the candle light.
I made a lot of ice candles when I was a teenager and I've always enjoyed the unique, freeform way they turn out. Like snowflakes, no two ice candles are ever alike.

December 21st. is the shortest day of the year, so it's a great time to make some wintery looking candles to give light and warmth.
The storage locker was not kind to my candy cane striped candles this year. When I took them out of the box this morning, every single one was cracked.

I had been wanting wax to make ice candle, so instead of buying any, I just used a pocket knife to peel off all of the red and white stripes from the outside of the candles, and then melted them down.
An old juice can made a fine disposable top level for a double boiler.
I had been saving various sizes of wax coated cardboard cartons ( from eggnog, milk, and half and half) for this purpose. Those were the candle molds. For a round pillar candle, the containers from frozen concentrated juices work well.

A wick was tied to a popcycle stick, which rested on the lip of the open carton, and small ice cubes and crushed ice were dropped into the carton until it was full. The melted wax was then poured in on top of the ice, covering the ice completely.
The carton was set aside for about an hour and then the cardboard carton was ripped and peeled off to reveal the candle (be sure to do this over a sink, because the water from the melted ice will come gushing out).

The candles were left in the sink for another couple of hours to melt more and dry out.
I displayed ours on a wood tray that had been painted silver. After the candles were placed on the tray, I covered the tray with clear marbles, because they reminded me of ice, and I like the way they reflect the candle light.
I made a lot of ice candles when I was a teenager and I've always enjoyed the unique, freeform way they turn out. Like snowflakes, no two ice candles are ever alike.


Friday, December 3, 2010
Florida "Snow"
It has been cold enough to snow the past couple nights, but it hasn't really done so. Blaze and I had fun pretending it was snowing, though.
These fluffy white seeds sure look like snow when they're blowing around in the air.
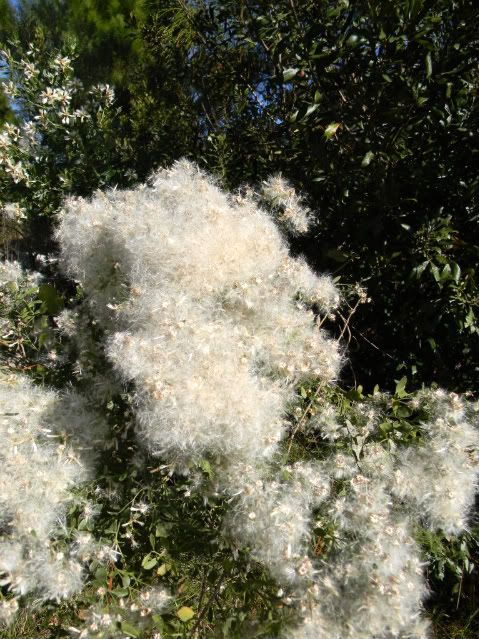
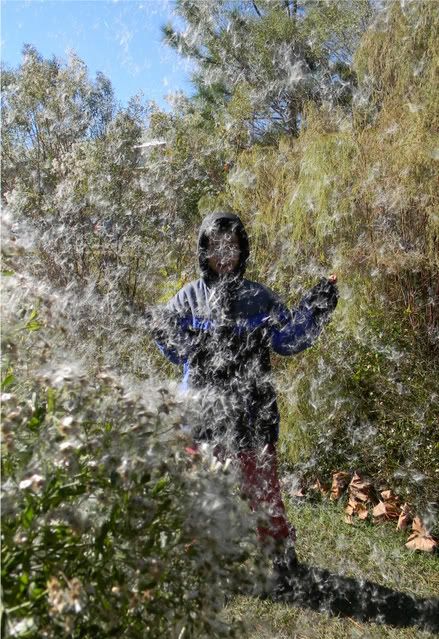
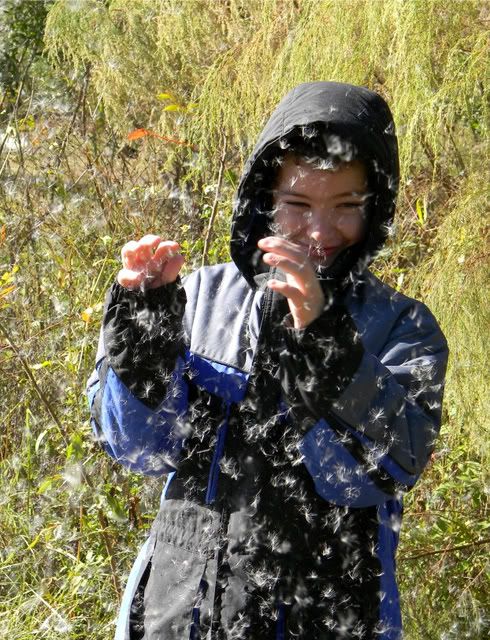
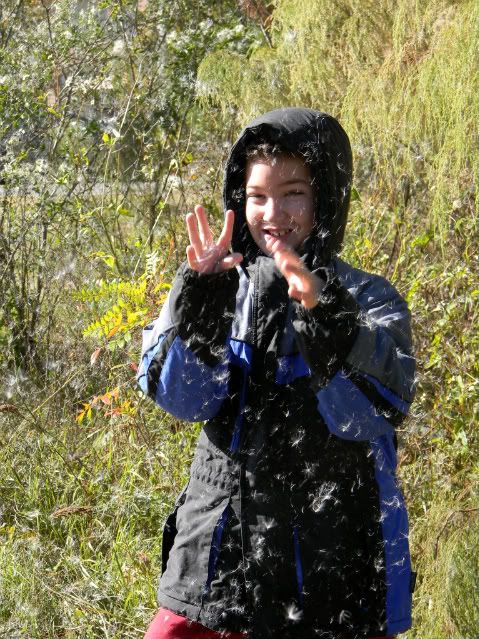
These fluffy white seeds sure look like snow when they're blowing around in the air.


Wednesday, July 22, 2009
The White Stuff
It's not really snow, but maybe if we pretend really hard, we'll feel cooler.
Today we made something called Insta-Snow that came in a test-tube from the teacher's supply store. It's in powder form and when water is added it fluffs up into something that looks like snow, although it isn't cold and it doesn't melt.
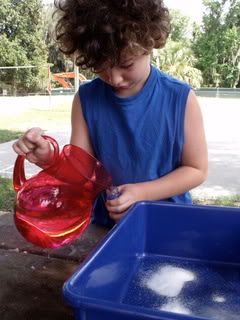
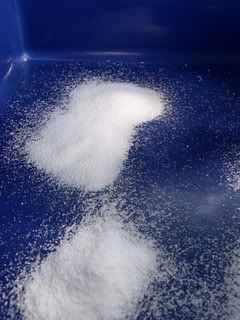
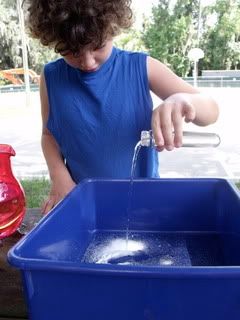
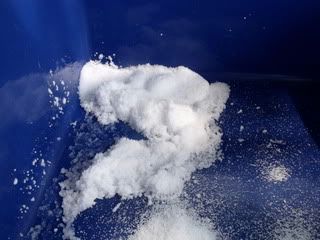
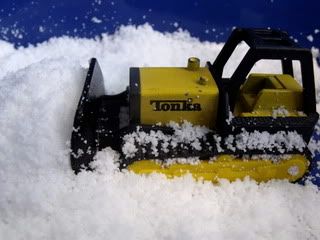
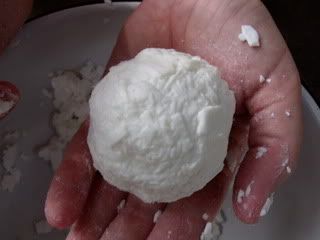
We also used the soap shavings, left over from our soap carving the other day, to make soap snow balls.
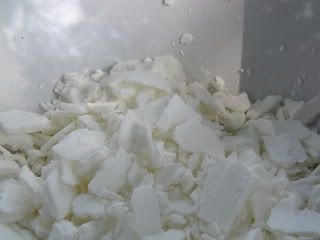
We added a small amount of water to the soap shavings, just enough to make the soap stick together, and squished it and shaped it with our hands. We were able to roll two "snow balls out of the shaving from our two soap carvings.
The day in March when we left Kansas City to move to Florida, there was still snow on the ground. Blaze was 2 years old, and that was the last time he saw real snow.
If you want another way to make fake snow, you might be interested in another project we did back in December:
Borax Snowflakes
Today we made something called Insta-Snow that came in a test-tube from the teacher's supply store. It's in powder form and when water is added it fluffs up into something that looks like snow, although it isn't cold and it doesn't melt.


We also used the soap shavings, left over from our soap carving the other day, to make soap snow balls.

We added a small amount of water to the soap shavings, just enough to make the soap stick together, and squished it and shaped it with our hands. We were able to roll two "snow balls out of the shaving from our two soap carvings.

The day in March when we left Kansas City to move to Florida, there was still snow on the ground. Blaze was 2 years old, and that was the last time he saw real snow.
If you want another way to make fake snow, you might be interested in another project we did back in December:
Borax Snowflakes
Thursday, January 15, 2009
Winter Has Come to Florida

Oh, baby it's cold outside!
O.K., maybe not cold compared to other parts of the country right now, but certainly cold for Florida. It was down to 27 degrees last night and is supposed to be lower for the next three nights, so I went out and harvested what I could from the garden yesterday afternoon, before it could freeze, and made a nice big pot of vegetable soup last night.
Blaze won't eat soup, so he had a big plate of raw vegetables, baby carrots and snow peas served with onion dip, and his new favorite food, peanut butter rolled up in cabbage leaves.
I think the cabbages that are still out in the garden will be fine with this cold weather, but I really don't know about the rest. I'll just have to wait until this cold spell passes and see.
I talked to my mom and Ula (who is still staying with her Grandmother until Sunday, when she heads back to college) on the phone last night and they have it so much worse right now. They're near Chicago and have had tons of snow dumped on them and temperatures in the negative numbers. They used to call cold windy weather like they're having an "Alberta Clipper", but Mother says they've got a new name for this one, it's a "Saskatchewan Screamer".
Monday, December 1, 2008
Unplugged Challenge: Weather
Blaze and I tried two weather related experiments to go with this week's Unplugged Challenge theme, which was "weather".
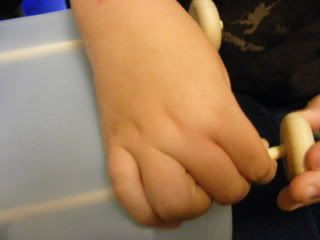
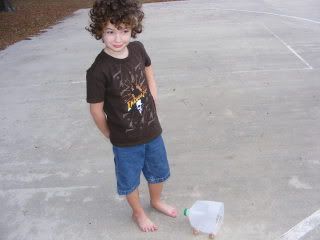
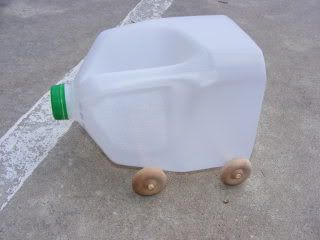
The first one was a "wind car", which did not work for us.
The theory is that by cutting off the bottom of the milk jug, you have created a space where wind will blow in and push the car along. I guess our wind wasn't strong enough.
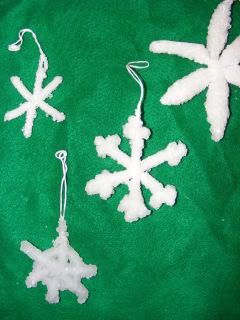
Our other experiment was much more successful. It was to make Borax Snowflakes.
These will be used as ornament on our Christmas tree as soon as we get one.
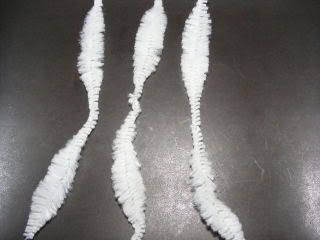
Start off with three equal size pieces of pipe stem cleaner.
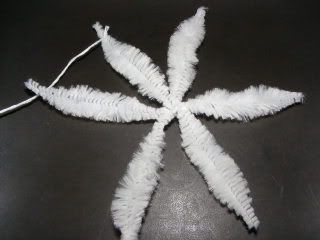
Then twist them together to form a 6 sided snowflake shape and tie a string to the end of one arm of the "snowflake".
Fill a wide mouthed jar with boiling water and stir in 3 tablespoons of Borax for each cup of water. Tie or wrap the string around a stick or pencil.
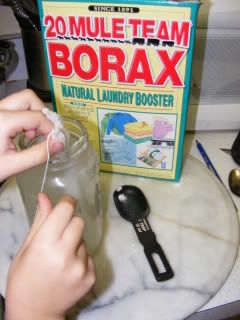
Carefully lower the snowflake into the hot water, making sure it does not touch the sides or bottom of the jar.
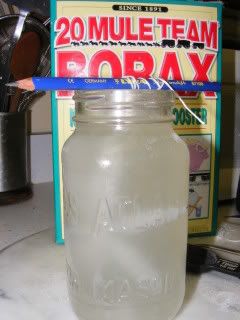
Let it sit over night.
In the morning you will have a sparkly crystal covered snowflake ( if the mouth of the jar is not wide enough, you may have to crack a little of the crystal to bend the snowflake enough to remove it from the jar).
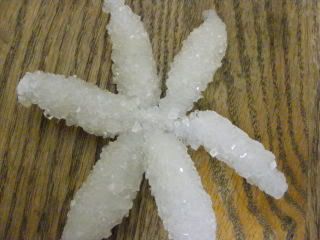
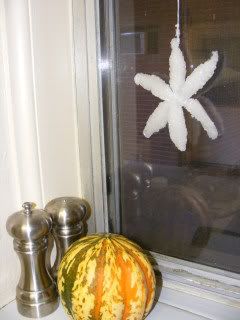
Remember that no two snowflakes are ever alike.
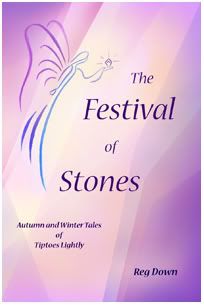
Since we are now done reading On the Banks of Plum Creek, we started reading from our new book, The Festival of Stones as our bedtime story last night.
The first one was a "wind car", which did not work for us.
The theory is that by cutting off the bottom of the milk jug, you have created a space where wind will blow in and push the car along. I guess our wind wasn't strong enough.


Our other experiment was much more successful. It was to make Borax Snowflakes.
These will be used as ornament on our Christmas tree as soon as we get one.
Start off with three equal size pieces of pipe stem cleaner.

Then twist them together to form a 6 sided snowflake shape and tie a string to the end of one arm of the "snowflake".

Fill a wide mouthed jar with boiling water and stir in 3 tablespoons of Borax for each cup of water. Tie or wrap the string around a stick or pencil.

Carefully lower the snowflake into the hot water, making sure it does not touch the sides or bottom of the jar.

Let it sit over night.
In the morning you will have a sparkly crystal covered snowflake ( if the mouth of the jar is not wide enough, you may have to crack a little of the crystal to bend the snowflake enough to remove it from the jar).


Remember that no two snowflakes are ever alike.

Since we are now done reading On the Banks of Plum Creek, we started reading from our new book, The Festival of Stones as our bedtime story last night.

Saturday, November 29, 2008
Pinatas of the Past
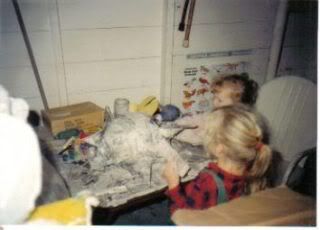
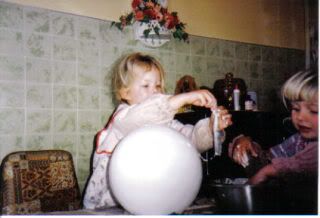
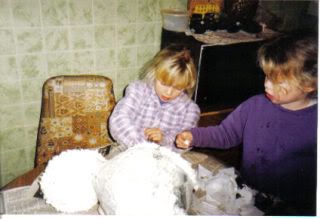
Someone yesterday was asking what to do to celebrate the coming Solstice with a group of children. It got me reminiscing about our Solstice pinatas when the girls were little. Every year we would make our own pinata by covering a balloon, or more than one balloon, with newspaper, flour and water paste, and colored tissue paper. Each year the design was different.
If we were in a place where we could have a fire, the scraps of the pinata would be gathered up after it was broken on the Winter Solstice, to start a bonfire as soon as it started getting dark. Paper mache burns very well.
So, since I'm feeling nostalgic for the days when I had two little girls who could take turns hitting a pinata (with Blaze being the only little one around the house now, we don't do pinatas very often), I have gotten into the old photographs to show some of the pinatas we made in the past.
1994 was the earliest pinata making.
Ula and Nika (Ages 5 years old and 3 years old) working on the Sun shaped Pinata
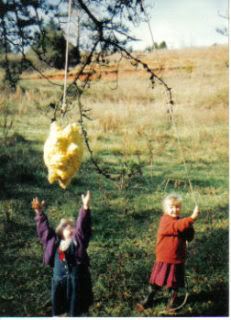
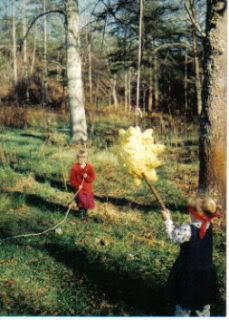
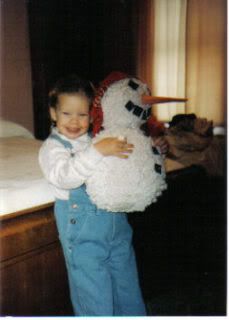
1995's pinata was a snowman made using 2 balloons:
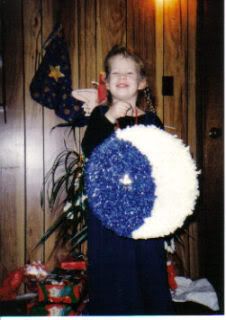
The following year we did a crescent moon:
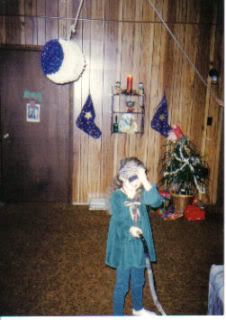
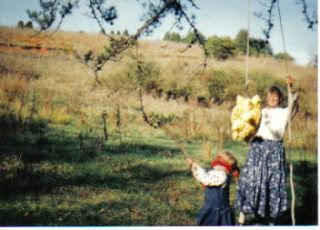
Even the grown-ups would get a turn, because our pinatas were usually stronger than they really needed to be and it would take extra strength to break them.
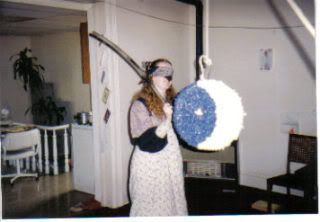
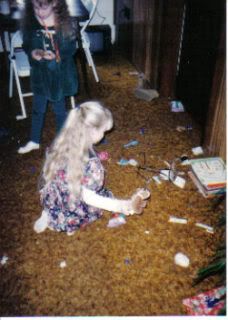
Then there would be the scramble for prizes
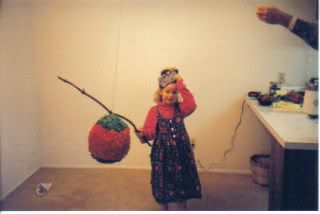
The Christmas Ornament Pinata was the last one we made ourselves.
If we were in a place where we could have a fire, the scraps of the pinata would be gathered up after it was broken on the Winter Solstice, to start a bonfire as soon as it started getting dark. Paper mache burns very well.
So, since I'm feeling nostalgic for the days when I had two little girls who could take turns hitting a pinata (with Blaze being the only little one around the house now, we don't do pinatas very often), I have gotten into the old photographs to show some of the pinatas we made in the past.
1994 was the earliest pinata making.
Ula and Nika (Ages 5 years old and 3 years old) working on the Sun shaped Pinata


1995's pinata was a snowman made using 2 balloons:


The following year we did a crescent moon:


Even the grown-ups would get a turn, because our pinatas were usually stronger than they really needed to be and it would take extra strength to break them.

Then there would be the scramble for prizes

The Christmas Ornament Pinata was the last one we made ourselves.

Wednesday, November 12, 2008
Rosemary Shortbread Cookies
I don't have any exciting new ideas to post today, but I'm still moving some of my favorites over here from my old blog on Homeschool Blogger, and since I've been thinking a lot about the coming holidays, today's post will be my favorite cookie recipe. Blaze helped me make these last Christmas:
Rosemary Shortbread Cookies
1 cup softened butter
1 cup granulated sugar
3 cups flour
3 Tablespoons of fresh rosemary, finely cut
Preheat oven to 275 degrees F.
Blend butter and sugar together.
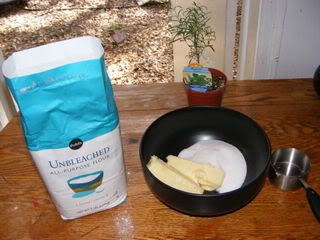
Then add flour. stir until it becomes crumbly.
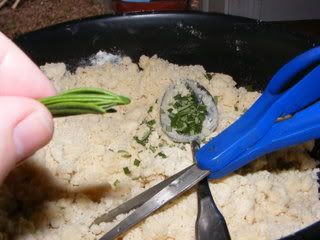
Use a pair of scissors to cut the rosemary into small pieces and add to the dough.
Squeeze the dough together with your hands until it holds together. Then place half the dough on a lightly floured surface and roll it out to 1/4 inch thickness.
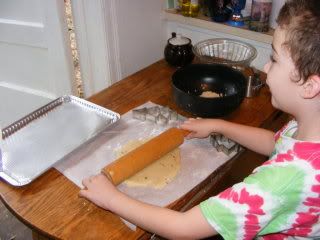
Cut into shapes. We like tree shapes because rosemary has a piny scent.
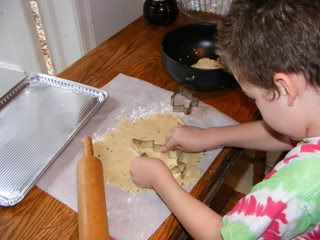
Place the cookies on an ungreased cookie sheet and bake for 35 to 40 minutes.
While that half of the batch is baking, roll out and cut the other half of the dough, so it is ready to go into the oven as soon as the first half comes out.
Cool the finished cookies.
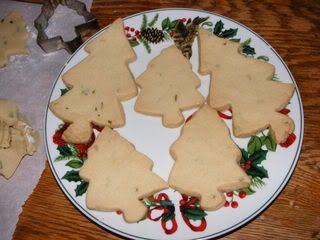
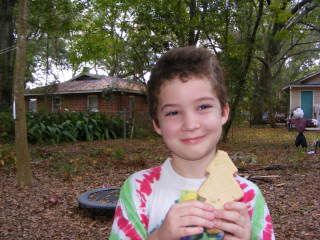
Eat them or freeze them for Christmas. We did some of both.
Rosemary Shortbread Cookies
1 cup softened butter
1 cup granulated sugar
3 cups flour
3 Tablespoons of fresh rosemary, finely cut
Preheat oven to 275 degrees F.
Blend butter and sugar together.

Then add flour. stir until it becomes crumbly.

Use a pair of scissors to cut the rosemary into small pieces and add to the dough.
Squeeze the dough together with your hands until it holds together. Then place half the dough on a lightly floured surface and roll it out to 1/4 inch thickness.

Cut into shapes. We like tree shapes because rosemary has a piny scent.

Place the cookies on an ungreased cookie sheet and bake for 35 to 40 minutes.
While that half of the batch is baking, roll out and cut the other half of the dough, so it is ready to go into the oven as soon as the first half comes out.
Cool the finished cookies.

Eat them or freeze them for Christmas. We did some of both.

Subscribe to:
Posts (Atom)
Crafty Crow
