Showing posts with label Fiber Arts. Show all posts

Monday, April 4, 2011

The Dragon Kite

I'm not sure how many of you have been reading my blog long enough to remember the entire bolt of silk I purchases for $4.25 at the humane society's resale shop, but we still haven't used it all. Over Spring Break we made a fabric kite using some of it.

China silk is thin enough that I was able to place a coloring page under the fabric and trace it with a permanent marker, so that Blaze could have the dragon picture he wanted. I know we used to have more colors of silk paint, but all I could find were red and yellow. Blaze didn't seem to mind, though.

Photobucket

Photobucket

Photobucket

We used two thin dowels for the frame work, one was left its original size and one was cut down to 28 inches. Then I used some kite string to tie them together to form the base of our diamond-shaped kite. I also added a little dot of glue to the string, just to make sure everything stayed in place.

Photobucket

Notches were cut in both ends of each dowel using a pocket knife ( I did this, not Blaze), to hold the string, that formed the diamond, in place.

Photobucket

When the paint was dry, the fabric was sewn onto the string.

A long strip of plain silk became the tail, along with strips of fabric cut from this old piece of tie-dyed silk which was cut into strips to make bows.
Photobucket

The kite looks really good. Now we just have to wait until we have the right weather to fly it. So far, there has not been enough wind and tomorrow it's supposed to rain.

Photobucket

Sunday, November 8, 2009

Tea Dying Cotton

Photobucket

When I was making the crazy quilt choker, just before Halloween, I wanted to keep all the colors muted and Earth-tone, so I tea dyed some natural colored cotton lace. A couple days ago I found a beautiful light-weight cotton blouse on a clearance rack at Old Navy and decided that I wanted to make it match the choker.

I have terrible luck with white clothing anyway. It always ends up stained. By dying the shirt with tea, I have, for once, chosen to stain my shirt.

Here is what the shirt looked like when I first brought it home:
Photobucket

The dye bath was 14 cups of water, brought to a boil in a large sauce pan, to which was added 28 teabags (the cheapest black tea I could find), 2 tea bags for every 1 cup of water. I also added 1 cup of white vinegar to the boiling water to help the dye to be color-fast. Once the water was boiling, the heat was turned off and the tea was left to steep for the next 10-15 minutes.
Photobucket

Next, the shirt was rinsed in clear water and wrung out well, to make sure it was clean and damp, but would not dilute the tea with more water.
Photobucket

Then, the shirt was added to the tea/dye bath. I used a large wooded spoon to stir it around and make sure all the cloth was completely submerged in the tea.
Photobucket

The shirt, then spent about 45 minutes soaking in the hot tea, being stirred and poked at occasionally.
At the end of the 45 minutes, the shirt was removed from the tea and rinsed several times in clear, cool water.

Photobucket

To further help the setting of the color, the shirt can be placed in a hot dryer or ironed dry.
Photobucket

The shirt is now a perfect match for the tea dyed lace on my choker.
Photobucket

I'm thinking about replacing the little plastic buttons on the shirt, as well, but I haven't found any I like yet.

Friday, September 18, 2009

Felted Fall Leaves

Blaze and I spent a couple days this week working on a little Autumn tree for our nature table. We started with a small clay flower pot that we filled with air drying clay.

Photobucket

Then Blaze stuck a dead tree branch into the clay, so it looked like a little tree.

Photobucket

We then made wet-felted Fall leaves, using some beautiful multi-color wool roving and small leaf shaped cookie cutters.

Photobucket

Each cookie cutter was filled with the fluffy wool and then squirted with a bit of dish soap. Then hot water was drizzled over the yarn (just enough to get it thoroughly wet, but not enough to make it float).
Blaze started out, gently poking the wool down and into all the curves and corners of the cookie cutters with a knitting needle. Then as the water cooled down and the felting started to happen, he was able to use his fingers, as well as the knitting needle, to poke at the wool.

Photobucket

Photobucket

It took about 15 minutes of rubbing and poking to get the wool to stay together in a satisfactory way. We then gently rinsed each leaf while it remained in it's cookie cutter, pressed the water out the best we could with our fingers, and carefully removed the "leaf" from the cookie cutter onto a folded towel. The "leaves" were then left to dry over night.

The next day, we used some orange embroidery floss to make loops, threaded though the "stem" of each leaf, and hung the leaves on the little tree.

Photobucket

Photobucket

While Blaze was busy making tiny wool leaves, I made three larger ones, using a bigger size cookie cutter.

Photobucket

Photobucket

The larger ones are to use as coasters.

Photobucket

Sunday, September 13, 2009

Pirate Projects

I love any excuse to celebrate, and one of my favorite silly holidays is coming up. September 19th is International Talk Like a Pirate Day.

The Official International Talk Like a Pirate Day website

For the past 3 or 4 years, I've done a lot more than just talk like a pirate. I've also dressed like a pirate and made food with a pirate theme. If you would like to go all-out for this piratical holiday, too, here are some pirate projects from years past.

Dress Like a Pirate:


What be a pirate without his/her horded jewels?

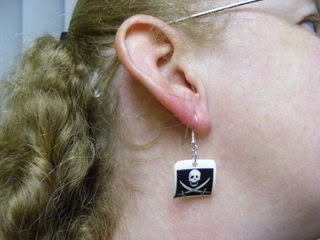
I don't really have much in the way of jewelry, so last year I made some. One big hoop earring would be the best choice for a pirate, but since I didn't have one, I made these instead:


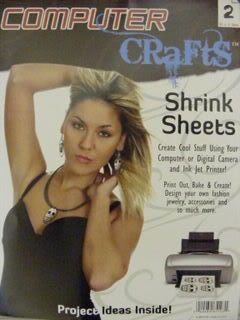
I found these at Micheal's. They're like "Shinky Dinks" that you can print on with your computer printer.

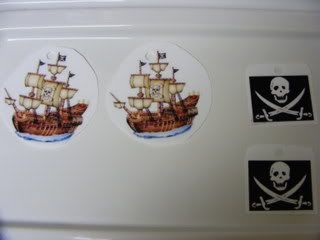
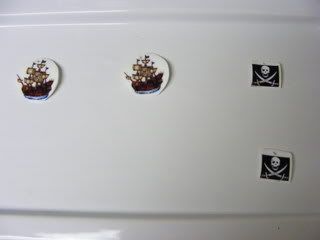
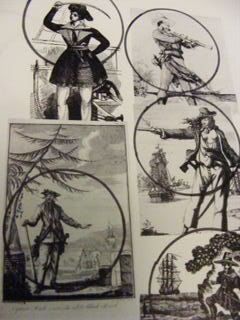
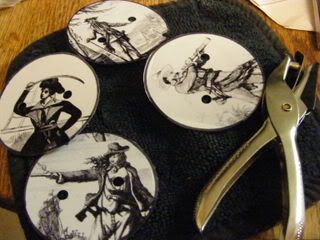
This is a very simple project. First find the pictures you want to use (this is actually the hardest part), print the picture(s) onto the plastic sheet, let the ink dry, cut the picture out leaving just a small amount of white around it, and use a regular hole punch to punch one or two holes in it. Then in an oven that has been preheated to 375 degrees, bake for 2 minutes. That's it. The little plastic charm is now ready to use.


Before baking:

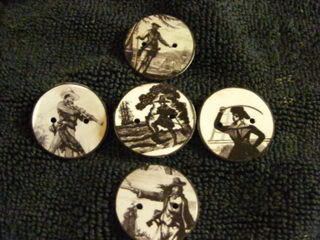
After baking:

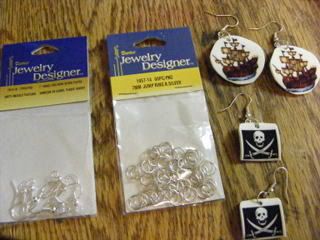
Next, I added a jump ring to each one ( 99 cents a pack ) and earring hooks (also 99 cents a pack)

And they were ready to wear:


Using the same process, I was also able to make fancy coat buttons using vintage pictures of famous pirates:

I traced around a juice glass to make the circles:


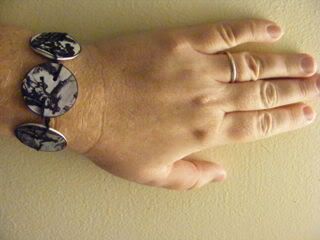
I don't actually have anything to sew these onto right now, I just wanted to see if this worked, so instead I used some elastic thread and braided it together to make a bracelet out of the buttons.


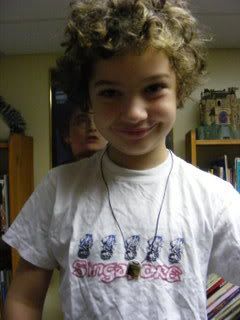
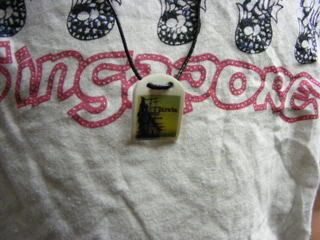
Here is the pirate necklace that I made for Blaze:

By punching two holes in the top of the charm, I was able to thread it so that it would lie flat. He wanted it to look like a dog tag.


Head gear is also an important accessory for the well dressed pirate, so here are two ideas:

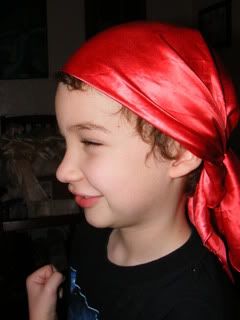
A square of silk dyed red with cherry Kool-Aid and a little cider vinegar:


How to fold a news paper pirate's hat:

Pirate's Hat


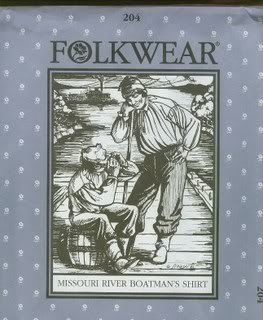
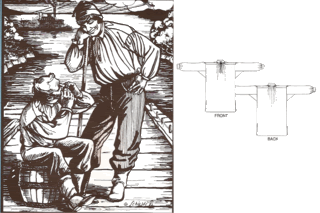
This is my favorite pirate shirt pattern. It's not really meant to be a pirate shirt, but it works well for that, as well as being a good basic man's shirt or under shirt for a variety of historical periods:


Eat Like a Pirate:


Aye, ye scurvy dogs! It be time to cook up some pirate grub!


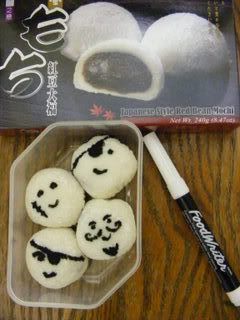
The pirate themed bento lunches had a little extra flare because I had a new toy, a black food coloring marker that I bought at Micheal's.
DH says he wishes he was in the marketing meeting when someone introduced the idea of an edible "sharpie". I think it's shear brilliance!

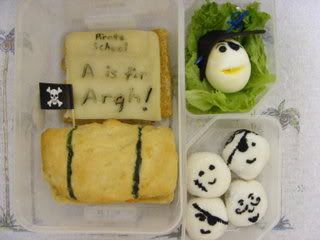
This lunch was supposed to be "pirate school". The students were red bean mochi:


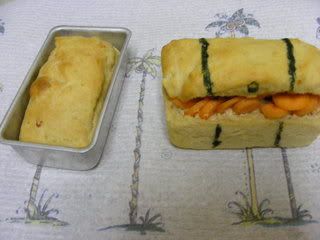
There was also a treasure chest made by making a mini loaf of bread, cutting it part way open, scooping out some of the insides, and filling the cavity with humus and sliced carrot "gold coins".


The final product also contained fish sticks with a slice of cheese over the top and a hard cooked egg as the "teacher":

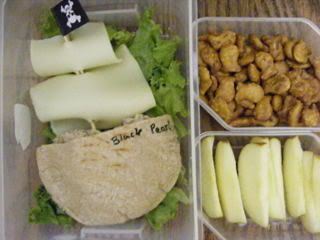
The next lunch had goldfish crackers and a ship made from tuna salad in a half of a mini pita bread with cheese sails:

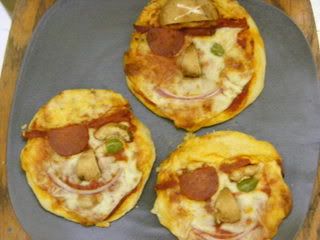
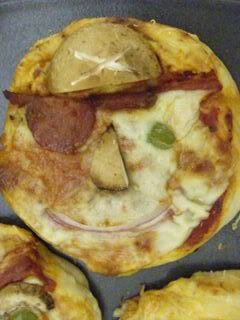
Pirate pizza with pepperoni patches:


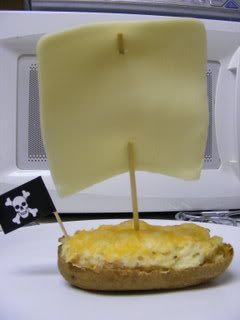
This was from one night's dinner, but I had trouble keeping the sails up:

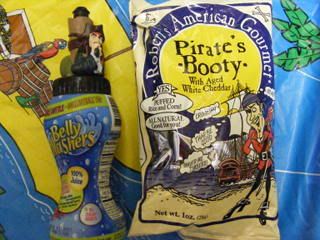
There are also ready-made pirate foods in the grocery. Pirate Booty is a snack food sold in the chip or health food section of the supermarket. Our local grocery store chain always has it on sale around Talk Like a Pirate Day.

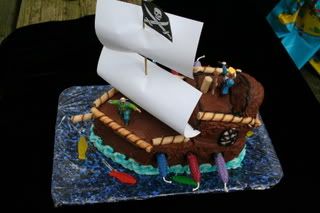
Pirates need dessert too. Here is a picture of the cake we had for Blaze's 6th birthday:


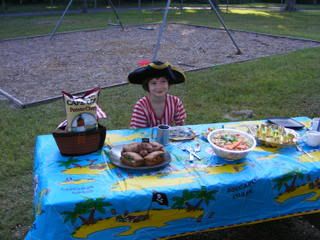
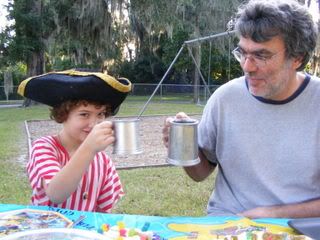
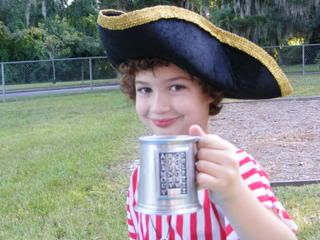
Last year's Talk Like a Pirate Day picnic:


The food included: Cape Cod Brand sea salt and pepper chips, sea food soup,

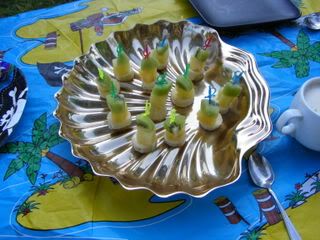
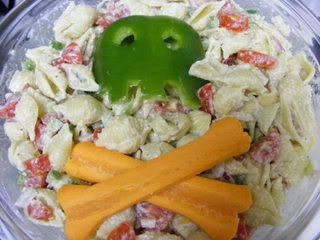
fruit-kabobs on little plastic swords, and pirate pasta salad.


Shell shaped pasta, chopped tomatoes, onion, and bell pepper, with a piece of the pepper saved to make the skull. Covered in Newman's Own Brand Caesar Salad Dressing and parm. cheese. Garnished with the green pepper "skull" and carrot "bones".


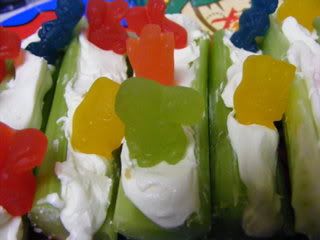
We also had celery "planks"


Cream cheese stuffed celery with Sponge Bob Fruit snacks walking the planks


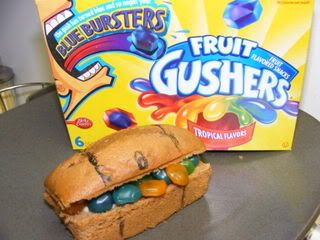
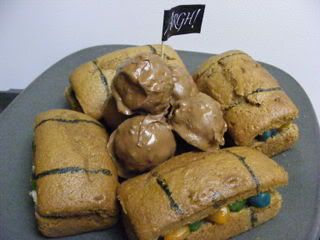
For dessert we had box mix spice cake baked into mini loaf shapes and turned into treasure chests with a filling of cream cheese frosting and "fruit gusher" jewels, along with peanut butter cannon balls.


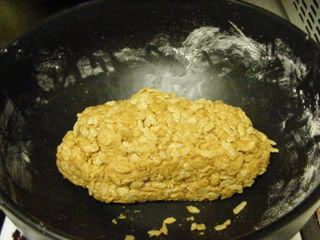
For the peanut butter cannon balls, mix 1 Cup of room temperature natural peanut butter with 1/2 cup powdered sugar and 2 cups of rice crispies.


Then, roll the peanut butter mixture into small balls and cover each ball with melted chocolate. Cover a plate with waxed paper and set each chocolate covered ball on the wax paper. Set the plate in the refrigerator until the chocolate is set.


For beverages we had root beer and cider:


When we had eaten so much we were uncomfortable, we retired to the adult bedroom to sprawl across the bed ( Blaze said we were in our hammocks) and watched Pirates of the Caribbean The Curse of the Black Pearl.


P.S. If you want to be more authentic with your pirate grub, serve beef jerky and hard tack. Here are some recipes for hard tack if you want to try it:

Sea Biscuits

Crafty Crow