Wednesday, March 30, 2011

The Sea of Monsters

Eating like Percy Jackson:
Photobucket
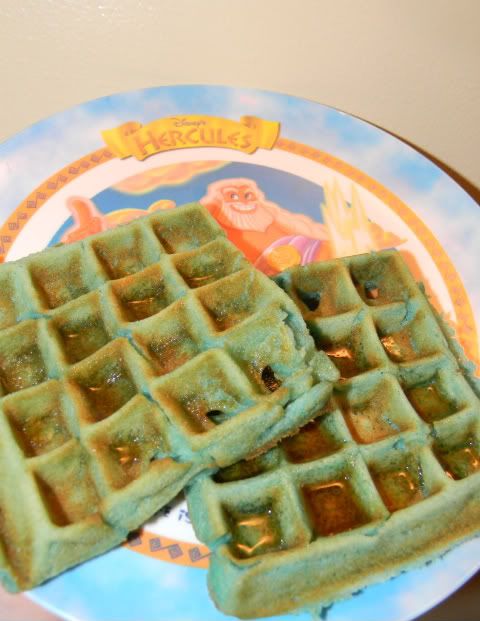
At the beginning of the book, The Sea of Monsters, Percy Jackson's mom serves him a special breakfast of blue waffles, so this was Blaze's special breakfast, the morning after we read that chapter.

The Percy Jackson and the Olympians Series, by Rick Riordan, has become very popular in our house all of a sudden.

I had already read the first four books a couple years ago, and had even recommended them to several students, especially the students with ADHD or Dyslexia, since these problems are both explained by the books to be signs that you are a demi-god. Blaze, however, just discovered the series, and loves it.

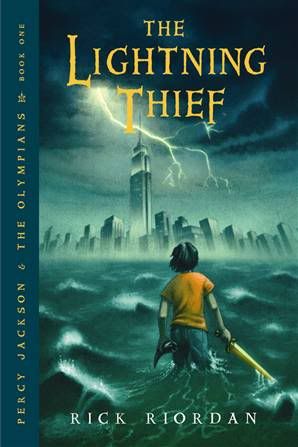
This fascination began when we found the movie at the library. Blaze loved it, but I really didn't. Too much of the story had been changed. It bothered me so much that the next time we went to the library, I checked out the audio-book and downloaded it onto my Ipod, so we could listen to it as we drove back and forth from school or Blaze's appointments.
Photobucket

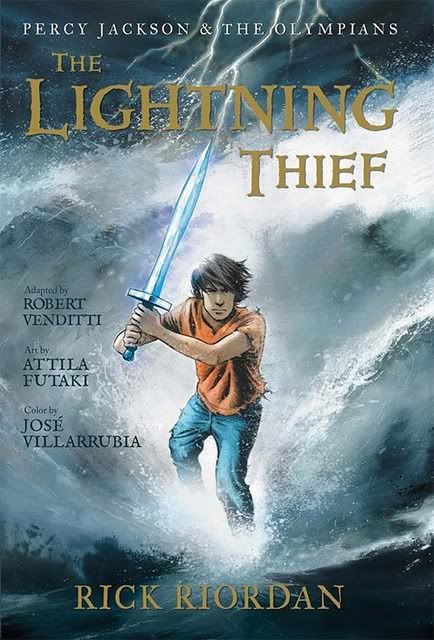
Our local Borders Bookstore is one of the 200 stores nation-wide that are closing as the company reorganizes after declaring bankruptcy. All of the merchandise has been marked down, so DH told Blaze he could choose a book. Blaze struggles terribly with his reading, but he promised to try to read it himself, if DH would buy him the graphic novel adaptation of The Lightning Thief. He carried that book around everywhere for about a week.
Photobucket


We finish listening to The Lightning Thief audio-book last week and I started reading the next book in the series, The Sea of Monsters, aloud as a bedtime story.

Photobucket

Rick Riordan also has an excellent website:

http://www.rickriordan.com/my-books/percy-jackson/welcome-to-camp-half-blood.aspx
Tuesday, March 29, 2011

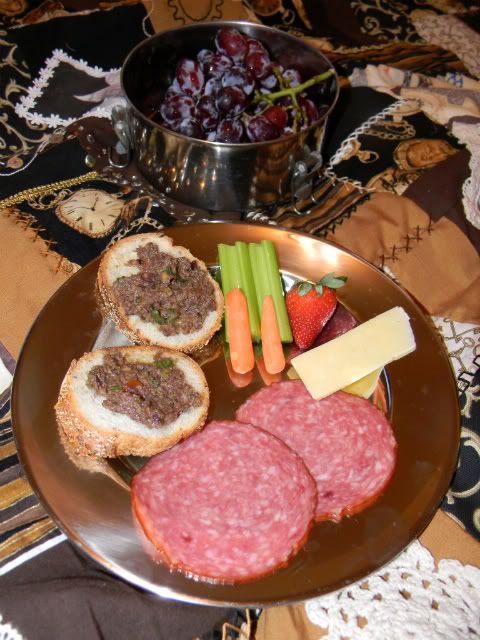
Italian Inspired Picnic Food

Menu

Tapenade
Ricotta Spread
French Bread
Salami
Cheeses
Fresh Red Grapes and Fresh Strawberries
Celery Sticks and Baby Carrots
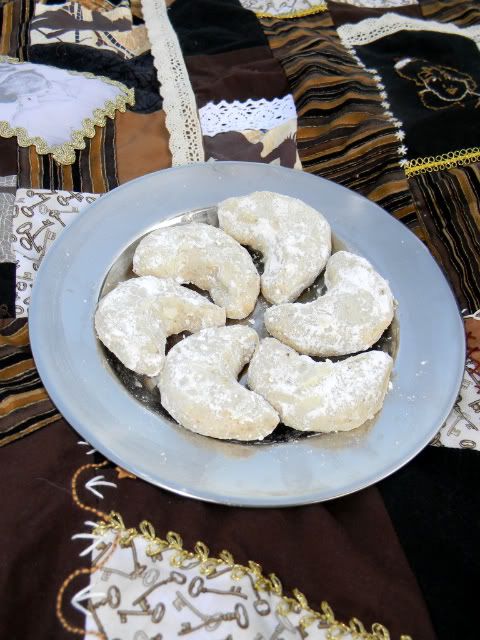
Almond Crescent Cookies
Sparkling Lemonade


Photobucket

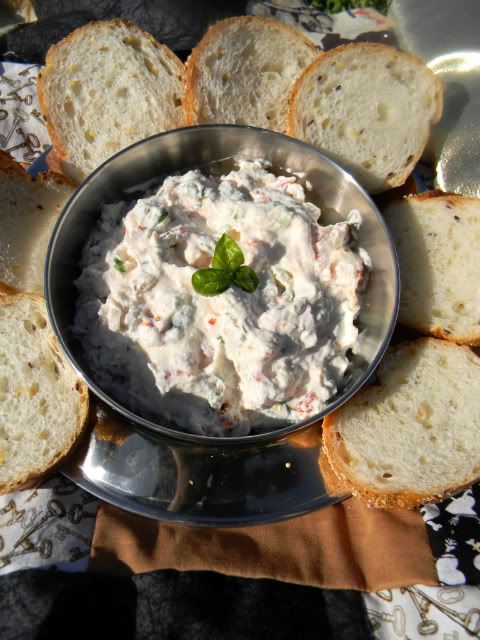
Ricotta Spread

1 15-ounce container ricotta cheese

1 3-ounce package of smoked sun dried tomatoes, cut into small pieces

2 Tablespoons fresh basil, chopped

2 green onions, thinly sliced (greens and all)

1 clove garlic, minced

1/4 teaspoon crushed red pepper flakes

salt to taste

In a medium mixing bowl combine all the ingredients. Stir.
Serve with french bread.

Blaze enjoyed this, because it tastes a little like pizza.


Photobucket

Tapenade

2 cups pimento-stuffed green olives, drained (2 5.75-ounce jars will give you just a little over 2 cups)

1 cup Kalamata olives, drained and pitted (1 11.1-ounce jar will leave you with a few extras)

1 cup black olives, drained and pitted

1/2 cup capers, drained ( 1 31/2-ounce jar was just enough)

6 flat fillets of anchovies

2 cloves garlic

Zest of 1 lemon

1/2 cup olive oil

2 teaspoons balsamic vinegar

1/2 cup chopped fresh flat leaf parsley

Fresh ground pepper to taste


Place the garlic and anchovies in a blender or food processor and blend. Add olives and capers to the food processor and pulse until finely chopped ( this will probably require stopping a couple times, to stir and scape down the sides of the bowl). Transfer the olive mixture to a medium-size bowl and add remaining ingredients. Stir until everything is well blended. Cover the bowl and let it sit in the refrigerator over night. Stir before serving.

Can be stored in the refrigerator, in a sealed container for up to a month.

Serve on crackers or french bread.


Photobucket

Almond Crescent Cookies

1 1/2 cups unsalted butter, softened

3/4 cups powdered sugar + 1/3 cup more for sprinkling on the cookies

1/2 teaspoon salt

1 1/2 cups ground almond

1 Tablespoon vanilla extract

3 cups unbleached all-purpose flour


Preheat oven to 325 degrees F.

Cream butter in a large mixing bowl, gradually add powdered sugar. Add salt, almonds, and vanilla. Next, gradually add flour and mix well.
Using walnut-sized lumps of dough, form each cookie into a crescent shape and place on a parchment-lined baking sheet.
Bake for 15-20 minutes. Do not let them brown.
While the cookies are still warm, coat them with powdered sugar. They can be coated with sugar a second time once they cool.

Cookies can be made ahead of time and frozen.

Monday, March 28, 2011

The Finishing Touches on the Quilt

Photobucket

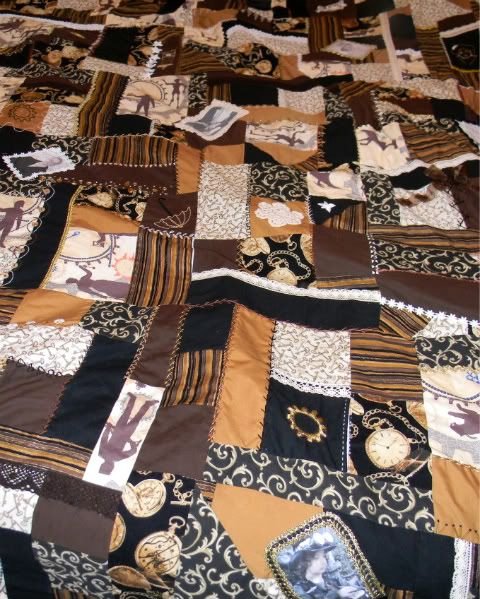
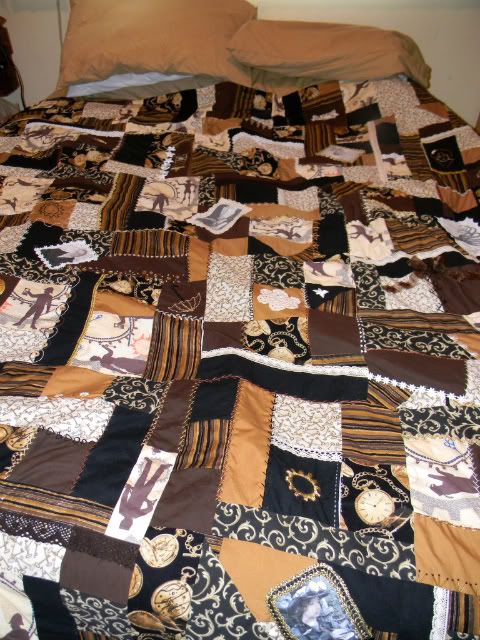
I spent much of the day yesterday finishing the crazy quilt picnic blanket.
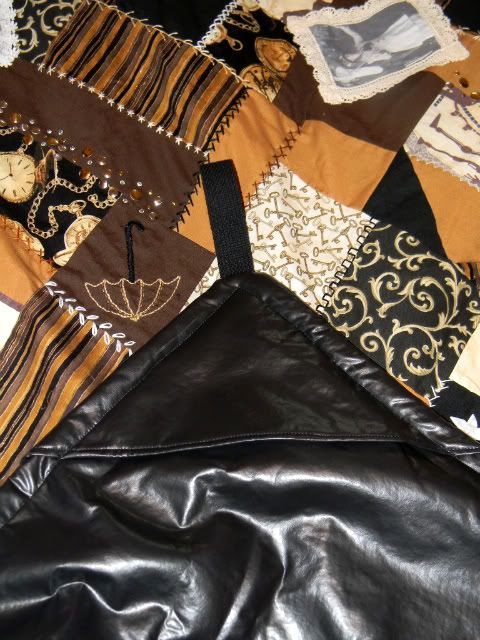
I had finished the quilt top the day before, but had trouble figuring out how I was going to lay the backing fabric flat so that I could pin the top and bottom together ( I may have mentioned in the past that we have a very small apartment). In the end, I ended up taking the quilt outside to pin it. The fabric on the underside of the quilt is padded vinyl. This way, it is easy to clean and water won't seep through if the ground is a little damp.
I added a triangle of vinyl to each corner as a "rock pocket". If the wind is strong, a rock can be placed in each of these pockets to help weigh down the corners of the blanket. I also added a cotton strap to each corner, so that tent stakes can be used to anchor the blanket in place in areas where it is harder to find rocks.

Photobucket

An Indoor Picnic

I finished the crazy quilt picnic blanket late last night and the plan was to take it on its first picnic today, but the weather didn't cooperate. The thunder and rain began during the night and has continued off and on all day. The weather reports predict rain to some degree every day this week, but we've decided not to let this ruin our spring break.

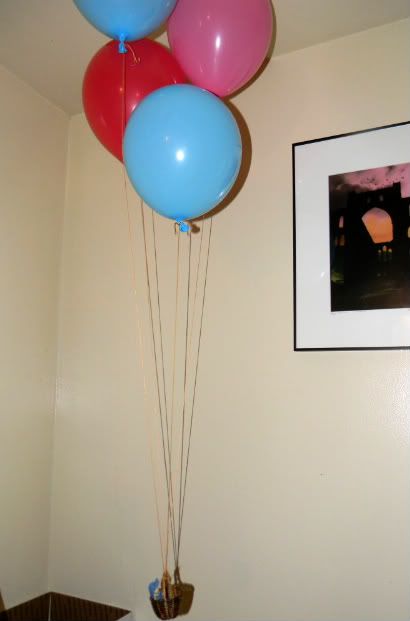
We still have some helium left in the tank from Blaze's birthday, so this morning he asked me to blow up some balloons for him. He tied the balloons to a tiny basket and spent a couple hours this morning, experimenting with how much weight the balloons could lift.

Photobucket

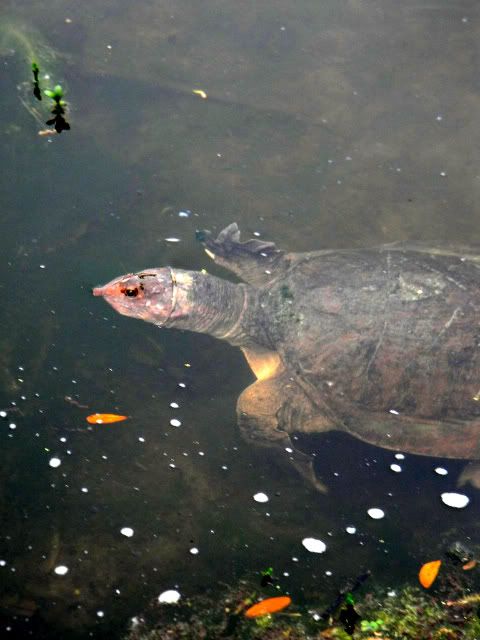
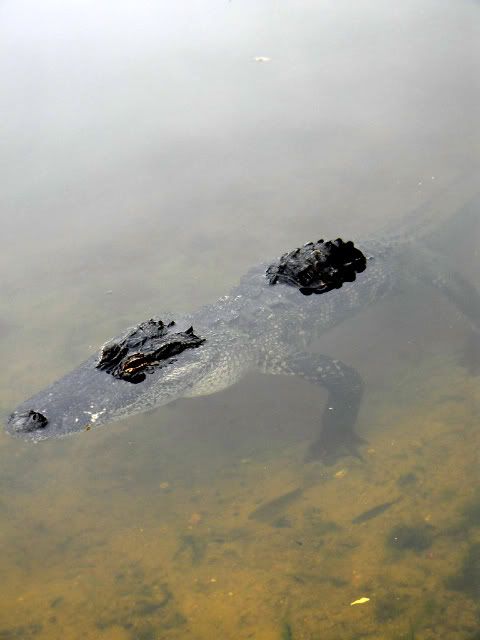
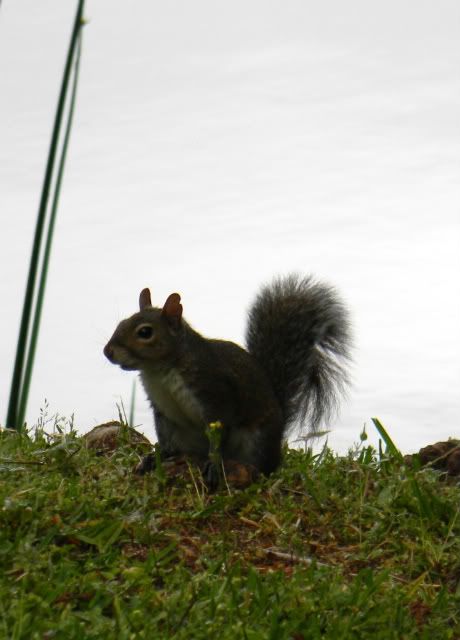
During a break in the rain, Blaze and I headed across the road for a walk around the lake.

Photobucket

Photobucket

Photobucket

Photobucket

Photobucket

Photobucket

Photobucket

Photobucket

When we got back from our walk, we spread the picnic blanket out on the bed and had a picnic on the bed.

Photobucket

Photobucket

Just after we sat down to eat, it began to rain again.

Saturday, March 26, 2011

A Few 3-Dimensional Elements on the Crazy Quilt

Many Victorian-style crazy quilts included 3-dinensional elements, such as beads, charms, ribbons, and buttons. I added a few of these elements to my quilt this past week.


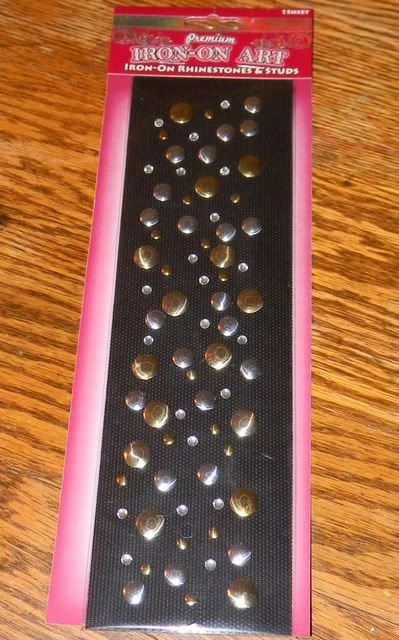
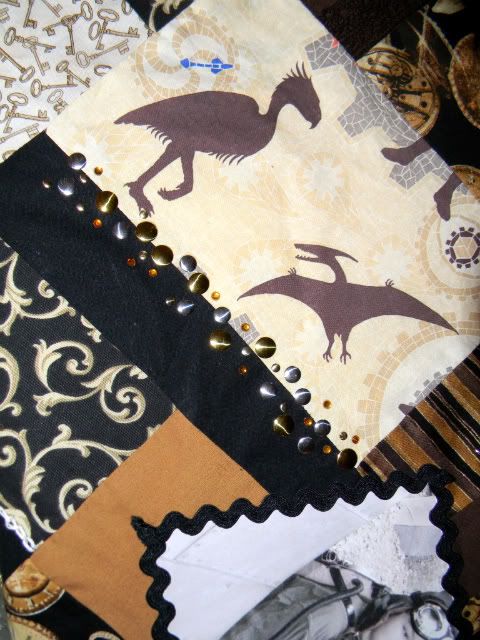
I found these iron-on studs at both the fabric store and the craft store. They are easy to use and the strip of studs can be cut to fit the area you wish to cover.

Photobucket

I cut the strip of studs in half, lengthwise, before using.

Photobucket


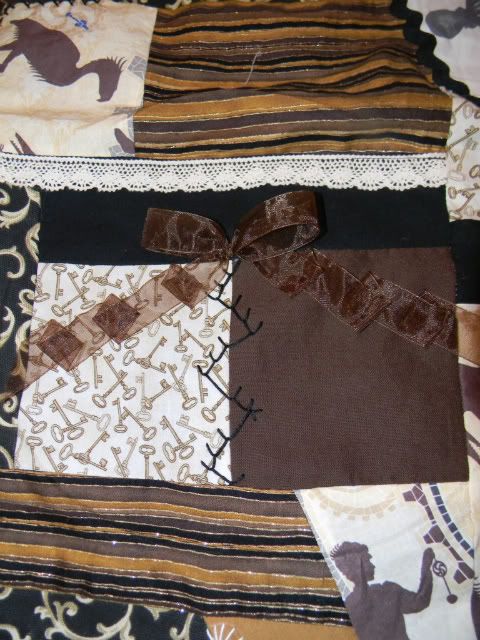
A few very tiny stitches, done in a color that matches the ribbon, can be used to give a sewn-on ribbon a nice draping look.

Photobucket

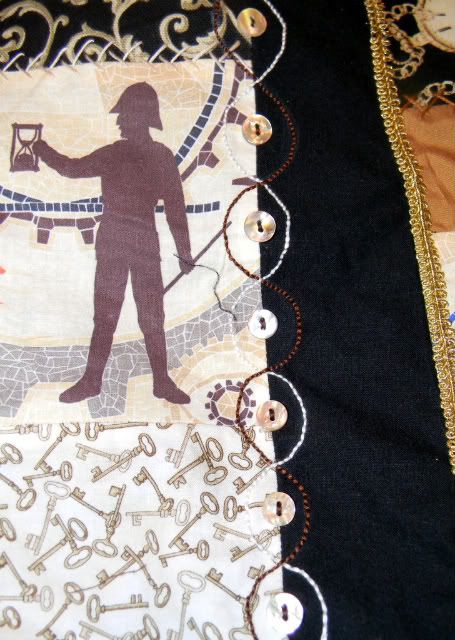
Buttons can be used.
I really like the shininess and irregularity of natural mother-of-pearl buttons.

Photobucket

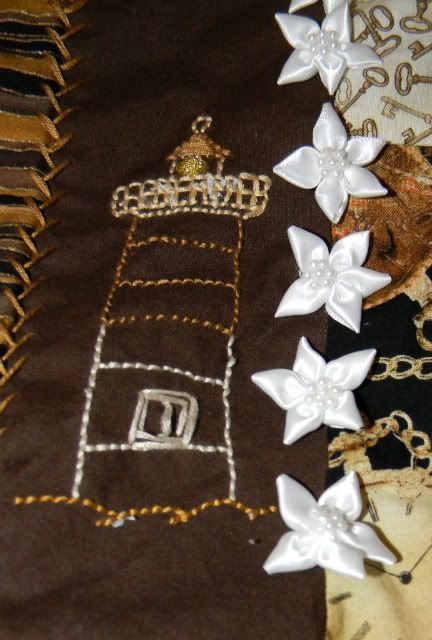
Pre-made flowers and bows can also add some texture and depth to the design.

Photobucket

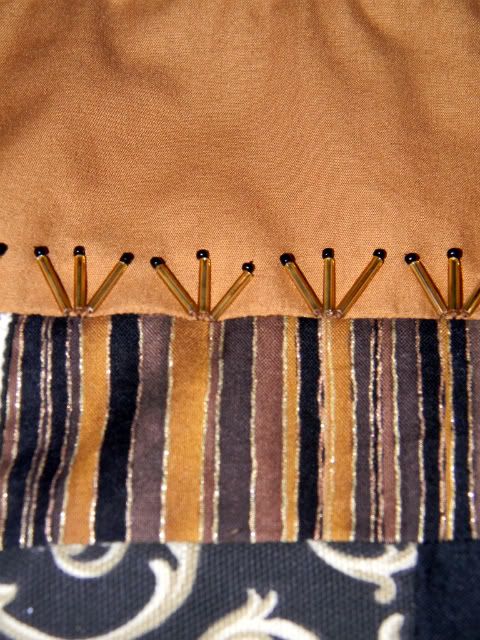
Seed beads and bugle beads can both be used to make free-form designs or to outline embroidery designs.

Photobucket


Here are a couple tutorials that I found, that may come in handy when making 3-dimensional elements for a crazy quilt.

How to make a variety of cloth flowers

Beaded Backstitch

Spring Break

As of today, Spring break has begun!

Photobucket


This is a much needed rest. Working in the classroom, homeschooling Blaze, and tutoring a middle school student, has made for a very busy, and sometimes stressful, year.
We do not have to go back to school until April 4th.

To begin our spring break, Blaze is sitting in his room right now, designing a kite he wants to make.
My plan is to finish sewing the picnic blanket this weekend.

By the way, tonight is Earth Hour. From 8:30 P.M.-9:30 P.M. the World Wildlife Fund is asking everyone around the world to turn off their lights, computers, and televisions. This will be our 3rd year participating in Earth Hour, and actually it's a lot of fun. It's a chance to play boardgames or read by candlelight, or just go outside as a family, to watch the sunset and enjoy time together.


Tuesday, March 22, 2011

More Mesopotamia

Sometimes it's nice to have educational projects that don't take much planning. I really like the History Pockets series from Evan-Mor Publishing for just that reason.

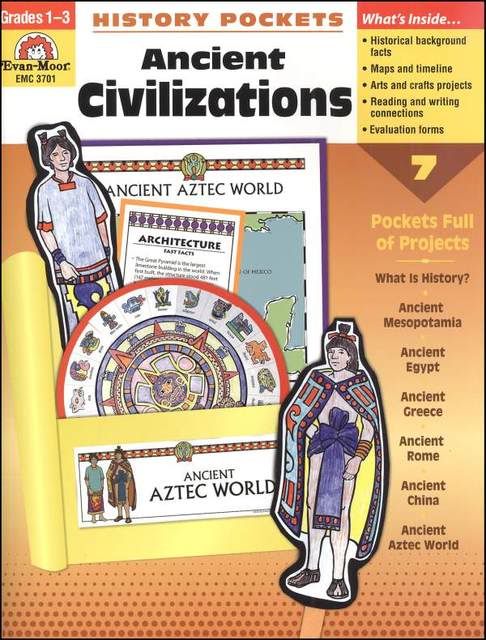
Last week and this week, we are using the section on Ancient Mesopotamia from History Pockets: Ancient Civilizations

Photobucket

The pocket activities in this book are not like standard worksheets. They require coloring, cutting, and gluing, and they look great in a logbook.

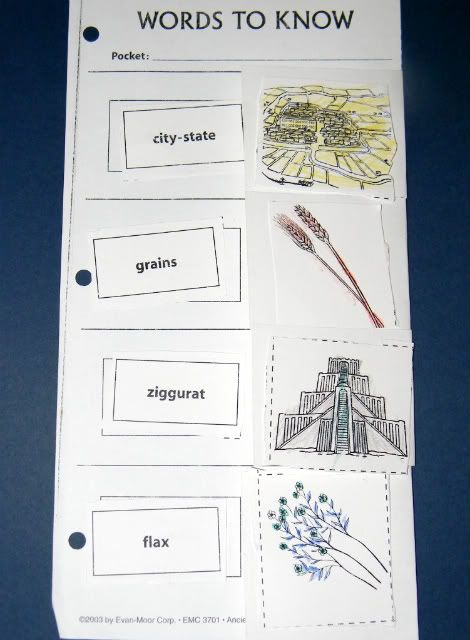
So far, Blaze has colored the pictures on a three-page introduction to Ancient Mesopotamia and done the following vocabulary page:

Photobucket

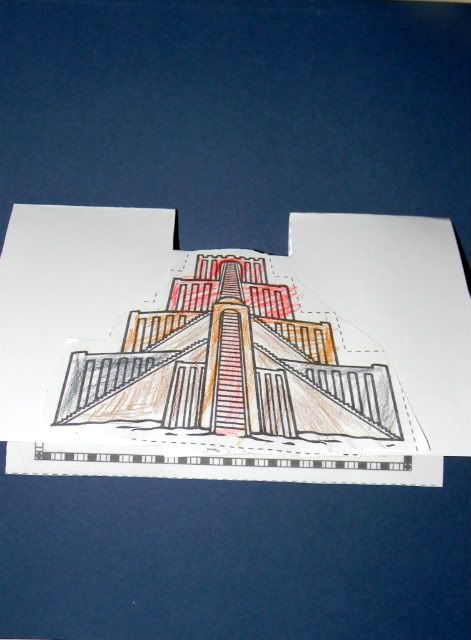
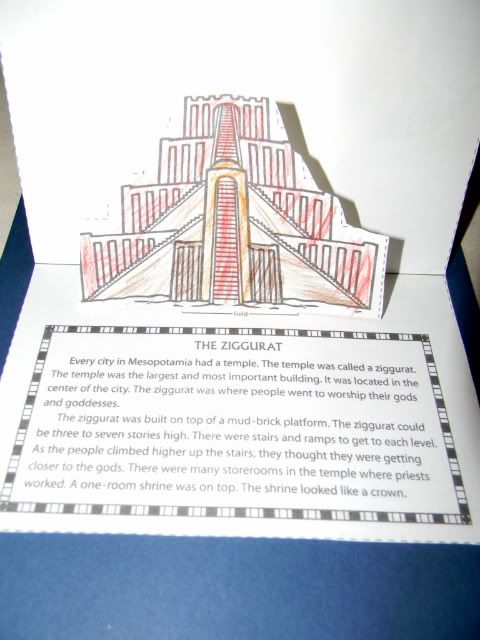
He also colored and assembled a pop-up card that explained the meaning of ziggurat:

The outside of the card
Photobucket

The inside of the card
Photobucket

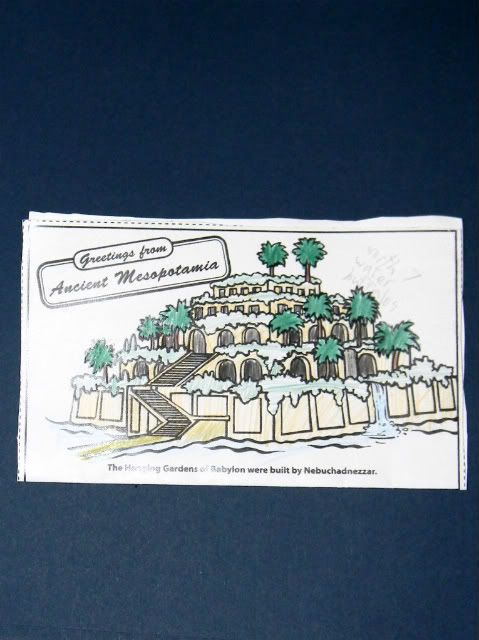
This next project, from the same book, I started with Blaze, but ended up assigning it to all the older elementary students at school, when the regular history teacher was called away unexpectedly yesterday.

I told them that they had all traveled in their time machines, back to Mesopotamia, and this was to be a postcard they would send home or to a friend in our time, telling about what they saw. Not everyone is finished with their card yet, but this was one of my favorites so far:


Photobucket

Dear Mom,
Hello from Mesopotamia!
I decided to nickname it MESSYpotamia. I got to ride in a chariot (after sneaking it out of the chariot place), climbed a ziggurat (when nobody was watching), and made a pot (and rolled it into the queen). Gotta go! The palace guards are after me! Bye!

From D.


The word "ziggurat" on this postcard is actually written in cuneiform.
Incase you can't read the words written in pencil on the upper right-hand corner of the card, it says this card is worth 7 water buffalos.

Sunday, March 20, 2011

Happy Spring!

Happy First Day of Spring!
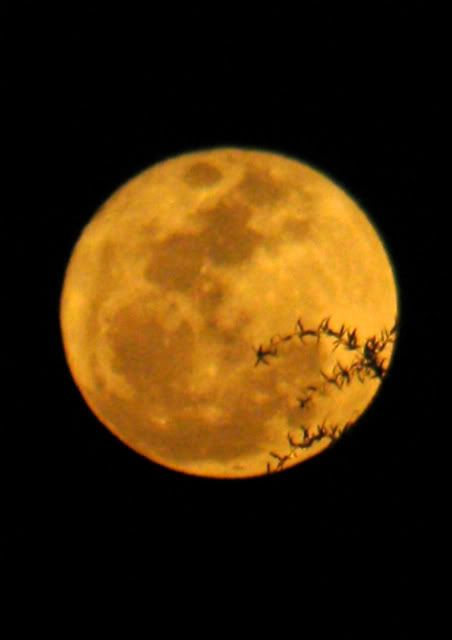
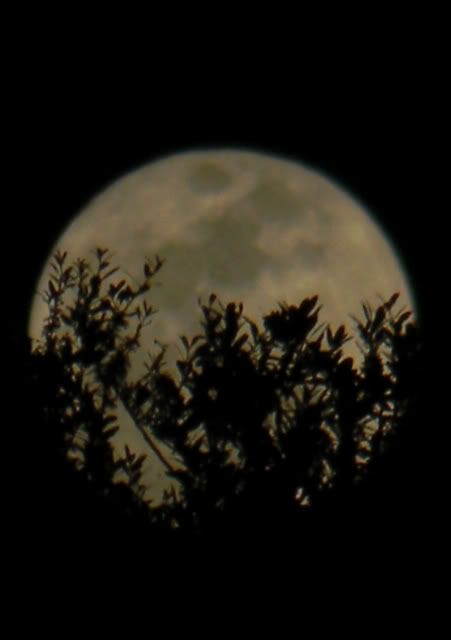
The very large full moon last night was such a nice way to finish off winter and enter into spring.

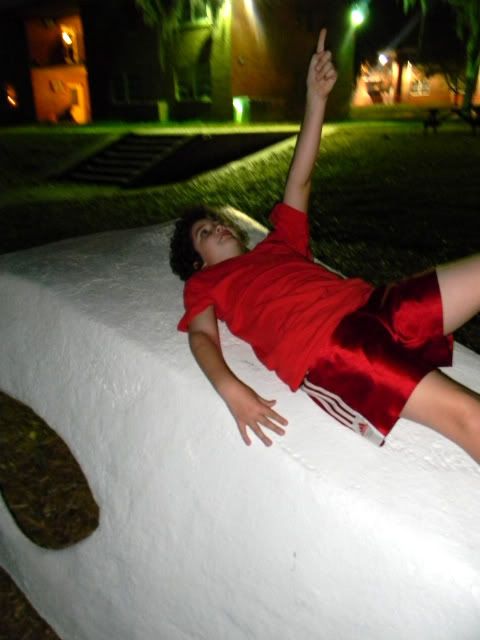
Blaze stargazing as we waited for the moon to rise:

Photobucket

The bright orange moon rising:

Photobucket

About an hour later, as the moon was starting to clear the tallest treetops:

Photobucket

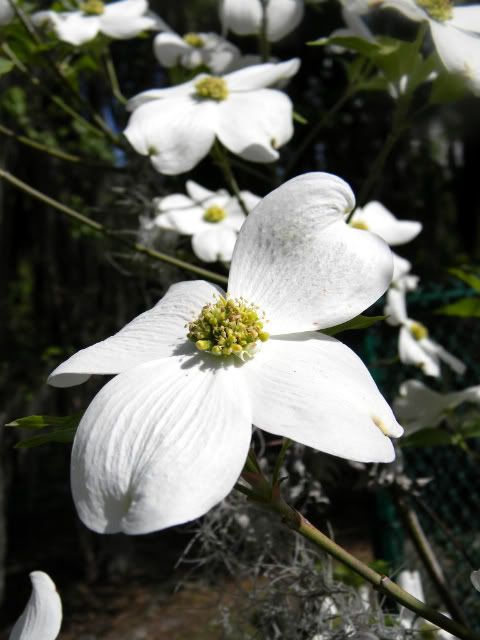
The weather has been gorgeous! The dogwoods trees and wisteria are now in bloom.

Photobucket

Photobucket

Photobucket

Photobucket

Photobucket

Part of our reading for this weekend:

Photobucket

Saturday, March 19, 2011

Printable Cotton Patches

Photobucket

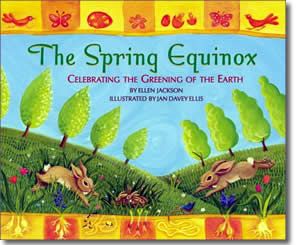
With only one day to go until my self-imposed deadline for finishing the crazy quilt picnic blanket, I now must admit I have had mixed success. The quilt is not finished, and I am giving myself another week to finish it. Blaze seems even more disturbed, than I do, about my failure to meet this deadline. When I suggested reading a book about the Spring Equinox to him today, since tomorrow will be the equinox, he gasped, "but you're not done with the quilt!". He even started apologizing for all the times he'd distracted me, when I could have been sewing.

On the more positive side, though, setting a deadline has kept me more focused on finishing this project. I have worked on it for a little while every evening.

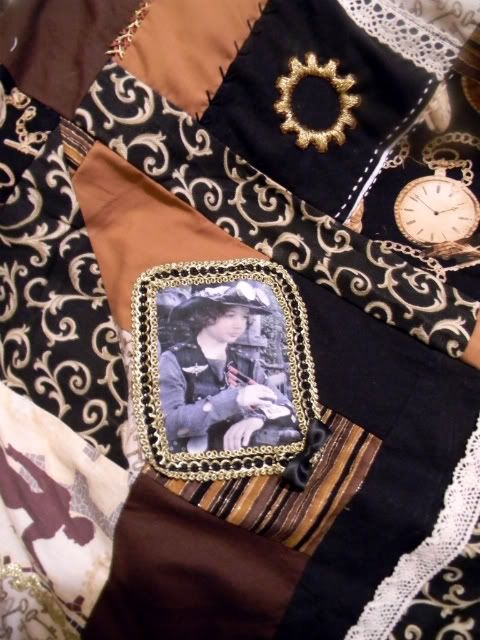
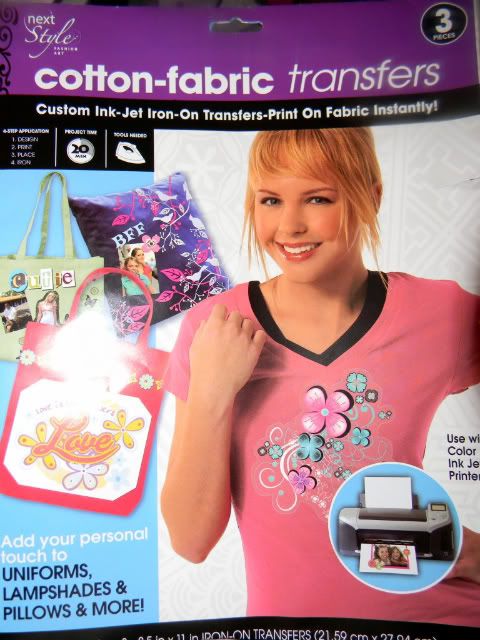
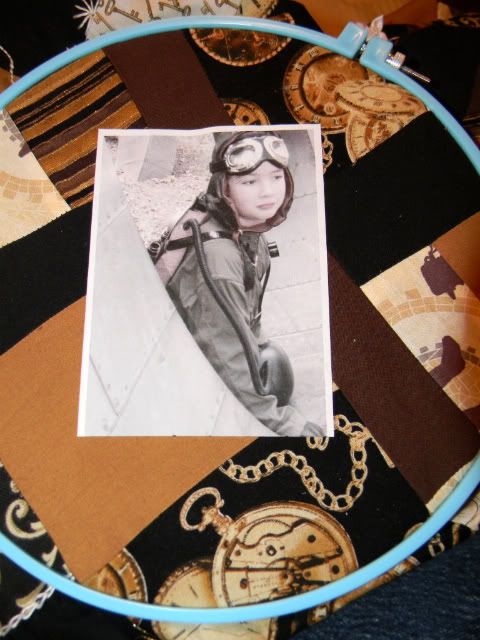
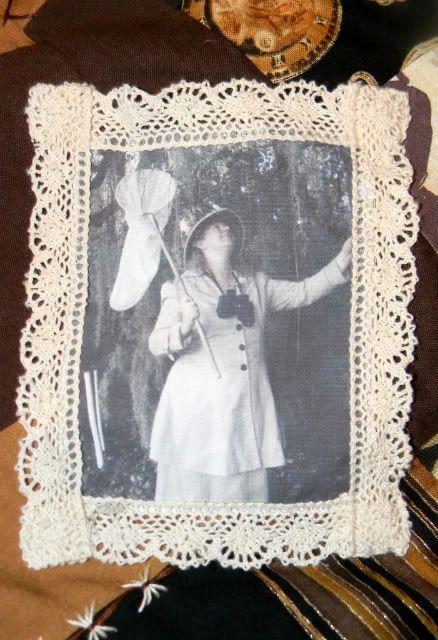
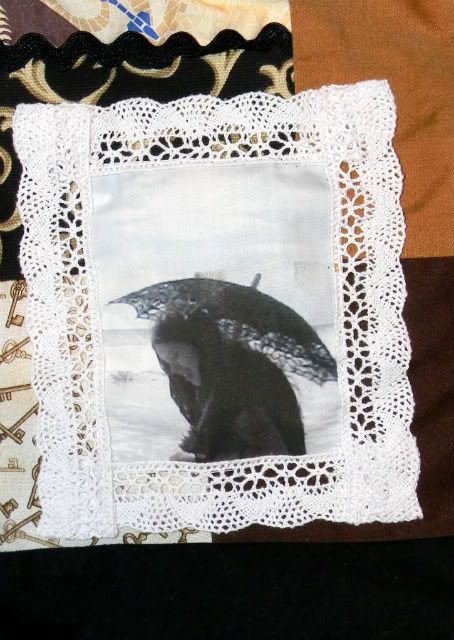
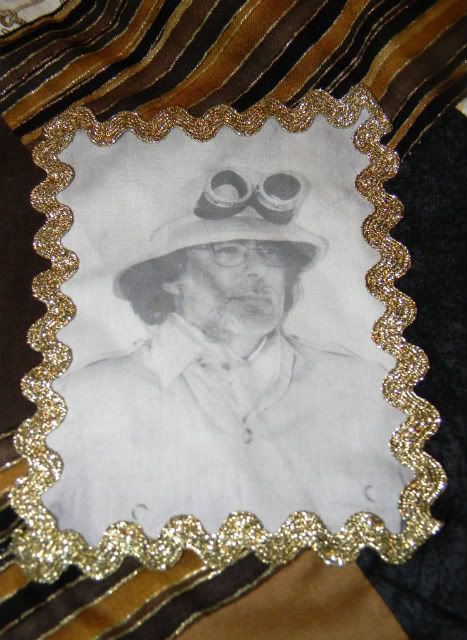
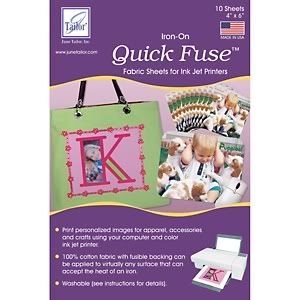
This past week, I added photographs to the quilt, using cotton-fabric transfers. I wanted something that was more durable than iron-on transfers. With these, you can use an ink jet printer to print directly onto sheets of stiff cotton cloth that has been treated to be an iron-on patch. This was my first time using this product, so it was a learning experience.

Photobucket

Photobucket

There are different brands on the market. I tried two, one from Joann Fabric and one from Wal-Mart. I didn't notice any great difference in the quality, but size made a difference. I wasted several of the 4"x 6" size, just trying to get the full picture printed on the fabric. I found it much easier, with our printer, to print multiple images on one of the sheets that was the size of a standard sheet of paper and then cut the pictures out.

I have not been impressed with the lasting power of the adhesive on either brand. Definitely, do iron the patches in place, because it works as the best possible basting while you sew them down, but don't trust the ironing to hold them in place forever.

Photobucket

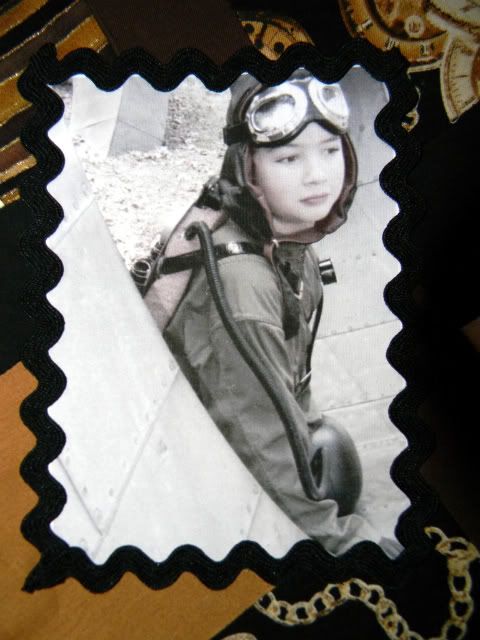
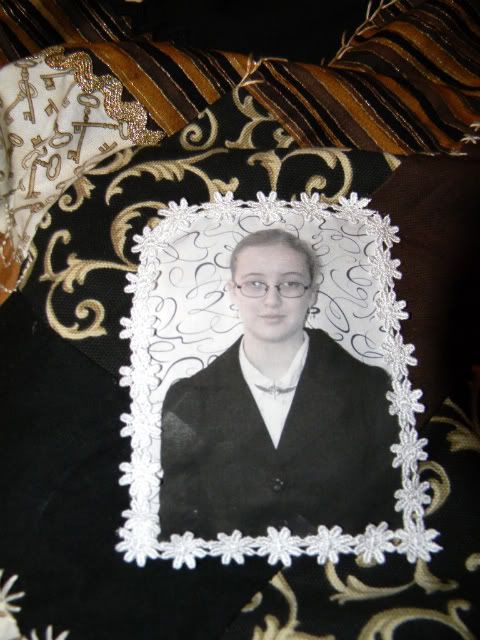
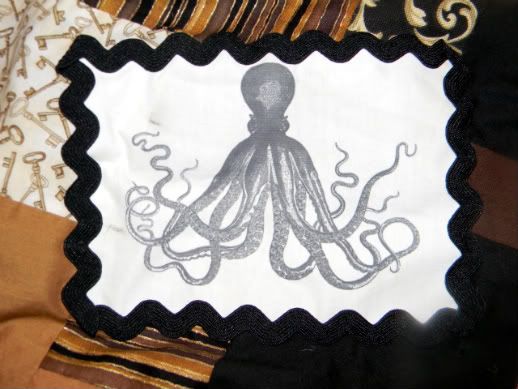
I used a variety of decorative trim around my pictures as a way of sewing the patches down without obvious stitches showing and because it really "drew the pictures into the quilt", making them look like they were really part of the project.

Photobucket

Photobucket

Photobucket

Photobucket

Photobucket

The family photographs were added as sort of a homage to the old picnic blanket, which had the birth dates of my daughters and ex-husband embroidered on patches.

I also added this picture from the Graphics Fairy, just because I like it:

Photobucket

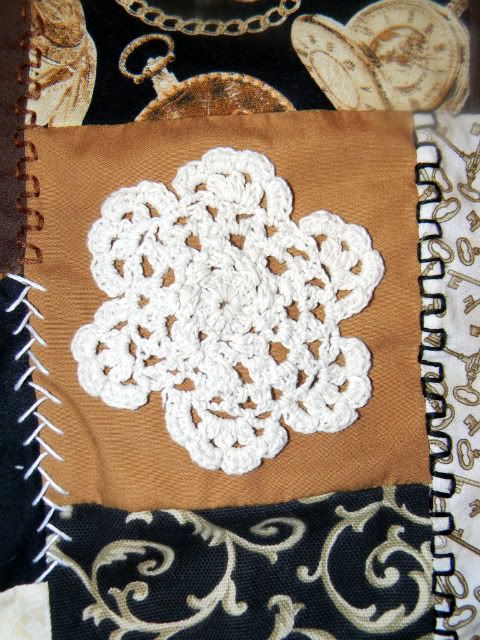
The only other addition to the blanket this week, was a small cotton doily.

Photobucket

Crafty Crow