Showing posts with label Christmas Crafts. Show all posts

Wednesday, December 12, 2018

Steampunk "I Spy" Christmas Letters


I bought these puffy letter on clearance after Christmas several years ago, but only just got around to doing anything with them. I've acquired quite a few steampunk charms and buttons over the years and this project made use of all of them and then some.


I spray painted over everything with "Hammered Copper" colored paint.


Thursday, December 21, 2017

Steampunk Christmas Candles

I saw this tutorial for decorated candles at Halloween, but I only just got around to trying it:
http://sewforsoul.blogspot.co.uk/2014/09/halloween-diy-printed-candles.html

I did follow the directions from the tutorial for three of my Christmas candles, but I also tried using rubber stamps directly on the tissue paper for two candles and they worked just as well.

The candles I used were a $10 set from Ikea.


These are the two that were made from rubber stamp designs:


Free clip art found online:


My husband's original artwork, printed onto white tissue paper:


Saturday, November 11, 2017

The New Steampunk Christmas Wreath

My new wreath is made out of Dollar Tree finds and things I already had around the house.

I started with a wreath that was purchased from Dollar Tree last year. It looked kind of flat at first, but fluffed up nicely.


Fluffed before painting:


I sprayed mine with Old Copper spray paint.


Mixed metallic colors were added by tying pieces of dollar store tinsel to the bases of some of the branches. This also adds additional fullness to the wreath.


The mixed colored bells have been used as vase filler in past years, to support a pillar candle, but since I have a different candle display idea for this year, they are now part of this project.

I made 5 sets of wired bells, with 3 bells in each set.


This bright red train was purchased at the post-Christmas sales last year and received a coat of shiny black paint before being added to the wreath.


A blue-striped airship ornament was painted gold to balance out the other side of the wreath.

The bells and ribbon were wired to the wreath, everything else was attached with E6000 glue.


Monday, December 21, 2015

This Year's Christmas Crackers

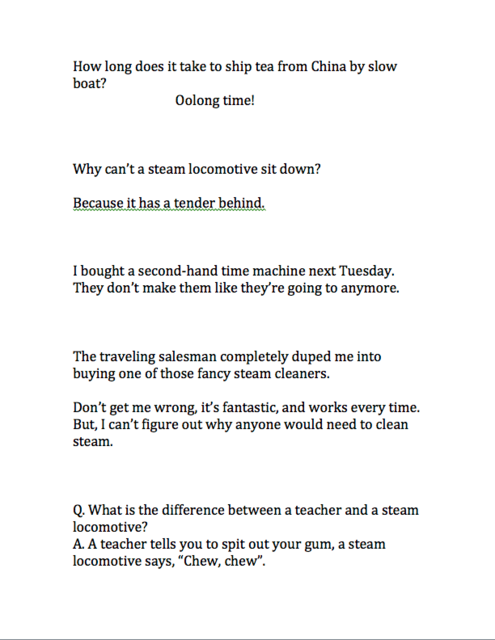
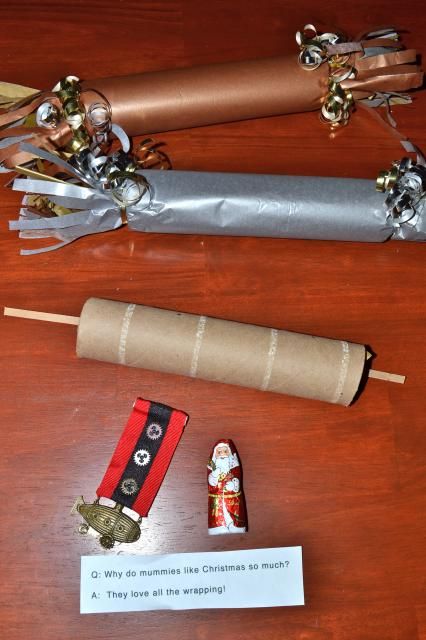
Firstly, my new batch of cheesy jokes:

 photo Screen Shot 2015-12-16 at 1.11.01 PM.png

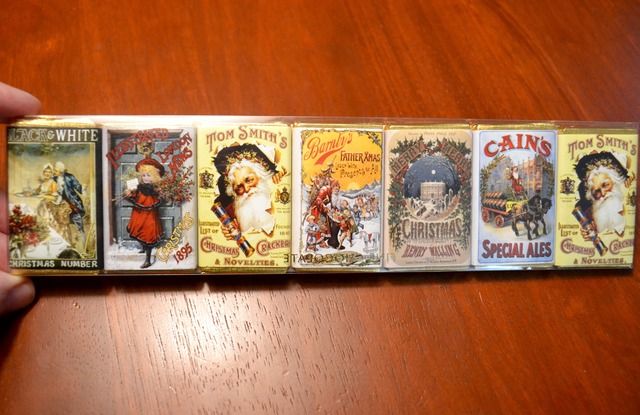
I found these chocolates in the specialty foods section of Marshall's for $3.99.

 photo DSC_0003_1.jpg

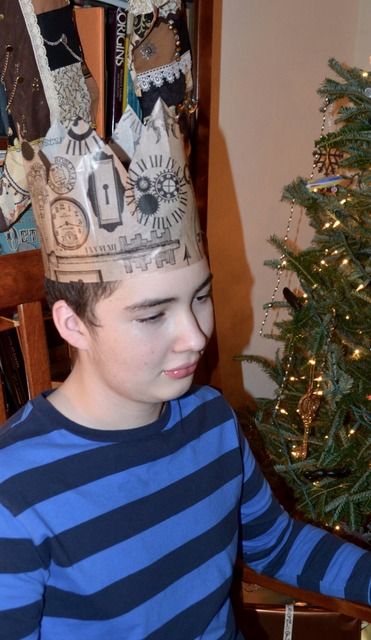
The paper crowns are all the same this year and are made out of printed tissue paper that I purchased last year at World Market.

 photo DSC_0001.jpg

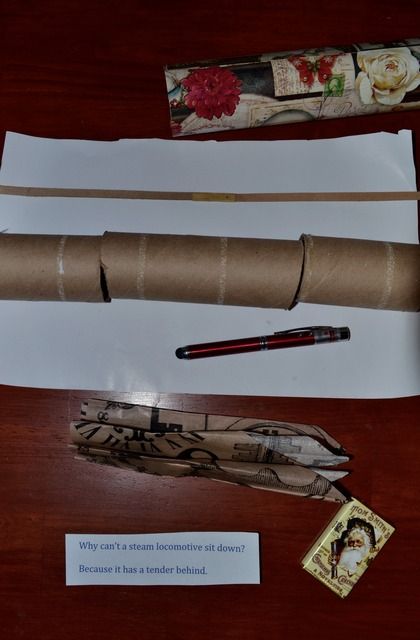
The prizes inside the crackers are from the dollar store and a clearance display at Party City.

 photo DSC_0011.jpg

 photo DSC_0007 1.jpg

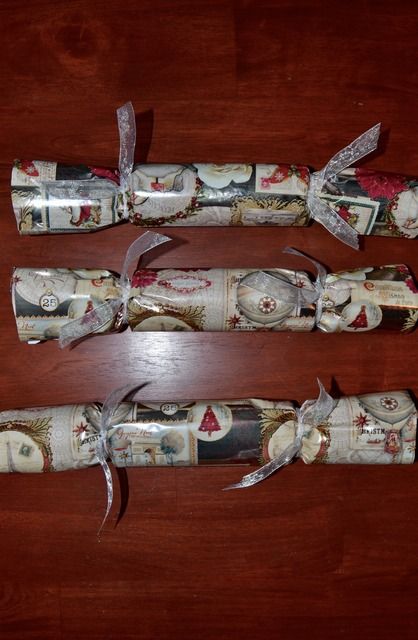
This wrapping paper was meant to be.
Somehow, after wrapping presents, I had exactly the amount of wrapping paper leftover to wrap these three Christmas crackers.

 photo DSC_0002.jpg


Sunday, November 15, 2015

Steampunk Christmas Tree Centerpiece

I started working on this project just after Christmas last year, adding little things as I found them. The base is a non-pourus styrofoam cone that originally came with a Halloween witch craft kit that I had sitting around for years, but never got around to assembling.


The tree topper was one of my son's "Hot Wheels" toys (it used to be red and black).


Last night, I glued on the final piece, so this morning I spray painted the entire tree with hammered copper spray paint. It took about three coats to be sure that everything, from every angle, was covered.


Placed on the little "Brown Betty" teapot for extra height, I think this will be a nice centerpiece for our holiday table. It will certainly give the people around the table a lot to look at.


Friday, December 19, 2014

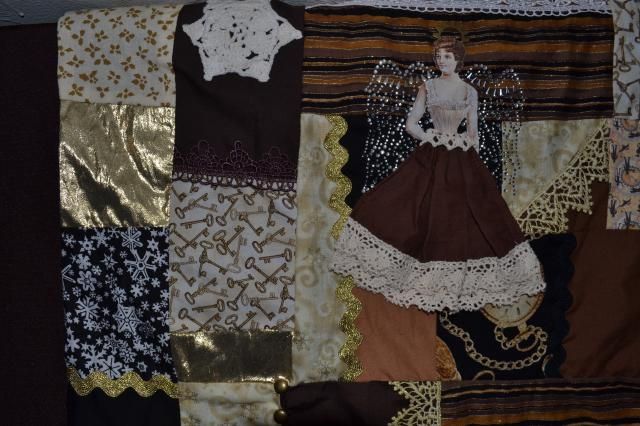
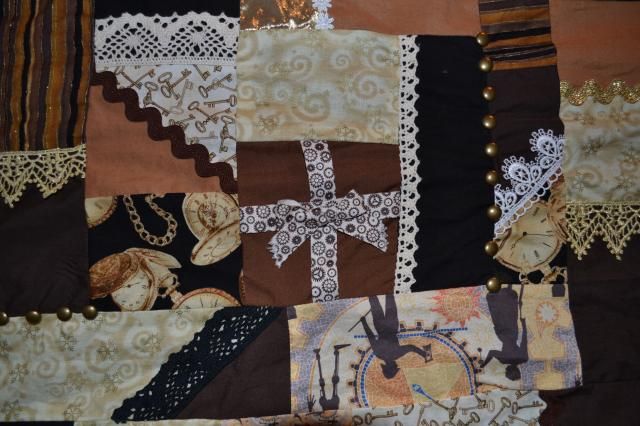
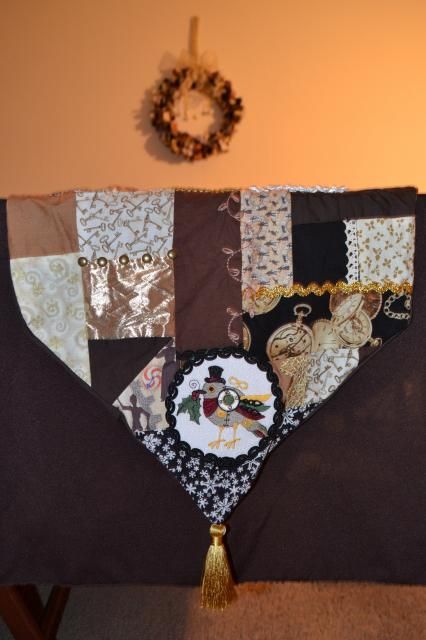
Crazy Quilt Table Runner and This Year's Christmas Crackers

It's beginning to look a lot like Christmas:
 photo DSC_0014-17.jpg

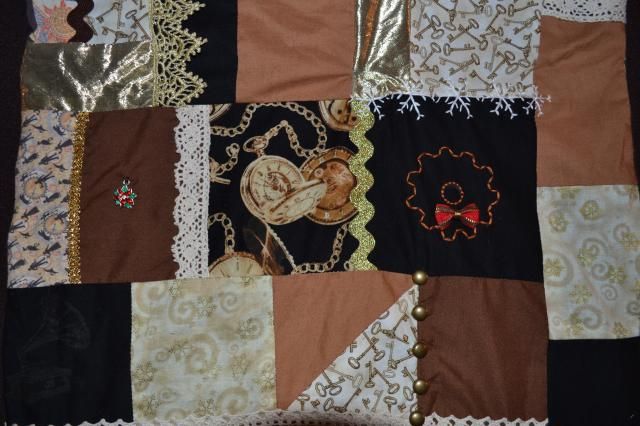
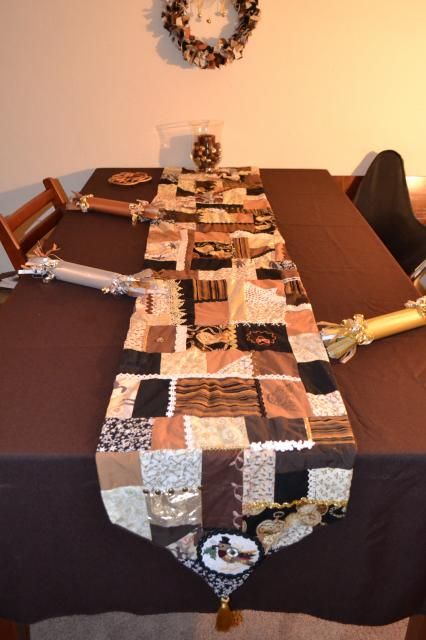
When we had our first steampunk themed Christmas in 2010, I made a set of crazy quilt Victorian boot style Christmas stockings: http://overthecrescentmoon.blogspot.com/2010/11/crazy-quilt-christmas-stockings.html. Then, in 2011 I made a tree skirt that matched the stockings: http://overthecrescentmoon.blogspot.com/2011/12/gearing-up-for-christmas-tree-skirt.html. Last year I planned to add a table runner to the collection, but it didn't get finished in time, so I tossed it aside and didn't come back to it until about a week ago. I could have kept adding things to it, but instead, I have declared it complete.

 photo DSC_0013-19.jpg

 photo DSC_0016-14.jpg

 photo DSC_0014-16.jpg

 photo DSC_0003-18.jpg

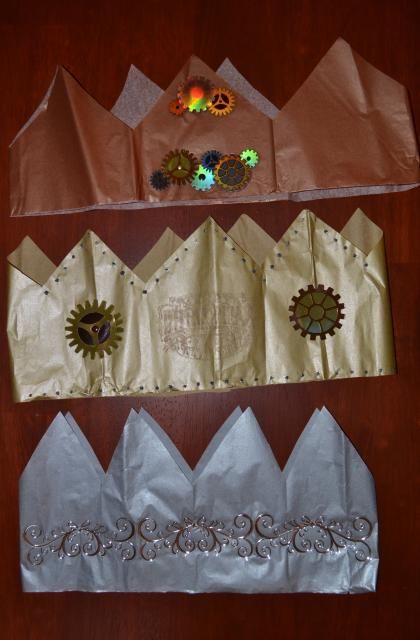
Since finishing the table runner, I've been working on this year's homemade Christmas Crackers. I had three colors of metallic tissue paper left-over from last year and decided that we would each have crackers with crowns that matched the colors of the place-card lanterns that I had already made.

 photo DSC_0009-16.jpg

This afternoon, I made the airship metal to be the prize in Blaze's cracker and finished cracker assembly.

 photo DSC_0004-23.jpg

 photo DSC_0019-13.jpg

For instructions on how to make Christmas Crackers, here is the tutorial I posted last year:
http://overthecrescentmoon.blogspot.com/2013/12/homemade-christmas-crackers.html

Tuesday, December 2, 2014

Paper Lantern Place Cards

To make these little lanterns, we used the first template on this linked file, printed on cardstock at 90% of original size. The original design has a handle, but Blaze said he didn't want ours to include the handle, since it wouldn't be hanging up.


I cut out the lanterns, but Blaze did most of the painting.


I like mixed metallics for decorations with a steampunk look, so we used gold, silver, and copper "Liquid Leaf" to paint over the white cardstock. These lanterns could also be made out of metallic or printed scrapbook paper and avoid the painting altogether.


Each lantern needed four pictures of the person it was intended for, printed on plain white, pearlescent velum. I chose pictures from past Christmases, that also fit with our steampunk theme.
The windows are 2-inches by 2-inches, so each picture was printed slightly larger than that. Do not use liquid glue to attach the pictures (I learned the hard way, that velum and liquid glue don't get along well). A stick of school glue works great for this.


Place a small electric candle inside of each lantern. Do not use wax candles, since the velum could easily catch fire.


Place one lantern on, or just above, each plate on the table, to mark where each person will sit.


Friday, November 14, 2014

New Christmas Ornaments

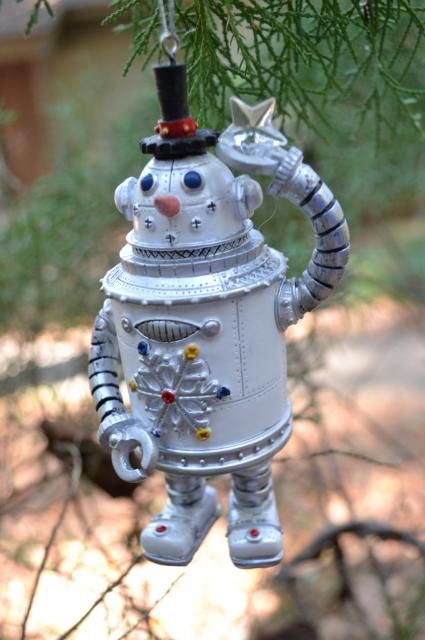
Two new ornaments have been added to my collection of steampunk Christmas ornaments. This one was purchased from Amazon:

 photo DSC_0005-24.jpg

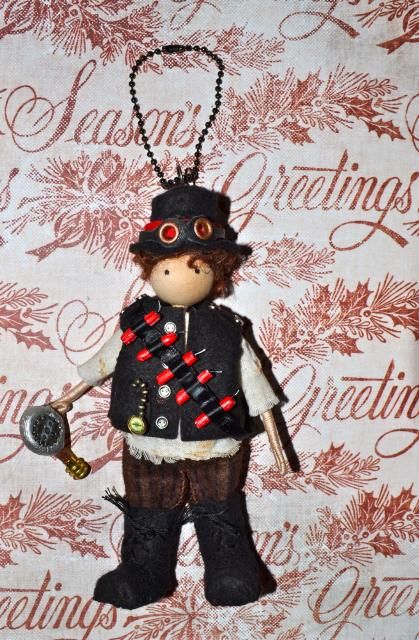
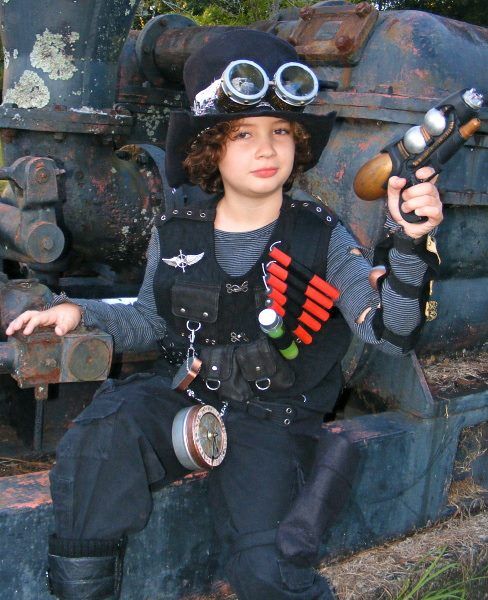
This one, I just finished making today. It is based on Blaze's first steampunk costume.

 photo DSC_0017-16.jpg

Last night, I asked Blaze if he thought anything was still missing from the doll, he said it needed a gun, so I worked on that after he went to bed and for a few minutes this morning. It's tricky making a steampunk gun for a 6-inch doll. He and I have been referring to this one as the "blow drier of DOOM".

Blaze the airship pirate, Halloween 2009:

 photo 1897663_1463600197208332_1986541569576948064_n.jpg


Wednesday, December 18, 2013

Homemade Christmas Crackers

Christmas crackers are an English Christmas tradition that dates back to 1847. The cracker gets it's name from the cracking noise it makes when pulled apart and is used as a party favor at Christmas dinner.


They are available at many stores, in many colors, sizes, and prices, but I decided to make my own to go with our steampunk Christmas theme.

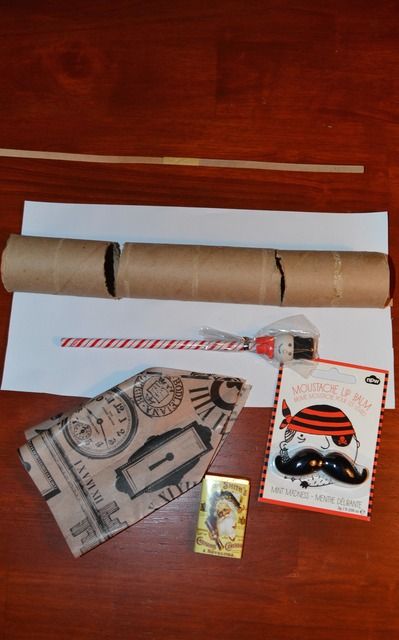
1. Use the cardboard tube from a a roll of paper towels. Measure 3-inches from each end and cut. I found that a serrated-edged bread knife does a good job of cutting through the tube without mashing it.


The "cracker snaps", the exploding strips of brown paper that make the crackers pop when they are pulled, can be purchased, along with other supplies, from Olde English Crackers.


2. Place the parts of the tube close together and cut a piece of wrapping paper big enough to cover all the parts of the tube. Do not tape or glue the paper in place just yet.


3. Slide the cracker snap into the tube.


4. Make a paper hat. Tissue paper is used because the thin paper is easy to fold into a small space and these must fit into the cardboard tube.


Cut a strip of tissue paper long enough to go around the recipient's head, plus a half-inch. Fold the strip in half length-wise, then in half again. One more fold in half will give you a crown with four points, two more folds will give you an eight pointed crown.


Make one cut at an angle. Then unfold.


If you wish to decorate the crown with rubber stamps, the way I did, this is the time to do that. Put newspapers or cardboard under the tissue paper before stamping, because the ink will bleed through the paper. Let the ink dry, then overlap the ends of the paper and tape or glue in place to form the crown.


Stickers can also be used to decorate the crowns.


The hat doesn't have to be a crown. For my Steampunk Christmas panel at the Gaslight Industries Expo, I made a paper top hat. It worked, but it was more time consuming to make and harder to fit into the cardboard tube.


5. Fill the center section of the tube with a paper hat, a joke, and a candy or prize.


6. Tape or glue the wrapping paper around the tube.


7. Gently pinch the area in between the tubes and tie a ribbon there. Discard the two end pieces of the tube.


The crackers can even be personalized by using a festive looking picture of each family member on the cracker, that will double as a place card for Christmas dinner.


Place a cracker at each place setting at a festive holiday meal.


Crafty Crow