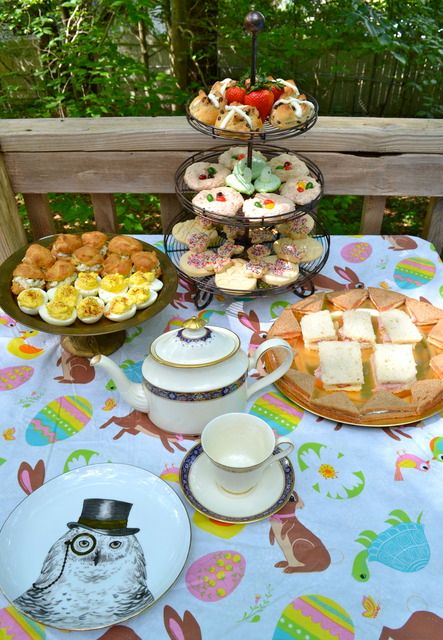
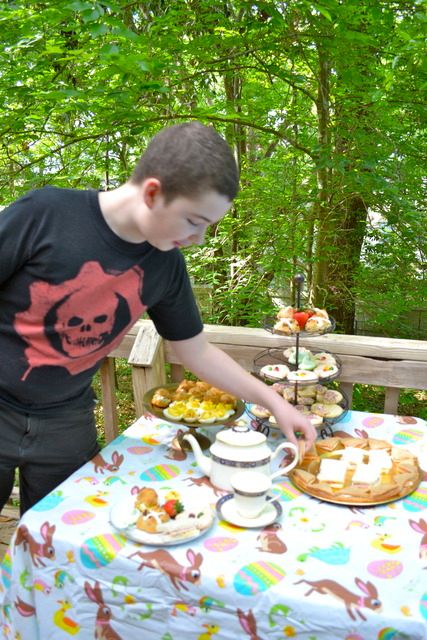
I hadn't been giving Easter much thought until Thursday, when I decided to go digging around in boxes, to see what decorations I could find. I rediscovered the large inflatable bunny, that I bought for Blaze when he was a toddler.
The bunny and a vinyl table cloth were the only decorations I could find, but I think that's enough. The children have been having a great time bunny wrestling.
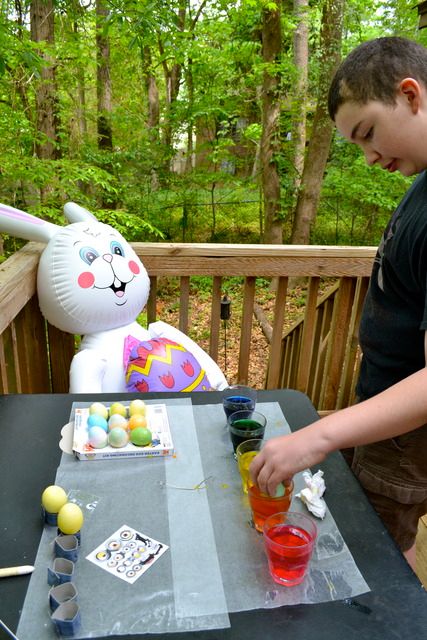
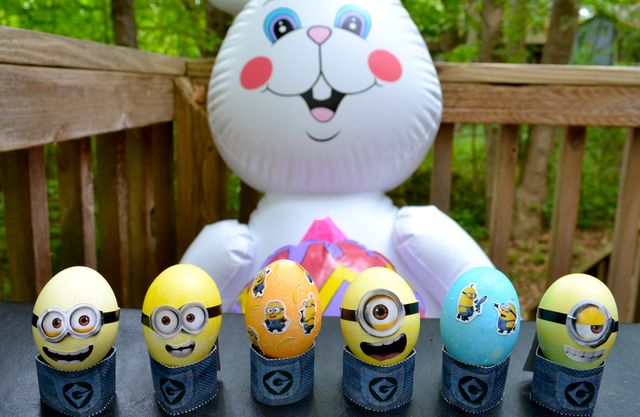
Yesterday, Blaze dyed a dozen Easter eggs.
I made my own silly food decorating and made spinach calzones that looked like Easter eggs (using a mixture of milk and food coloring to paint the dough, before baking).
This year we tried something a little different. I made a yarn maze, that Blaze had to follow to find his Easter treats.
The bunny picture hanging from the footboard of Blaze's bed marks the beginning of the maze. He then had to wind-up the yarn, as he followed it around his room, into the living room, and back to his room again.
I usually buy Easter egg dying kits when they go on sale after Easter, but last year I purchased an Easter egg watercolor painting kit, instead. We decided we didn't want to paint on plain white eggs, so we used food coloring to dye them first. I had always used the dye kits before, but it turns out that it's very simple to just use regular food coloring. Here are the instructions I found:
These are very easy to make, but a bit time consuming. The dough must be made a day ahead and refrigerated. Then you will need to make large round cookies and small round cookies.
Mix sugar, milk, corn syrup, and almond extract in a small bowl. Stir until smooth and glossy. Divide into two or three bowls and add food coloring.
Use the icing to glue one small round cookie to the center of each large round cookie.
Put some icing on each cookie/bonnet and use a small clean paintbrush to move the icing around and smooth it out.
After the icing has dried, use buttercream frosting and a pasty bag fitted with a small round cake decorating tip, to make the ribbon around each hat.
For a more manly variation on the cookie hat theme, I used some of the extra scraps of dough and rolled small balls (about the size of a large marble) and gentle flattened one side of the ball onto the baking sheet. After it was baked, this was "glued" onto a medium size, round cookie, using melted chocolate. More melted chocolate was used to cover the hat, and a paintbrush was used to smooth it and removed excess chocolate.
The Bunny shaped pies are stuffed with browned, crumbled breakfast sausage and cheddar cheese. They are based on a recipe I saw in Book of the Seasons:
After breakfast, we had our own little egg hunt.
Now we are laying around watching the movie Ben Hur.
This afternoon, our apartment complex had an rather disturbing looking Easter bunny visit our common room, so that kids could have their pictures taken with it. Blaze knew that it was just a person wearing a costume, but he was scared of the costume, and wouldn't let me take his picture with the Bunny (oh well, it's not like we have a shortage of Blaze pictures).
There was also an egg hunt for the children
Blaze didn't find any of the eggs, but that didn't seem to bother him. The way DH puts it, " Blaze is really more experiential, and less goal oriented."
Hot-cross Buns!
Hot-cross Buns!
One a penny, two a penny,
Hot-cross Buns!
Hot-cross Buns!
Hot-cross Buns!
If ye have no daughters,
Give them to your sons.
Hot Cross Buns
1 package ( 1 Tablespoon ) active dry yeast
1 1/2 Cups warm water (105 to 115 degrees)
1 Cup unseasoned lukewarm mashed potatoes
2/3 Cup vegetable oil
1/3 Cup honey
1 1/2 salt
5 to 6 cups unbleached white flour
1/2 teaspoon ground nutmeg
1 cup currants or raisins
This is a good recipe to make on a night when you are making mashed potatoes for dinner. Before seasoning the potatoes, reserve 1 1/2 cups of the potato water and 1 cup of the plain mashed potatoes.
In a large mixing bowl, combine the yeast and water. Then add everything else, first mix with a spoon and then kneed by hand. Add flour as necessary, until it becomes a good pliable dough. Form the dough into a large ball and oil the outside of the ball, so it won't dry out while rising. Cover and place in the refrigerator over night. The dough can be kept in the refrigerator for up to 3 days. The dough does not have to be baked all at once. You can bake just what you need for each meal. Punch down dough before using. At this point, add the nutmeg and currants or raisins. Knead into dough until well blended. Add a little flour if the dough is sticky. Roll the dough into tennis ball size balls and place on a baking sheet. Use kitchen shears to cut a cross in the top of each roll. Bake at 350 degrees until golden brown.
When the rolls have cooled a little, trace the cross shape on each bun with a simple white frosting (melted butter, powered sugar, vanilla, and a tiny splash of milk).
I posted this recipe once before in an entry about foods that could be molded into different shapes, but that was to use as dinner rolls, so it was without the nutmeg, currants/raisins, or frosting.
While your hot cross buns are baking, you can learn how to play "Hot Cross Buns" on a recorder:
Normally I use currants when making hot cross buns, but this year I had to use raisins. We went to two different grocery stores yesterday, trying to find currants, but there were none to be found. Either something has happened to Earth's supply of currants or everyone is baking hot cross buns. We arrived home, just as Nika was eating the last handful of currants that we had at home, so we told her to savor them.
I bought two wooden eggs, of different sizes, at the craft store about 3 weeks ago, with the intention of making hollow wool eggs, but I've procrastinated terribly. Now, with only one day to go until Easter, I am working on the eggs.
1. Lay out a piece of wool roving about a foot long and spread it out into a thin square.
2.Wrap the wool around a wooden egg.
3.Wet the wool with hot water (as hot as you can stand to handle). Squirt the wool all over with dish soap. With gloved hands, rub and pat the wool to flatten it against the egg and start the felting process. Keep wetting the wool with hot water and keep patting and rubbing. Also, roll the egg up and down a washboard.
4. Dry the egg. To hurry up this process, so I could make more eggs, I put the wet eggs in the oven, set on "warn" until dry.
5. Use sharp scissors to cut a slit in the wool and ease the wool egg off of it's wooden form. It's now ready to fill, or decorative embroidery stitching can be added
The eggs can be cut open either straight across or zig zags. I've been filling the eggs as I finish making them. The ironwood duck and turtle came from a little shop in St. Augustine.
Blaze made an egg, too. Having his own pair of gloves, meant that, for once, he didn't get upset working with squishy, messy art materials.
If you would like to make decorative wool eggs that are not hollow inside, check put this tutorial I just found. Actually, if you just want to see something really cute, check out this tutorial:
Blaze and I dyed our Easter eggs today. We tried some new ways of decorating the eggs.
Rubber bands:
Botanical Prints (leaves are held in place against the egg by tying the egg and leaf up in a piece of an old nylon stocking) :
We also used the clear crayon that came in the egg dying kit, to do crayon-resist designs.
We also read a couple Easter books. This first one has been one of Blaze's favorites for the past few years and it doesn't have to be Easter for him to ask for it as a bedtime story:
This next one was new to us this year. It is a little more mature, since the little girl in the story learns the truth about Santa Claus and the Easter Bunny, but it has a very sweet ending, as she plays Easter Bunny for her older brother and sister who don't believe there will be any candy for Easter this year.
This is one of my mother's Easter traditions that I have continued with my own family.
It starts with two round single layer cakes of any flavor. We usually use chocolate. One cake is left fully intact, while the other is cut into three parts, as shown in the picture, to make the rabbit's ears and bow tie.
The cake is then assembled on a rectangular tray or foil covered cookie sheet and frosted with buttercream frosting.
The face and ears of the bunny are then covered with shredded coconut which is pressed into the frosting. Eyes and polka dots for the tie are made from small jelly beans. The rest of the bunny's face is made with licorice and a triangle of chocolate for the nose. My mother's version of the cake uses gum drops for the eyes, nose, and polka dots, but I like jelly beans better.