Friday, April 29, 2011

Resale Shop Treasures

Yesterday, Blaze and I did a little antiquing at the resale shops and we each came home with a wonderful find.

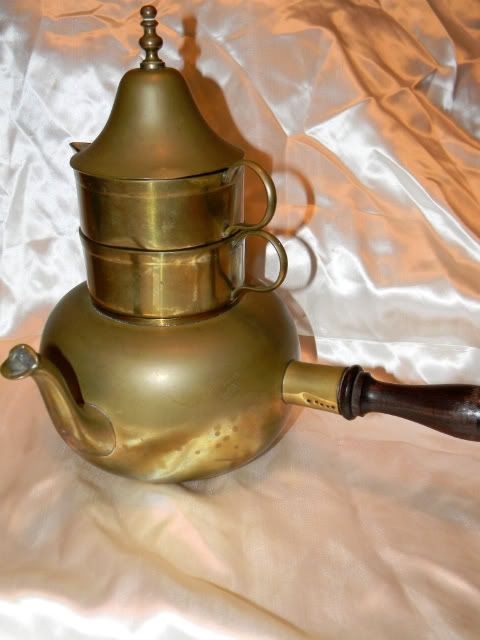
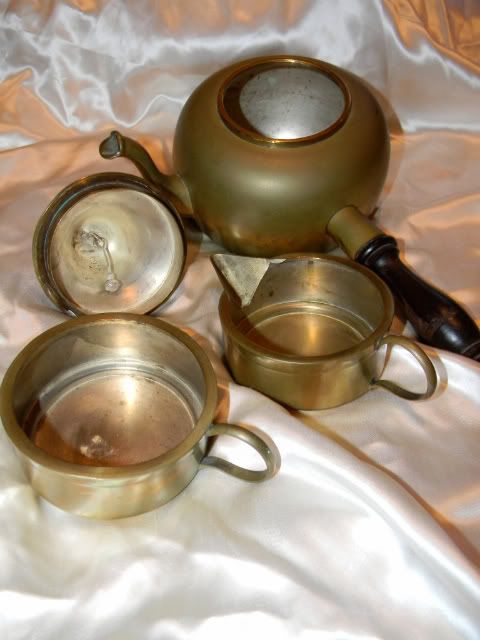
For me, a brass tea kettle, that comes with it's own creamer, sugar bowl (or cup), and a lid that is also a bell.

Photobucket

Photobucket

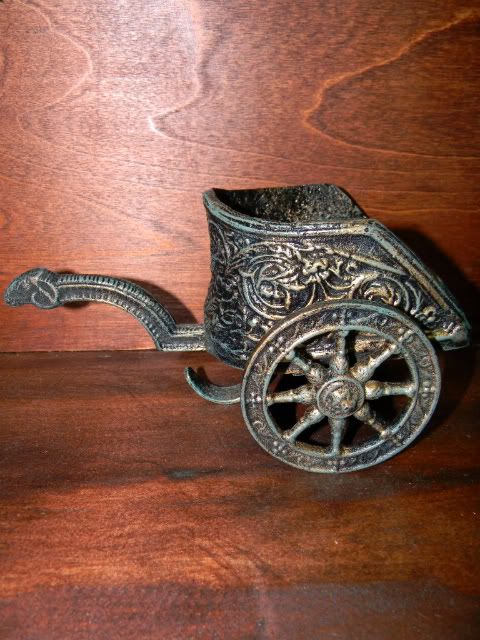
For Blaze, a cast iron Roman chariot, just the right size for the bendy dolls.

Photobucket

Wednesday, April 27, 2011

Little Blue Cheese Quiches

Photobucket

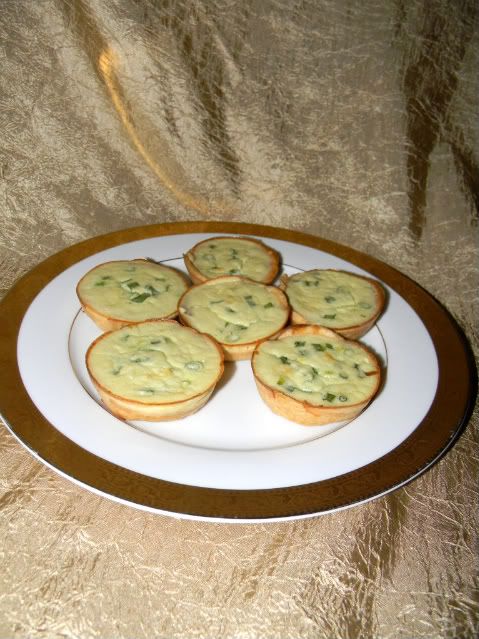
Blue Cheese Mini Quiches


4-ounces blue cheese

2-ounces cream cheese, softened

2 Tablespoons milk

2 large eggs

2 thinly sliced green onions, including green tops

1/4 teaspoon salt

1/4 teaspoon ground black pepper

dash of ground nutmeg

a double batch of pie crust dough ( enough to make a pie with a top crust).

Pre-heat oven to 350 degrees.

On a lightly floured surface, roll out dough to 1/8 inch thickness. Cut out 10 rounds using a large biscuit cutter or a similar size drinking glass. Place the rounds in muffin tins and smooth them down. Prick the bottom of each crust several times with a fork, this will help prevent shrinkage while baking. Bake for 15-20 minutes. Cool.

In a medium size mixing bowl, combine blue cheese, softened cream cheese,milk, and eggs. Beat with a fork, using the tines to smash the blue cheese against the bottom and sides of the bowl. When it is well blended, add salt, pepper, nutmeg, and green onions. Divide the cheese mixture evenly between the 10 crusts.

Bake 15-20 minutes , or until the centers are set. Cool slightly. Serve warm.

Makes 10

Tuesday, April 26, 2011

Lunch Time Picnic

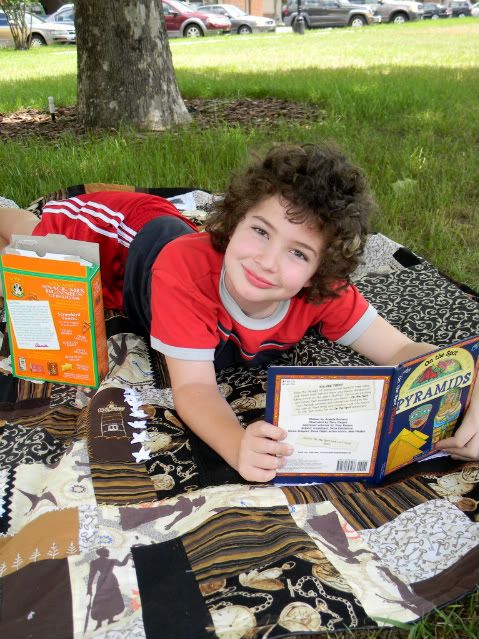
On Tuesdays, Blaze has speech and physical therapy in the afternoon, which gives us time to have lunch, if we eat somewhere close to therapy, but since I don't get done with work until 12:15p.m., there isn't time to go home for lunch. This usually means we eat at the cheap all-you-can-eat pizza buffet, but I am so tired of that.

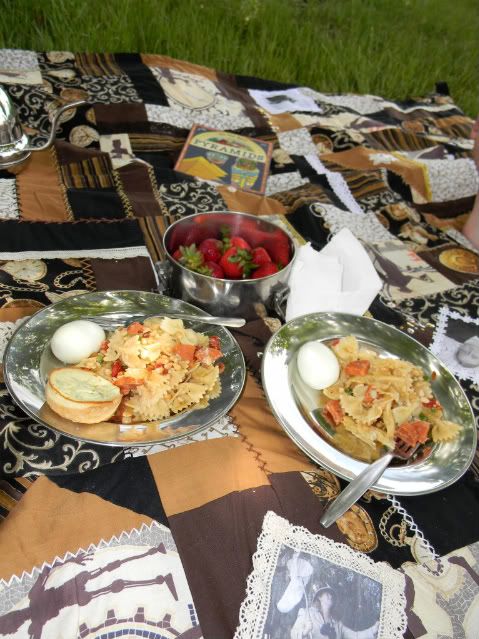
This is when having the perpetually packed picnic basket comes in really handy. All I had to do was suggest a picnic and Blaze was all excited. The only work I really had to do to make this work was throw some fruit and left-overs in some containers and carry everything out to the car.

It had been overcast for much of the day, but at lunch time it was beautiful, with just the right amount of breeze.

Photobucket

Photobucket

Photobucket

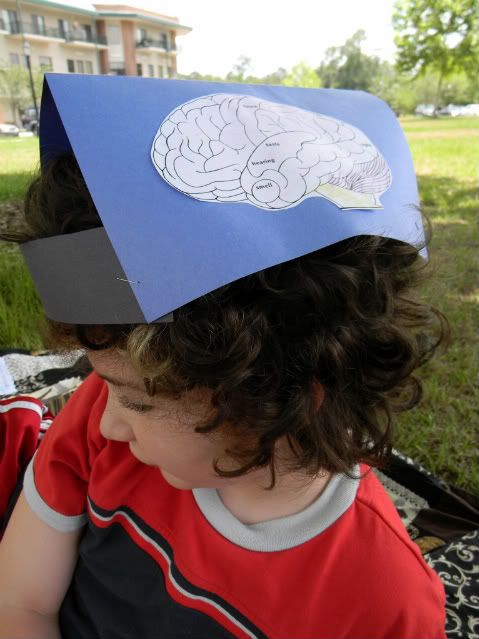
Showing off the brain hat he made at the school today.
Photobucket

Also, a chance for me to sneak in a relaxed homeschool lesson.
Photobucket

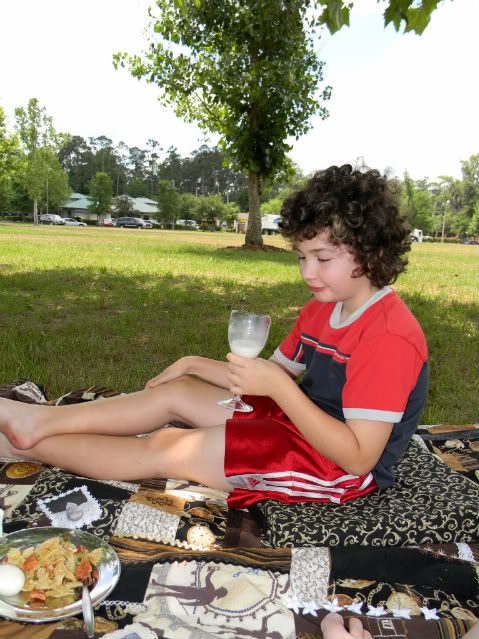
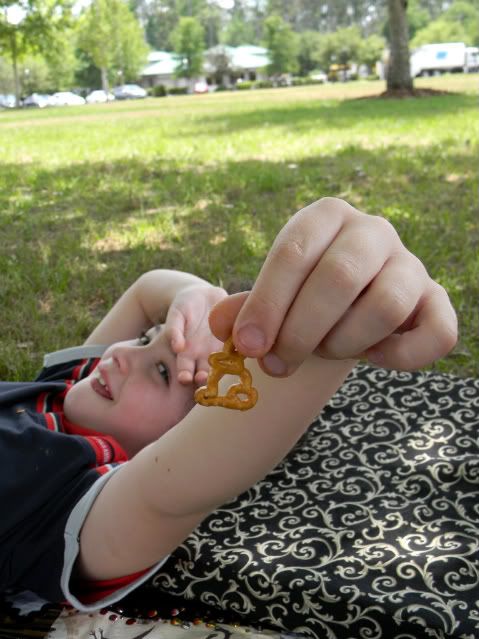
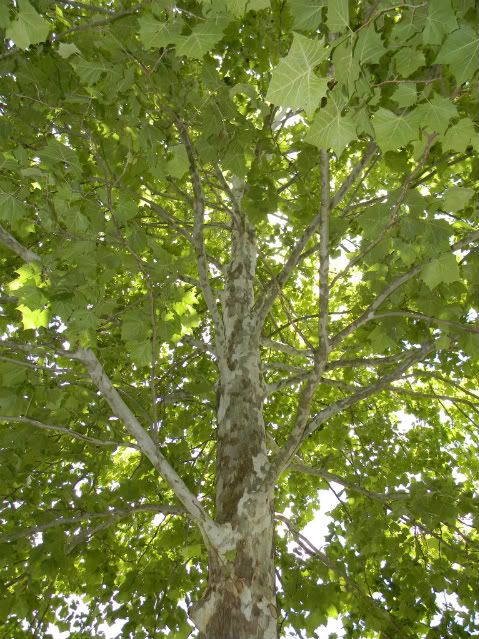
Then, there was time to relax on a cushion, eat snacks, and stare at the leaves of the sweet gum tree that was giving us shade.
Photobucket

Photobucket


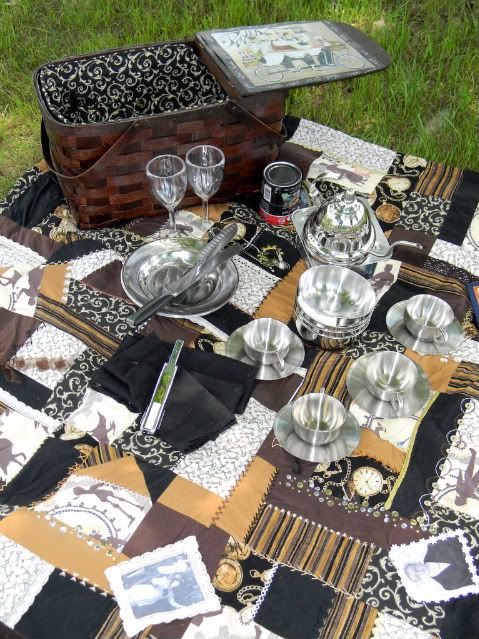
I worked on the contents of the perpetually packed picnic basket a little after our first picnic of the year. It now contains the following:

Photobucket

4 plates

4 bowls

4 tea cups

4 saucers

2 acrylic wine goblets

paring knife

bread knife

4 forks

4 spoons

4 butter knives

Tea kettle

a folding Sterno stove

2 cans of Sterno

3 cloth napkins

salt grinder

pepper grinder

can opener

cork screw

small package of wet wipes

empty plastic grocery bag for dirty dishes

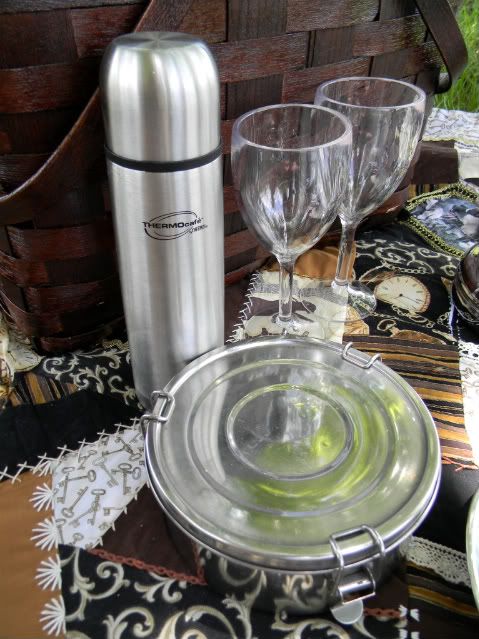
The newest additions to the set are the little thermos for milk and the stainless steel storage container.

Photobucket

In addition to what is in the basket, the following items are always stored with the basket:

Photobucket

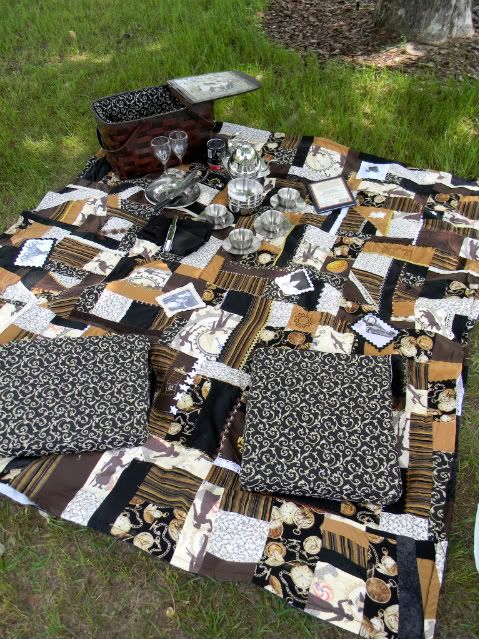
The picnic blanket, in it's carrying bag, 3 cushions, and a set of 4 tent stakes.

Monday, April 25, 2011

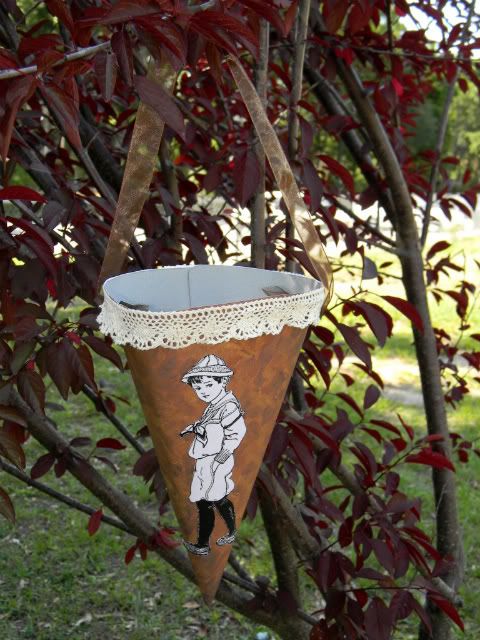
Victorian May Day Flower Cones

My husband says he's never heard of this tradition, so I will explain it in the way my grade school teacher explained it to us when my class made May Day baskets out of strawberry boxes: Little baskets full of flowers are hung on people's front doorknobs on the first of May, as a kind and neighborly gesture. Victoria magazine goes into more detail about this tradition, if you would like to know more:http://victoriamag.com/article.aspx?id=5484

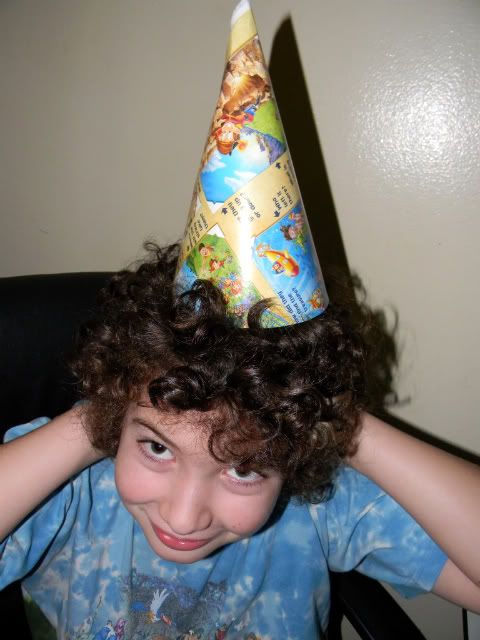
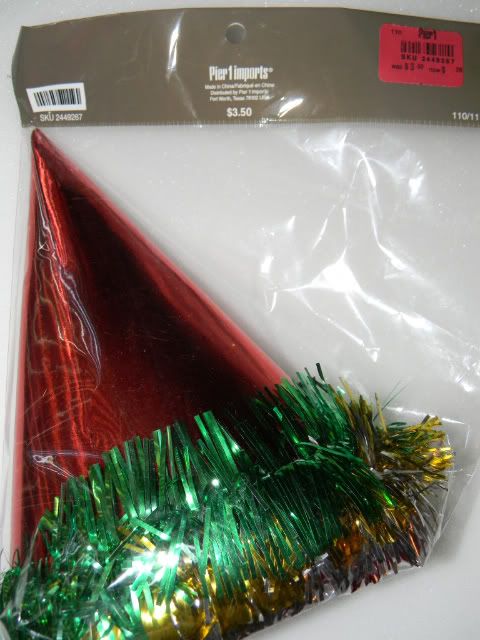
I recently found these incredibly ugly party hats on clearance for 28 cents. I was happy to find such a cheap base for making flower cones and the sales clerk seemed pretty happy to see them leave the store, as well.
Photobucket

The first step, with these particular hats, was to remove the tinsel around the edge. Then the elastic strap was removed.

This pattern was used to cut out fabric or decorative paper to cover each cone (print as a full sheet of paper):

Photobucket

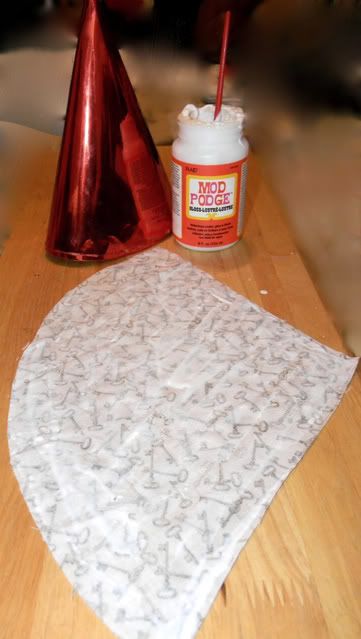
The fabric or paper was then painted with Mod Podge on the back side and wrapped around the cone, smoothing out any wrinkles.
Photobucket

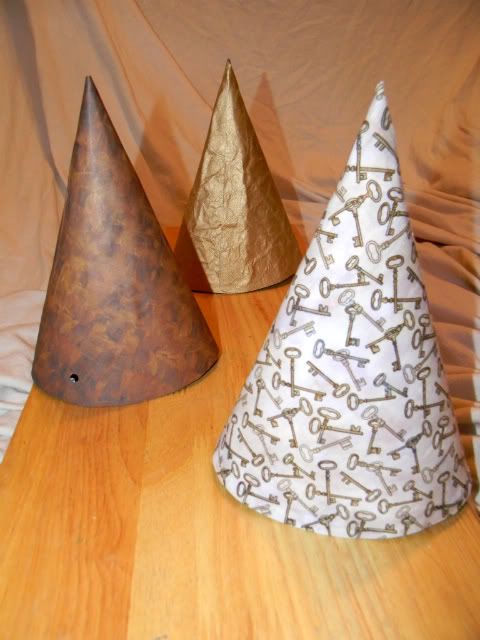
After the Mod Podge dried, a one-hole hole punch was used to make a hole over the area on each side of the cone, where the elastic band had been attached.
Photobucket

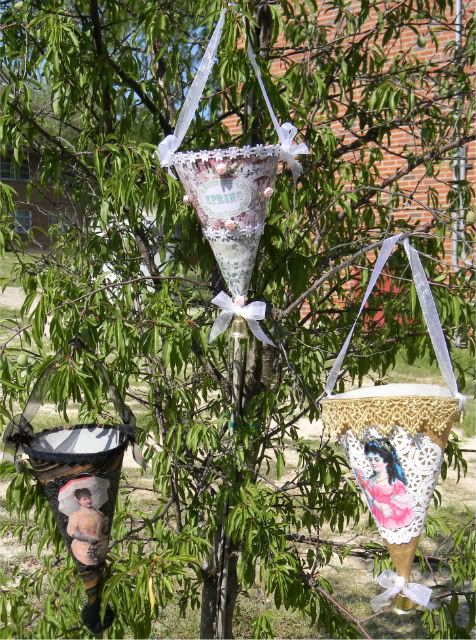
The cones were then decorated with doilies, lace, ribbons, stickers, and graphics from The Graphics Fairy website. Sheer ribbons were tied through the holes on each cone to make a handle for hanging.

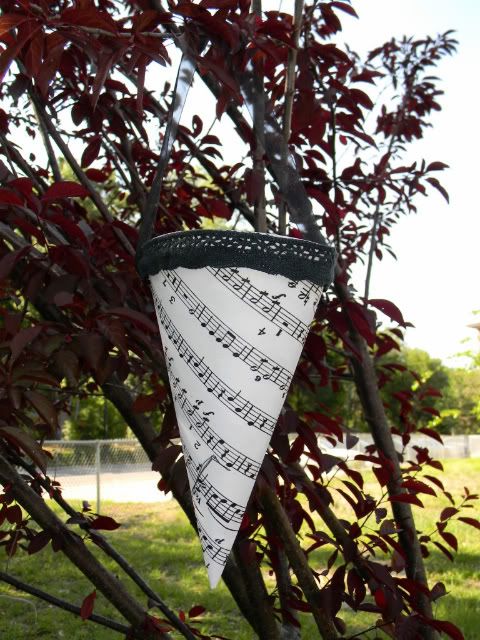
The decorations can be as simple:
Photobucket

Photobucket

or as complicated, as you choose. It's all up to personal taste.
Photobucket

One thing I discovered, is that it is easy to spray paint doilies, if you would like a color other than white.

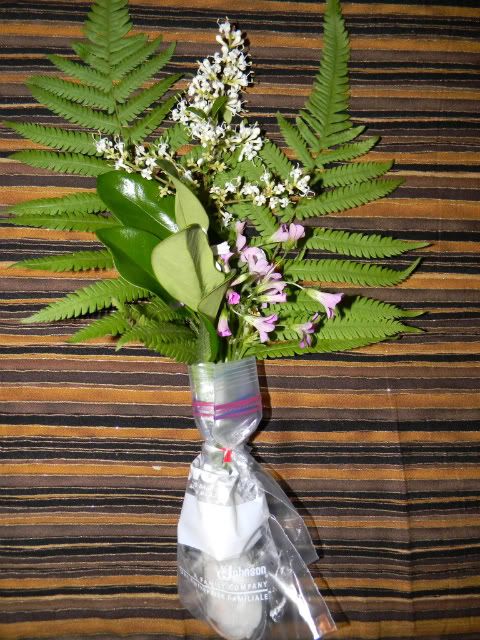
When the cone is completed, pick a bouquet of flowers, wrap the stems in a wet paper towel, and place the wrapped stems in a sandwich-sized plastic bag. Use a twist tie or string to secure the bag around the stems.
Photobucket

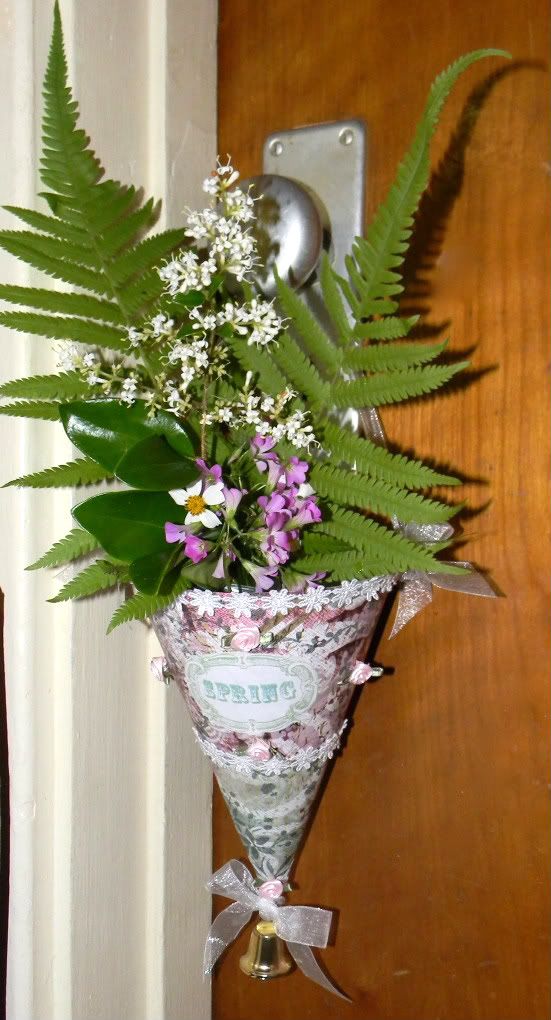
Place the flowers in the cone.

It is ready to brighten someones day!
Photobucket

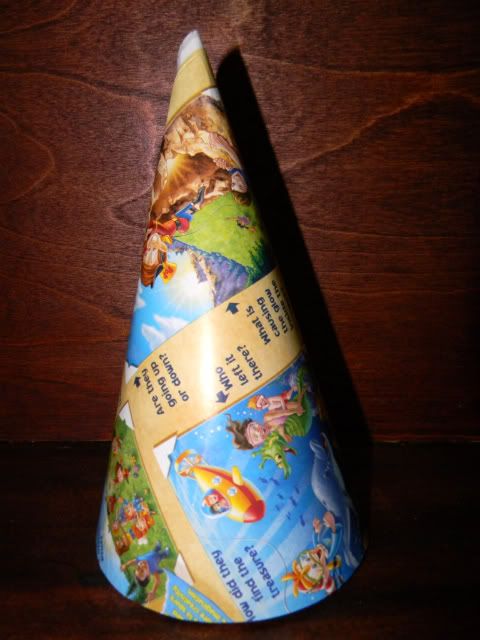
The same project can be accomplished by making a cone out of a cereal box.

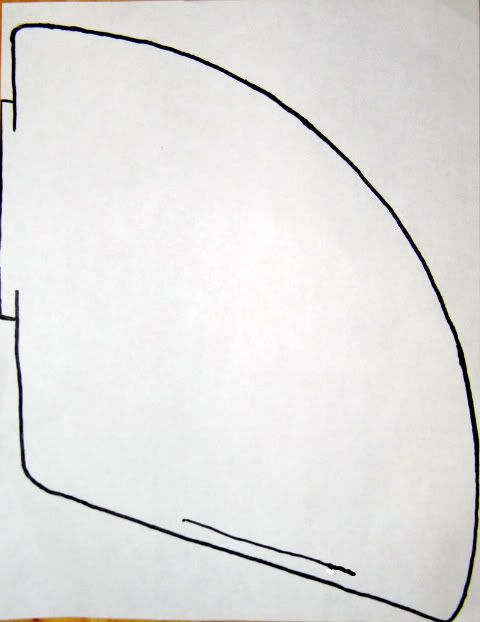
Used this pattern, printed as a full sheet of paper:
Photobucket

Cut out the pattern, trace around it on a flattened, large cereal box, and cut it out. One large box should be big enough to make two cones
Photobucket

or two party hats.

Photobucket

Blaze is going to be passing these flower cones out to the teachers that I work with and his therapists.
Sunday, April 24, 2011

Happy Easter!

Photobucket

This year we tried something a little different. I made a yarn maze, that Blaze had to follow to find his Easter treats.
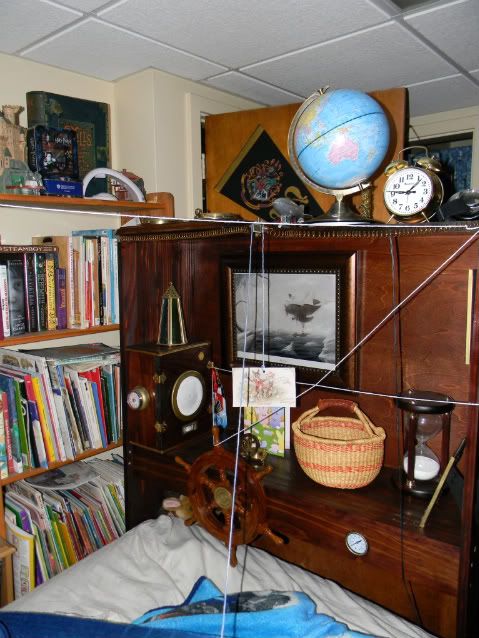
The bunny picture hanging from the footboard of Blaze's bed marks the beginning of the maze. He then had to wind-up the yarn, as he followed it around his room, into the living room, and back to his room again.

Photobucket

I found this idea on the Family Fun website:
http://familyfun.go.com/easter/easter-games-egg-hunts/easter-morning-yarn-maze-706889/

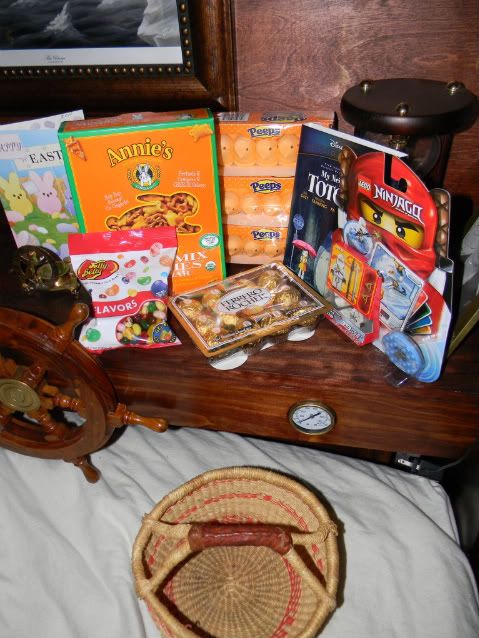
Blaze's Easter goodies
Photobucket

Later today, we will get to watch Blaze's new copy of My Neighbor Totoro.

Saturday, April 23, 2011

Too Hot to Cook

It's been too hot to cook for several days now, so here are a couple of the foods my family has been enjoying, while I've been avoiding the stove.

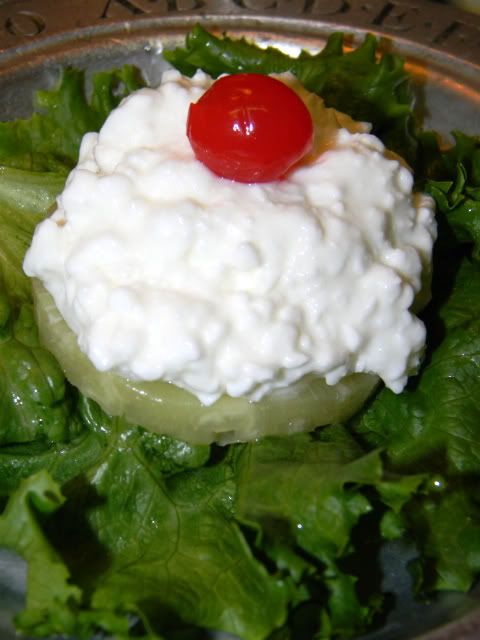
This salad, that looks like an ice cream sundae, is made with a ring of pineapple, a scoop of cottage cheese, and a cherry, served on a bed of lettuce. It is very much a food of my childhood.

Photobucket

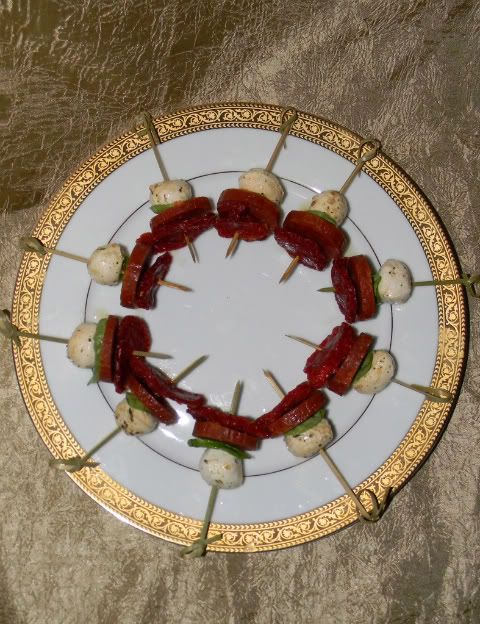
My own creation: pizza on a stick
marinated mozzarella cheese, a fresh basil leaf, a slice of pepperoni, and a sun-dried tomato.

Photobucket

Friday, April 22, 2011

Happy Earth Day!

Pale Blue Dot - Animation from Ehdubya on Vimeo.

Reading Improvement

After many years of trying to teach Blaze to read, he is finally showing some lasting progress ( there has been much backsliding in the past, that has required a lot of patience and repetition).

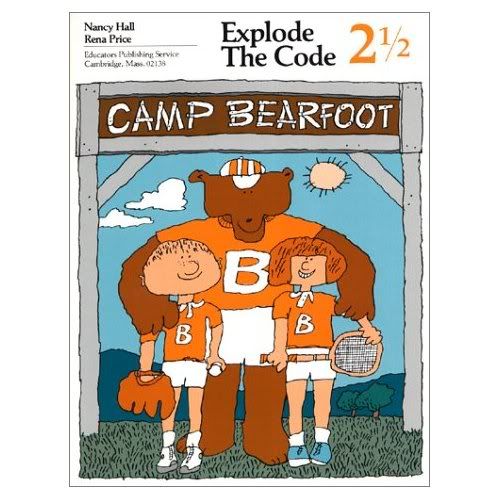
Each day, Blaze does two pages from the phonics workbook series Explode the Code. He has completed Explode the Code 2 already this year and is about a third of the way through Explode the Code 2 1/2.
Photobucket

At the beginning of January, I discovered an online phonics program that has been working well. Blaze does one lesson each morning, before we leave for school or therapy.
Click 'N Kids Phonics:
http://www.clicknkids.com/Public/MemberLogin.php

Blaze's speech therapist has also been using the Barton Reading program with him, although not in a very consistent way, because there are so many other things that are being squeezed into those two 45 minute sessions each week.

http://www.bartonreading.com/

More than any of these programs or curriculums, though, I believe the greatest help in teaching Blaze has been getting his seizures under control. Since the proper balance of medication was found, his language skills, math, and reading have improved.

Tuesday, April 19, 2011

Coloring Easter Eggs

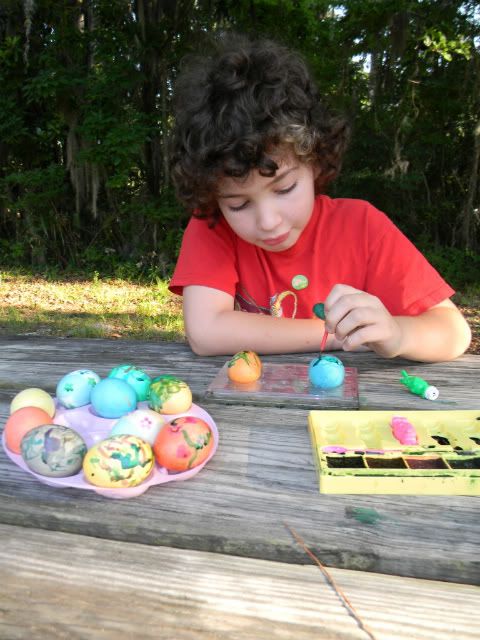
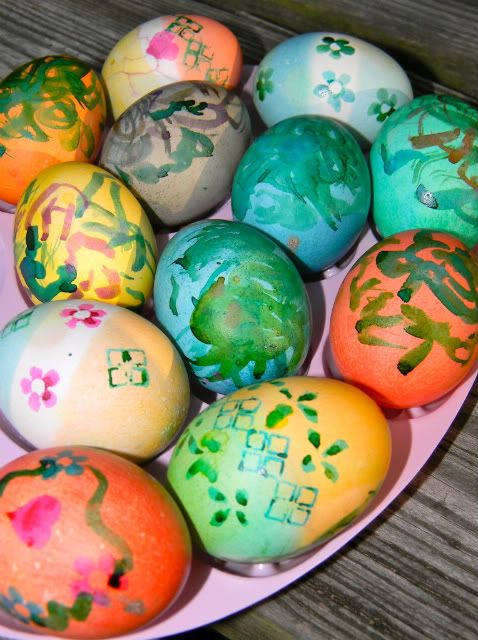
I usually buy Easter egg dying kits when they go on sale after Easter, but last year I purchased an Easter egg watercolor painting kit, instead. We decided we didn't want to paint on plain white eggs, so we used food coloring to dye them first. I had always used the dye kits before, but it turns out that it's very simple to just use regular food coloring. Here are the instructions I found:

http://www.mccormick.com/Products/Extracts-and-Food-Colors/Food-Colors/Assorted-Food-Colors-and-Egg-Dye.aspx

By the way, don't bother with the purple dye instructions. It didn't turn out purple, but an ugly shade a brownish-gray.
Photobucket

Photobucket

Monday, April 18, 2011

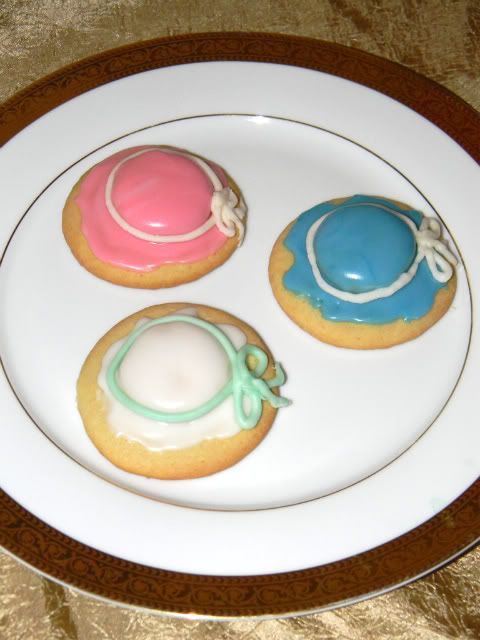
Easter Bonnet Cookies

Photobucket

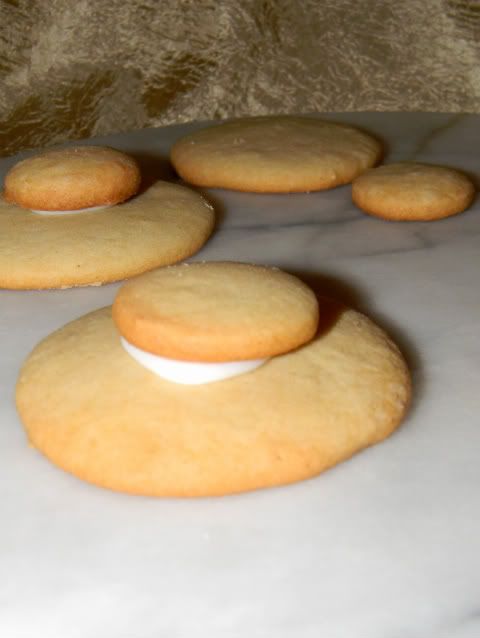
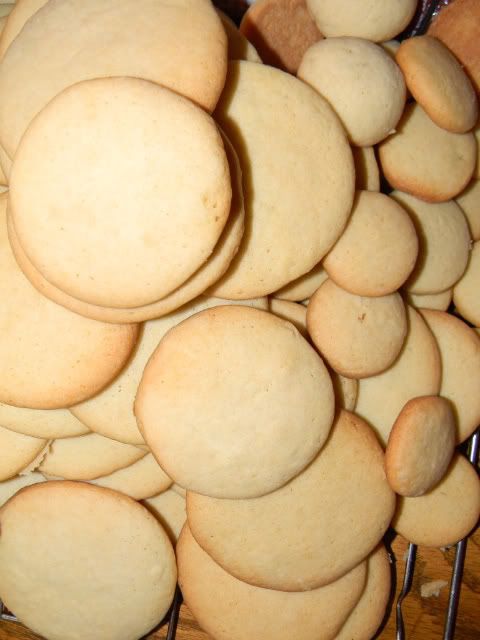
Using this recipe for sugar cookies, I made Easter bonnet cookies.

These are very easy to make, but a bit time consuming. The dough must be made a day ahead and refrigerated. Then you will need to make large round cookies and small round cookies.

Photobucket

Sugar Cookie Icing

1 1/2 cups powdered sugar
4 teaspoons milk
4 teaspoons light corn syrup
1/2 teaspoon almond extract
assorted food coloring

Mix sugar, milk, corn syrup, and almond extract in a small bowl. Stir until smooth and glossy. Divide into two or three bowls and add food coloring.

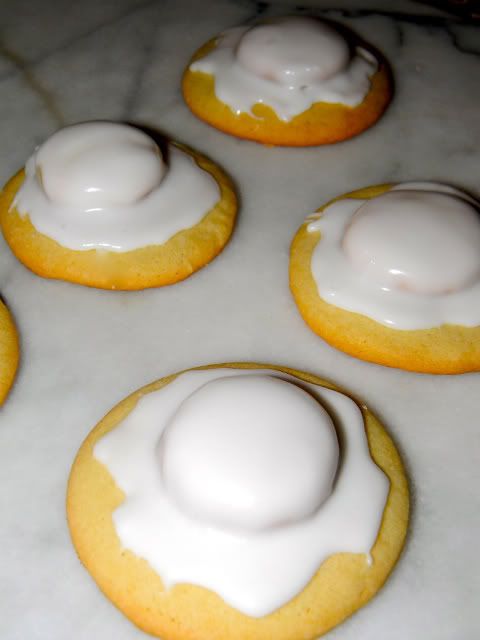
Use the icing to glue one small round cookie to the center of each large round cookie.

Photobucket

Put some icing on each cookie/bonnet and use a small clean paintbrush to move the icing around and smooth it out.

Photobucket

After the icing has dried, use buttercream frosting and a pasty bag fitted with a small round cake decorating tip, to make the ribbon around each hat.

Photobucket

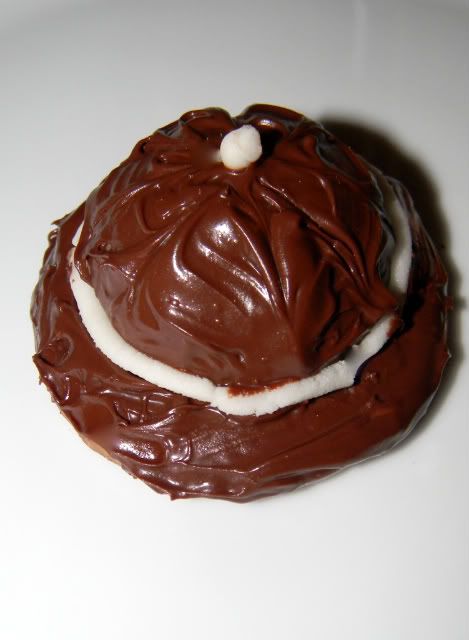
For a more manly variation on the cookie hat theme, I used some of the extra scraps of dough and rolled small balls (about the size of a large marble) and gentle flattened one side of the ball onto the baking sheet. After it was baked, this was "glued" onto a medium size, round cookie, using melted chocolate. More melted chocolate was used to cover the hat, and a paintbrush was used to smooth it and removed excess chocolate.

The pith helmet cookie:
Photobucket

Sunday, April 17, 2011

Carpis to Bloomers Upcycling

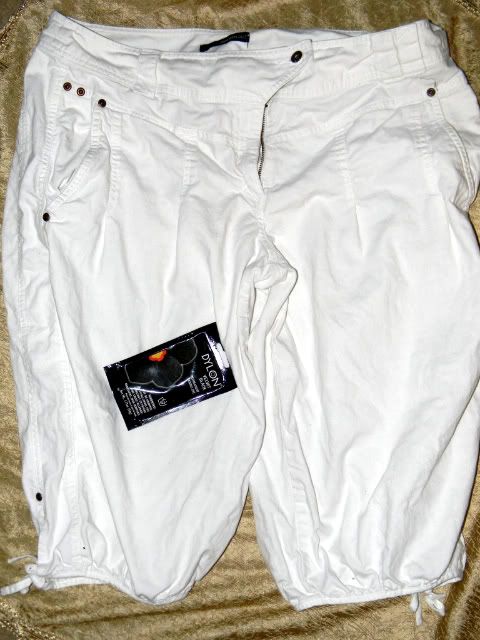
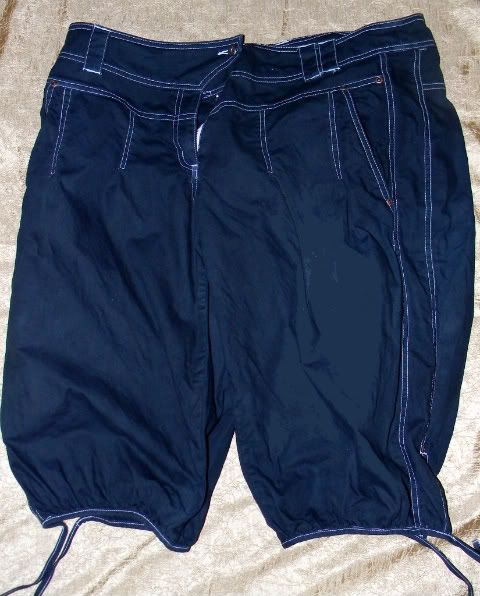
It's been several months since I wore these capri pants last. White pants make me nervous. I usually spill something on them or cover them in dirt and grass stains (I do work with children, after all). So, I decided it was time to give these pants a little make-over.

Photobucket

I started by dying them black.

Photobucket

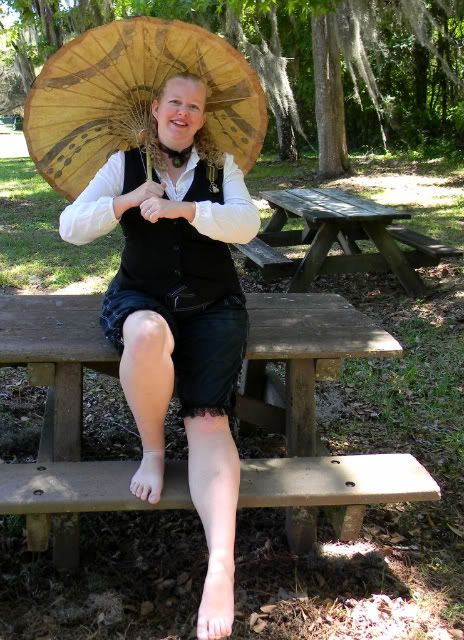
Then I used a yard of inexpensive, black lace, gathered at each cuff, to give them a fancier look. It's amazing how much that little bit of lace changed the look of the whole pair of pants. They went from looking like a pair of rugged canvas capris to looking like lace trimmed Victorian bloomers.

Photobucket

Saturday, April 16, 2011

Ancient History: The Seven Wonders and Egypt

We started off our history lessons this week by watching the full length version of this movie at school:
The Seven Wonders of the Ancient World:


Then we moved on to Ancient Egypt.

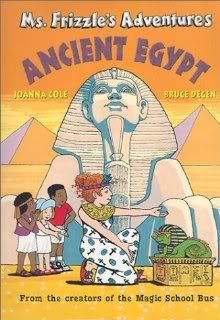
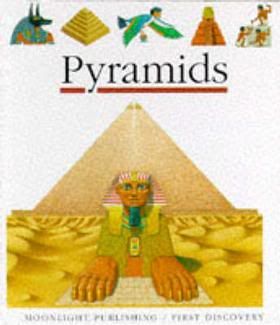
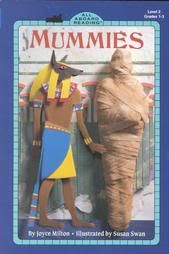
So far we have read the following books:

Photobucket

Photobucket

Photobucket

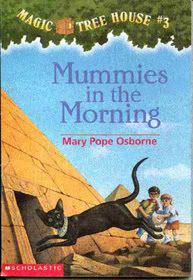
and we listened to the audio-book of Mummies in the Morning as we drove to and from school.

Photobucket


Horrible Histories about Ancient Egypt:


Wednesday, April 13, 2011

Sit Upons

When I was in Girl Scouts, as a child, one of our projects was to whip-stitch together two pieces of vinyl, stuffed with news paper. The troop leader explained that this was called a "sit upon" and that we were to take it with us to summer camp, so that we wouldn't have to sit on the bare ground around the campfire.

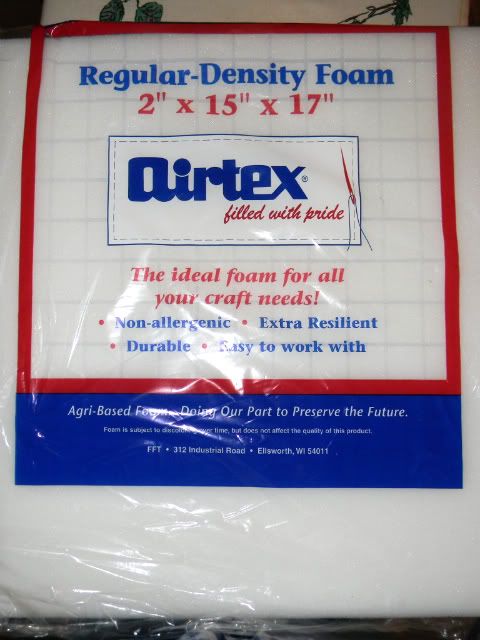
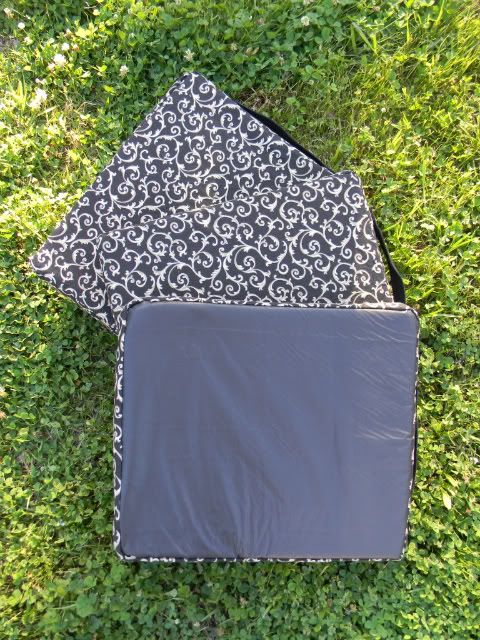
The past few days I've been working on a slightly fancier version of the "sit upon". DH doesn't really like sitting on the ground, so I was inspired to make cushions that can be carried along on our picnics. They were very easy to make and did not require a purchased pattern.

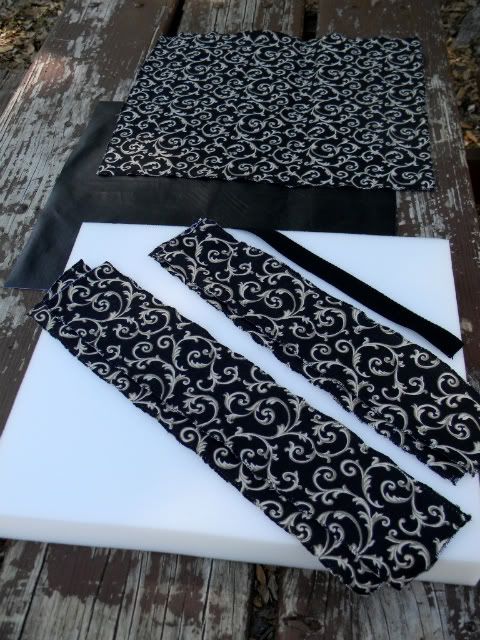
To make a pattern, I traced the foam seat padding and added a seam allowance ( which in my case was just making it the width of my measuring tape). Then I did the same for one short side and one long side of the cushion.

Photobucket

To make a cushion:

1. Make the pattern

2. Cut two of the short sides and two of the long sides out of heavy cotton cloth, such as upholstery fabric. Cut one large rectangle out of the heavy cloth and a second large rectangle out of vinyl. Cut a one foot length of cotton belting.

Photobucket

3. Zigzag stitch around all of the cloth pieces, so that the edges don't unravel.

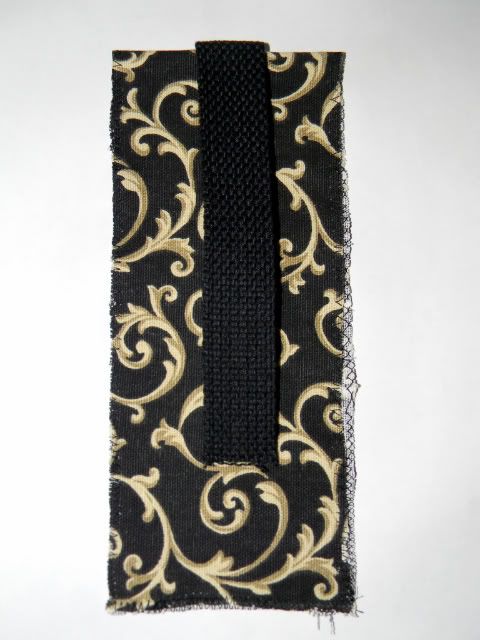
4. Take one of the short side pieces for the cushion and fold it in half. Crease it with your fingernails. Fold the piece of belting in half. Match the fold in the belting to the fold in the fabric to find the proper placement for the carrying handle.

Photobucket

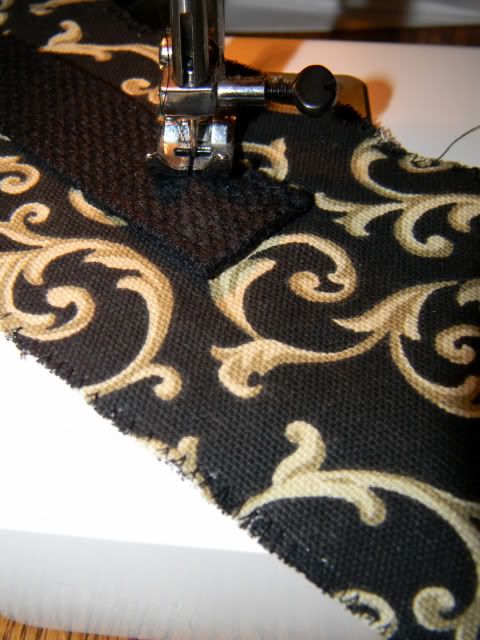
5. Pin the belting in place. Fold the ends of the belting under about before sewing, so that no raw edges show. Sew both ends securely into place by sewing in a square and then stitching an X through the square.

Photobucket

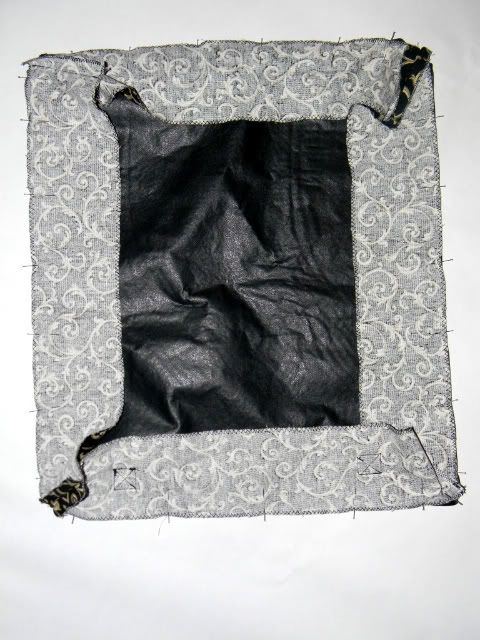
6. Sew the side strips together, one long strip, one short strip, one long strip, one short strip. Then sew the final short strip to the beginning long strip, to form a rectangle.

7. Pin the sides strips to the vinyl base, right sides together.

Photobucket

8. sew together

9.Pin side strips to the cloth rectangle.

10. Sew together on three side, leaving one short side unsewn.

11. turn the cushion cover right side out and insert the cushion.

12. Sew up the opening by hand, using a blind stitch.

Photobucket

Crafty Crow