Showing posts with label Blaze's Bedroom. Show all posts

Saturday, February 11, 2017

Blaze's New Nightstand


I purchased an old school desk for $5 and Blaze cleaned it up.


There were some white paint stains on the legs and inside the desk, but that was easily covered up with a coat of brown spray paint. I, also, painted the legs brass to match the trim on Blaze's bed and put antique gold Rub 'N Buff around the wooden edge of the desk.


The wood color did not match the rest of the wood in Blaze's room, so I covered the desk top with a laminated, vintage-look World map.

We seem to have recently acquired an outdoor cat, who finds it necessary to check out everything I do outside and pass judgement on it. She approved.


The desk is now Blaze's nightstand.


SaveSave

Wednesday, January 1, 2014

Happy New Year!

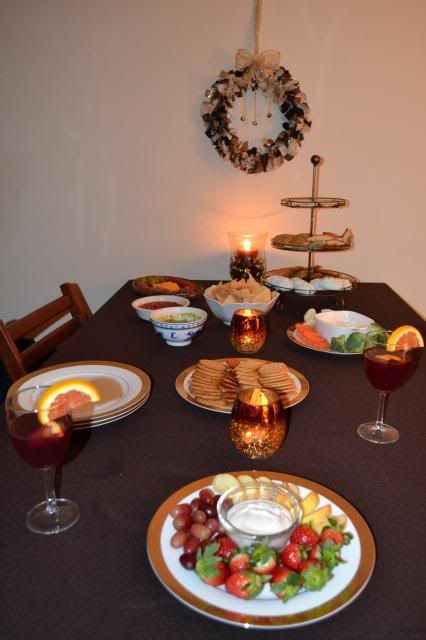
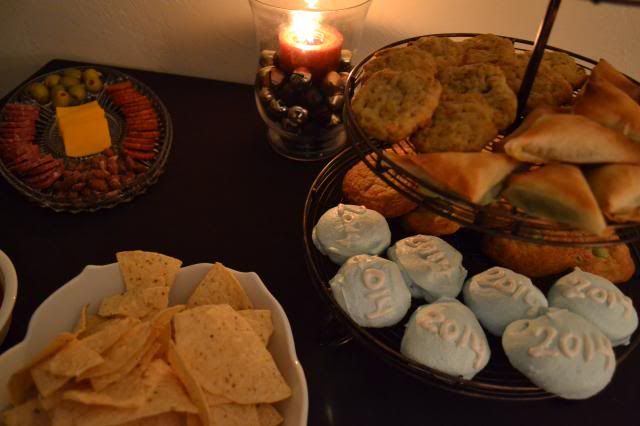
We didn't go anywhere for New Year's Eve, but we had a good time at home. We covered the table with party foods (mostly made out of things left over from Christmas) and watched regeneration episodes of Dr. Who.

 photo DSC_0005-9.jpg

 photo DSC_0016-4.jpg

DH even got dressed up in the new vest I gave him for Christmas and made a pitcher of sangria.

 photo DSC_0001-8.jpg

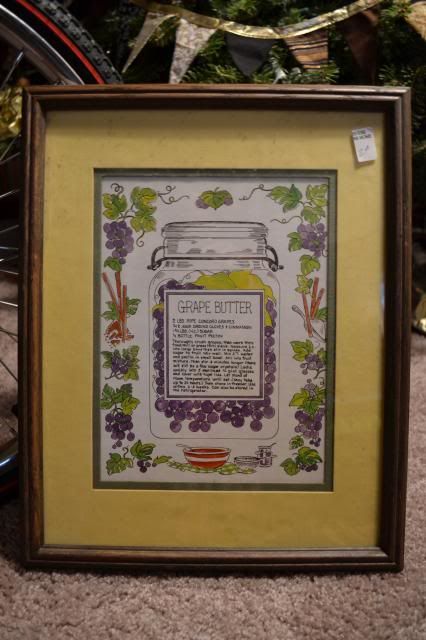
When we were not eating, DH and I cleaned up and repainted this picture frame that we had purchased for $2 at a charity resale shop.

 photo DSC_0003-4.jpg

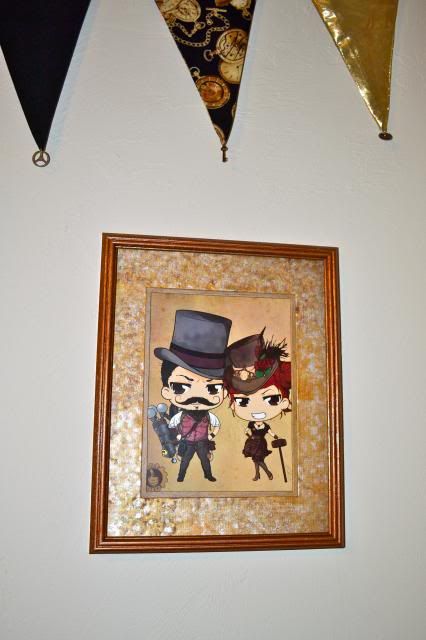
One of Blaze's gifts for Christmas was a chibi picture of two of the members of the League of Steam, which we received for supporting their resent Kickstarter campaign, but I wanted the picture to have a nice frame before it went up on his bedroom wall.

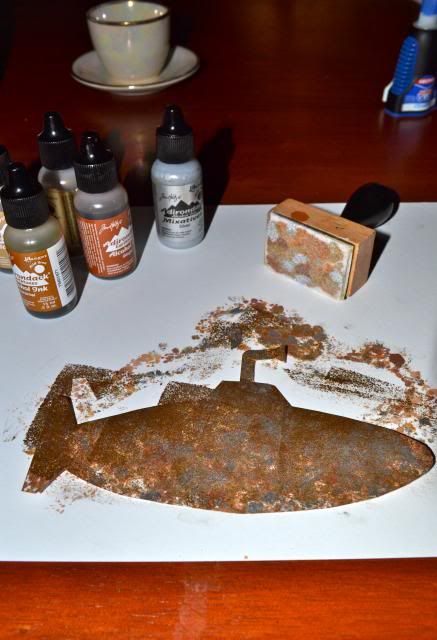
Because I didn't like the yellow matting that came with the picture frame, I went over it with alcohol inks in mixed metallics and browns, the same method I used for some of my Christmas gift tags.

 photo DSC_0022-5.jpg

DH removed the class from the frame and did an excellent job of cleaning it.

I spray painted the wooden frame with the "beaten copper" spray paint left over from the "Big Wheel".

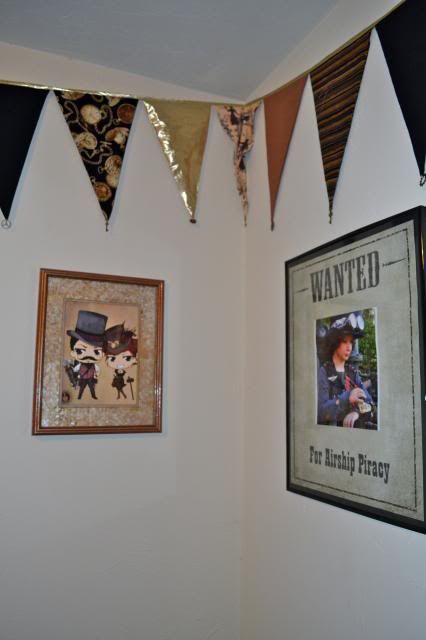
First thing this morning, the picture went into the frame and was hung on Blaze's bedroom wall.

 photo DSC_0001-7.jpg

 photo DSC_0003-5.jpg

Our new year is off to a pretty good start.

I hope everyone has a wonderful 2014!

Tuesday, September 11, 2012

A Hatbox for Blaze

I wanted a hatbox to protect Blaze's hats during our move and found this one for $10 at Tuesday Morning.


It doesn't really look right sitting in his airship pirate theme bedroom, so over the past couple days, I've done something to fix that.

I cut out pictures from the pages we had already used on the Myke Amend calendar that hangs in the kitchen. I had been trying to think of a use for these pictures anyway, because they really are too cool to throw out at the end of the year. ( If you would like to look at or purchase the calendar for the coming year, it can be found here:
https://www.redbubble.com/people/insectsangels/calendars/8099467-airships-and-tentacles-steampulp-calendar?grid_pos=7&p=calendar&rbs=90b0e126-bc83-4562-ac90-c080fc36bd3e&ref=shop_grid ).


I attached the calendar art around the box using Modge Podge and coated the outside of the pictures with Modge Podge, as well.

I painted the lid with black, gloss acrylic paint. The black was chosen, because Blaze says that's his favorite color.


I added a strap, so the box could be carried more easily.


The holes for the strap are reinforced with metal eyelets.


Now, it fits in with it's surroundings.

Thursday, September 6, 2012

Pillar Candle Mold from a Beer Cozy

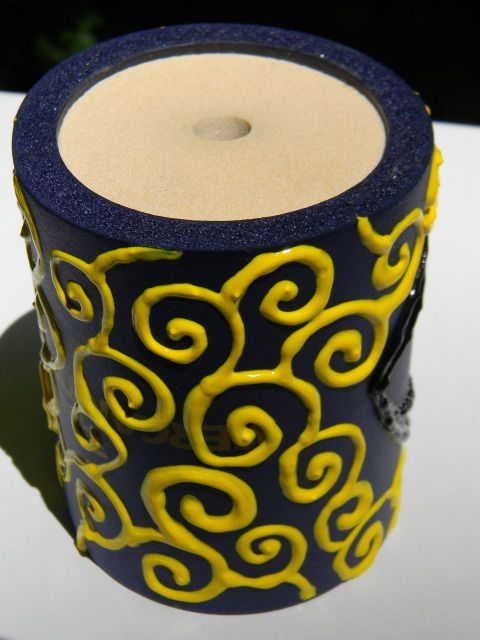
While unpacking kitchen supplies, I came across a couple beer cozies with bank advertisements on them. We have never used them for drinks, although back when Blaze's anti-seizure medicine used to come in liquid form, we had used them to protect the bottles from breakage if they were dropped. I realized that they were about the same size as short pillar candles and wondered if they could be used to make candle molds. It turns out they can.

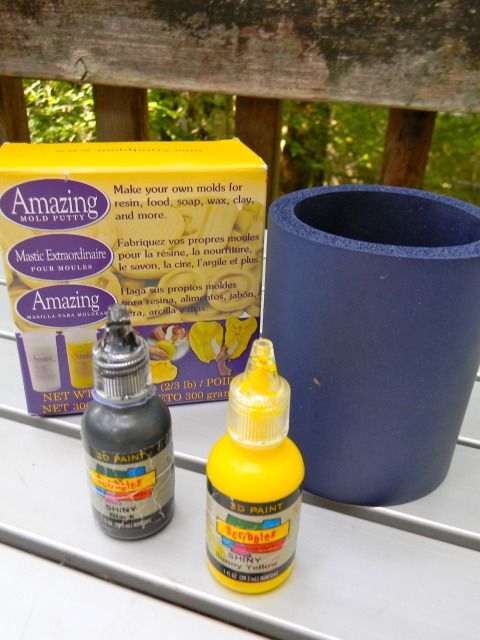
Here is what you will need:

one foam beer/soda cozy

puffy paint (any color)

silicone molding putty (this took the entire box)

tooth pick

rolling pin
Photobucket

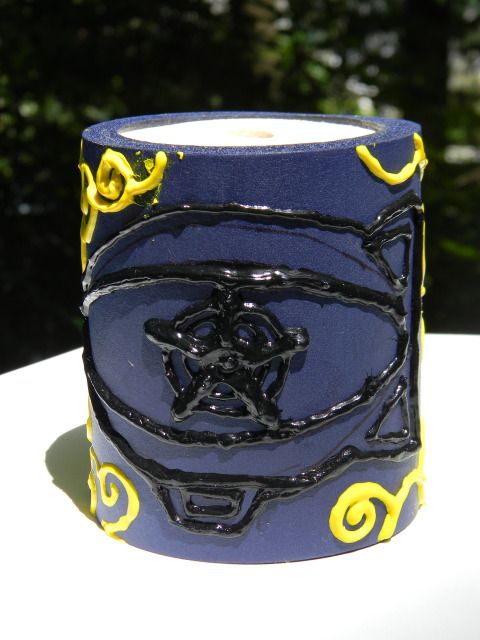
Turn the cozy upside down and decorate with the puffy paint. Let dry over night.
Photobucket

Photobucket

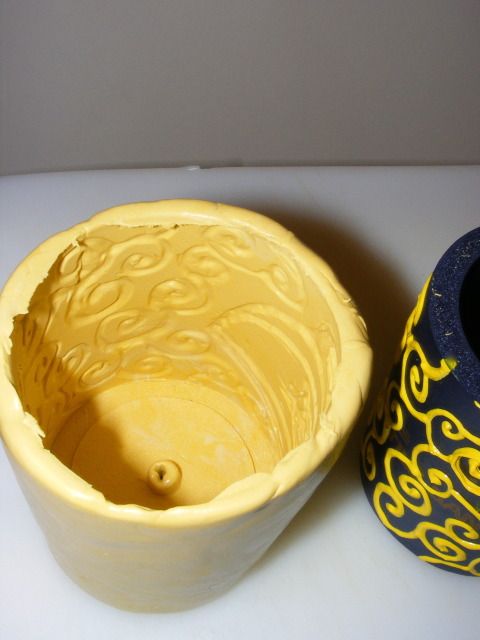
Follow the package directions for mixing the putty and use a rolling pin (I used a child-size one that Blaze has for play dough) to get the putty thin enough that it can be wrapped all the way around the sides and bottom (the end that is covered except for the small hole). This must be done quickly, because the putty will set up in about 20 minutes. Smooth the putty with your fingers and by rolling it on a flat surface. Use the tooth pick to poke a hole through the putty, into the hole in the cozy. This is where the wick will emerge from the finished candle.

Let sit for 30 minutes or so.

Gently remove the silicone mold from the cozy.
Photobucket

One of the nice things about the puffy paint on the foam surface, is that it can be peeled off. This means you can use the same cozy again for another design or correct mistakes in a design before the mold is made.


To make a candle with the mold:

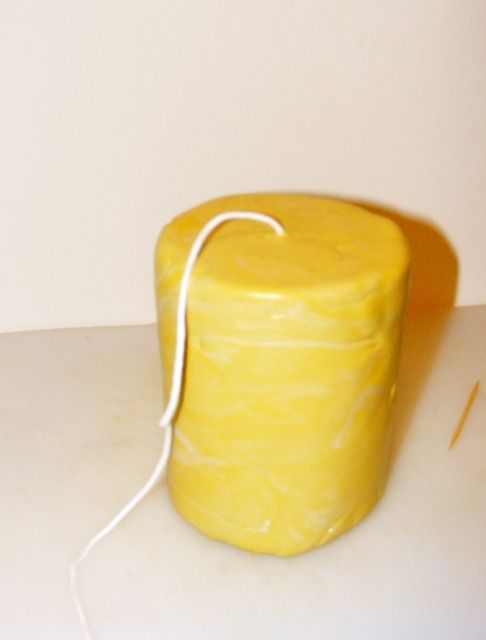
I found that it was easiest to use a tooth pick to poke the wick through the hole, working from the outside in.
Photobucket

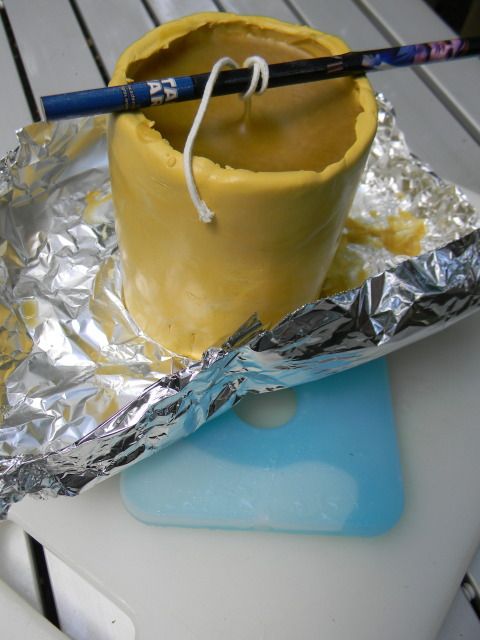
Not having anything except the wick to fill the little hole in the bottom of the mold, there will be some leakage, which is why I set the mold on a piece of aluminum foil with the edges turned up. I also added a flat freezer pack under the foil, because the quicker the wax cools and sets up, the less wax will drip out the bottom.
Photobucket

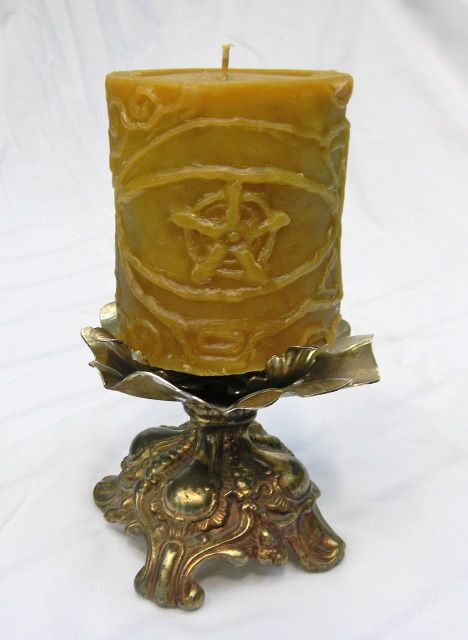
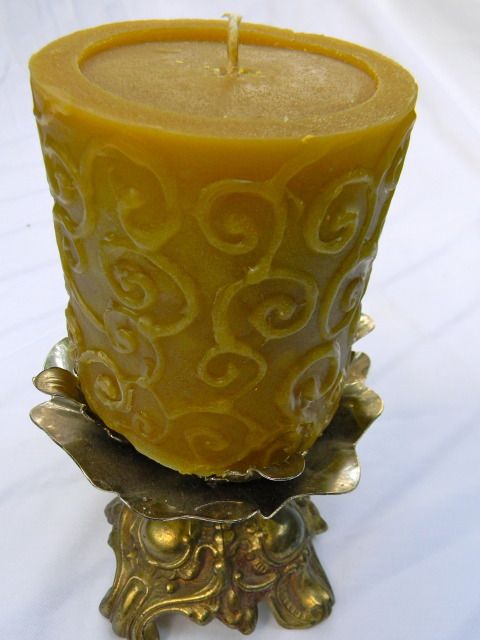
For this candle, I used a mixture of half beeswax and half paraffin, because I just happened to have both on hand, but either can be used alone. Melt wax in a double boiler and carefully pour into the mold, after the wick has been placed.

After 3 or 4 hours the candle should be set enough to remove from the mold. Loosen the edges gently and push from the bottom. Go slow so that none of the designs are broken or damaged. Trim the wick.
Photobucket

Photobucket


Friday, August 17, 2012

The Rug for the Airship Pirate Bedroom

Photobucket

Rug making has lost a lot of the popularity it had when I was growing up. That is actually to my advantage, because rug making yarn is now pretty easy to find in resale shops for around $.25. Over the years I have collected several bundles of wool rug yarn in a variety of colors. Most of what I have is in blues and greens, though, since I started buying it when I was making Blaze's play mat.

Photobucket

A few weeks ago, as I was sorting through my stockpiles of craft supplies, I rediscovered a kit for making a latch hooked 4th of July rug out of Polar Fleece ($3 on clearance, so long ago I don't remember buying it). I didn't figure I was ever going to really make that, so I was getting ready to throw it away, when I decided to open it up and see what was inside. The contents turned out to be more useful than I expected, a latch hooking tool and a rug-size piece of blank rug making canvas. Although I don't need a rug that looks like a flag, Blaze could use a throw rug for his bedroom.

The first step was creating a design for the rug. This is accomplished by creating designs on paper first, laying the paper under the rug canvas, and tracing the designs with a permanent marker.

Photobucket

I didn't have all the colors of rug yarn that I wanted, so I have been using pieces of the rug yarn I do have, to cut the right sized pieces from skeins. Each piece of yarn must be 2 1/2-inches long.


How to latch hook:

1.

Photobucket


2.

Photobucket

3.

Photobucket

4.

Photobucket

On a rug this size, more than one person can work on it at the same time, which makes the project and the time go faster.

Photobucket

To finish off the edges on the completed rug, machine stitch rug binding tape along the raw edges of the rug, covering all the latch hook canvas that is showing. Sew the tape along the two long sides of a rectangular rug first. Cut off the tape at the end of each side.

DSCF2003-4

Photobucket

Next, sew the tape to the two short sides, folding over a little extra tape to cover the ends of the latch hook canvas. In this way, no unfinished edges will show when the tape is sewn down.

Fold the tape over, so that it is flat against the back of the rug and use heavy quilting thread to sew it down by hand, using a whip stitch along the bottom edge of the tape.

Photobucket

The finished rug:

DSCF2003-5

Added to Blaze's room:

Photobucket

Photobucket


Friday, July 6, 2012

A Final Added Flourish for the Headboard

The plaque I had ordered to go on the headboard of the airship pirate bed, just arrived in today's mail.

Photobucket

Okay, now the headboard is really finished.

DSCN9066

After we move, I'll start working on the curtain that Blaze wants on the side of the bed.

Thursday, July 5, 2012

The Headboard for Blaze's Bed (or: Three Years of Procrastination Come to an End)

Here is Blaze helping me to pretreat the wood before staining the pieces of the footboard for his bed.

DSCF0003-7

That was late autumn in 2009. The footboard was finished by the first day of winter.

Photobucket

The plan was to make a headboard to match it, either the following spring or summer, while school was out and I had more time. Well, that didn't happen. Blaze and I talked about it. I even salvaged some of the boards when I took apart his old toy shelves, just for that purpose, but I still didn't start working on it. It was only preparing to move that motivated me to actually do something about this. My fear being that there would be no place to do woodworking in our new home. We don't have a new home to move to yet, so that might not be true, but it was enough of a threat to get this project finished.

Photobucket

DH drew this airship and I carved it into one of the side boards.

Photobucket

Brass spray paint made everything match with the brass on the footboard.

Photobucket

Photobucket

Last week, I made the cushion, by covering a piece of thick foam rubber with chocolate brown velour fabric and tying on some brass buttons. I made a discovery about cutting foam rubber, of the tools I have, a bread knife cut through it the easiest.

DSCF2005-2

We spent the fourth of July assembling the pieces and moving it into place at the head of the bed.

Photobucket

Photobucket

Crafty Crow