
but then it was encased in newspaper strips that were dipped into paper mache paste, made from equal parts white flour and water (this first bowl of paste was 3 cups of flour to 3 cups of water).

When the entire balloon, except for the neck, was covered in newspaper, it was left to dry and harden.

When it was completely hard and dry, the balloon was cut

and pulled out of its paper mache shell.

The tail fins and gondola were cut from cardboard and attached with small amounts of duct tape, just enough to hold them in place.
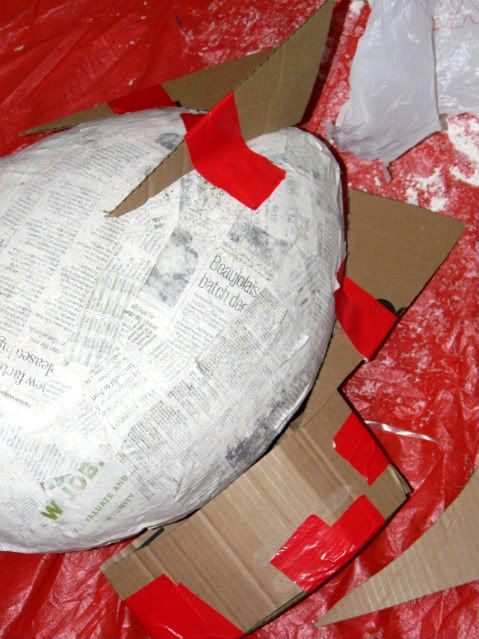
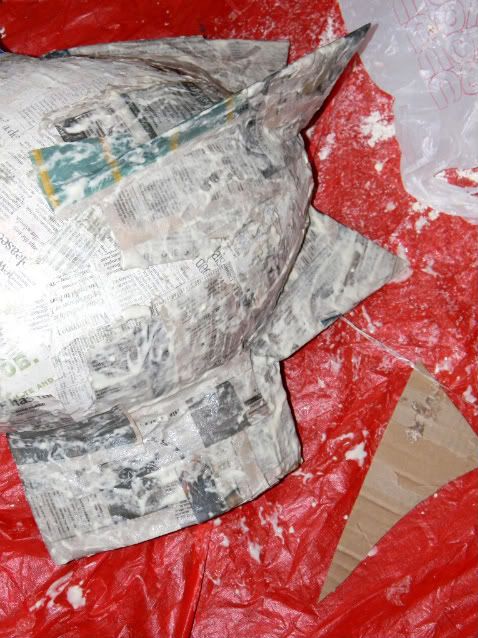
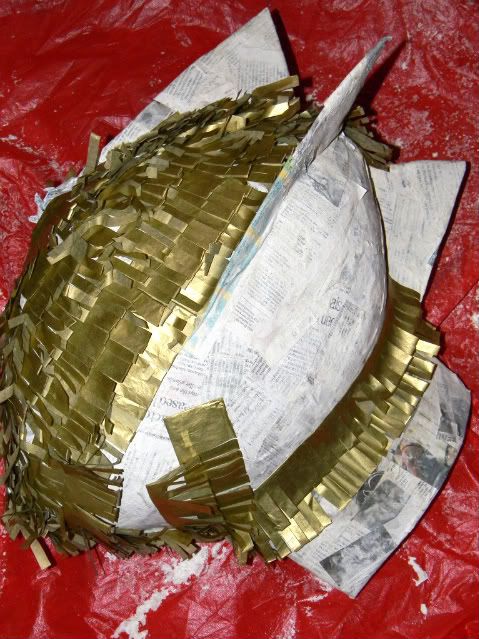
Paper mache was then used to cover all the cardboard and it was again left for a couple days to dry.
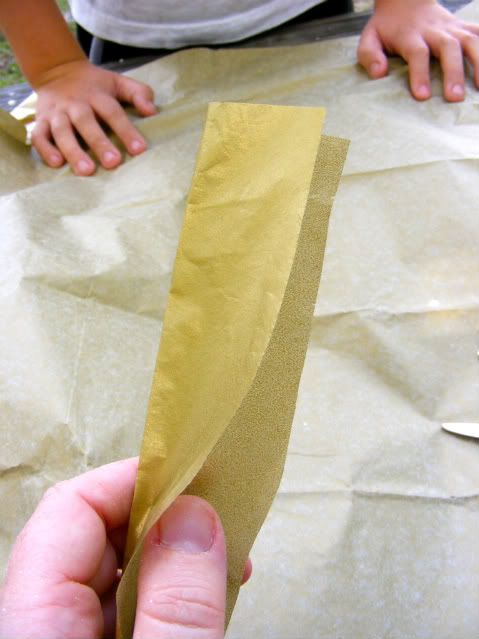
To add the tissue paper to the outside of the pinata, gold tissue paper was cut into strips along the fold-line of the paper. Each strip was then folded in half.
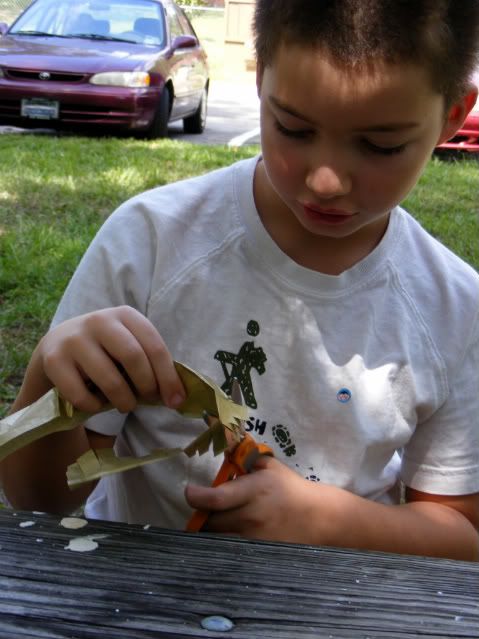
Then each folded strip was cut into fringe.
For smaller children, the tissue paper can be cut into squares by the parent and then have the child squish them up into balls before gluing them on the pinata. That was how we decorated most of the pinatas we made when my daughters were little.
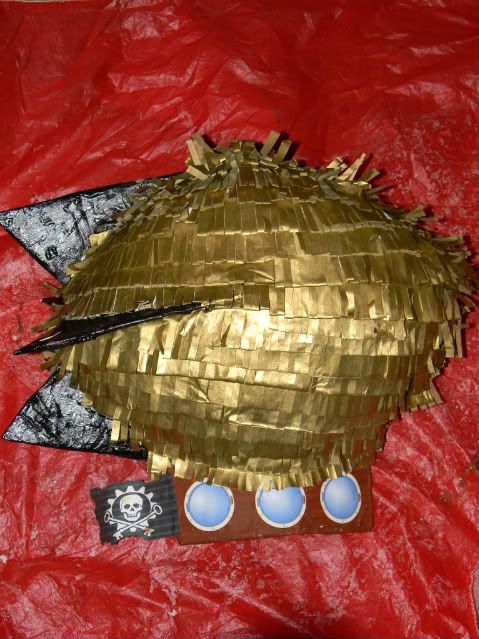
It is time for one of those "do as I say, not as I do" moments. I did not decide to paint part of the pinata, instead of covering the whole thing in tissue paper, until after I had already added a lot of tissue paper. Better planning and doing all the painting first, would have made this easier.
Next, the fringe was glued in place, each strip over lapping the previous strip, using Elmers glue.
Final decorative touches were added, using images I found on the internet.
I'll give it a day or two to be sure it is really dry and then fill it with candy.

No comments:
Post a Comment