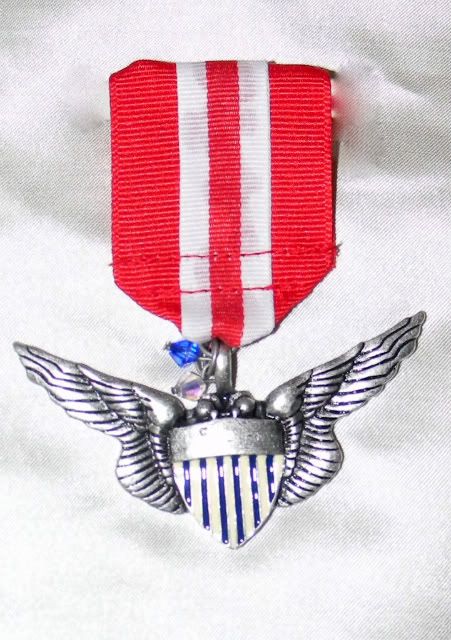
The last time we went to the craft store, they had some pieces for sale in the jewelry section that would be perfect as medals. Blaze begged for this winged shield, and since it was less than $5, I bought it.
To make a medal:
1. Start with a 4-inch piece of 1 1/2-inch wide grosgrain in a solid color and a striped, 4-inch piece of ribbon about half as wide. With a small amount of tacky glue, glue the narrow ribbon lengthwise down the center of the wider ribbon.
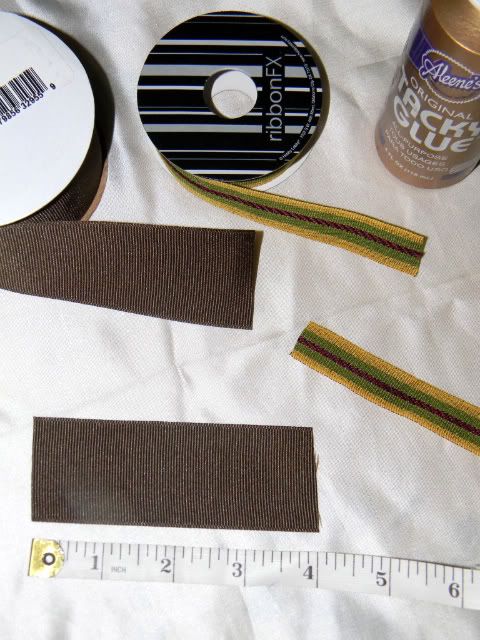
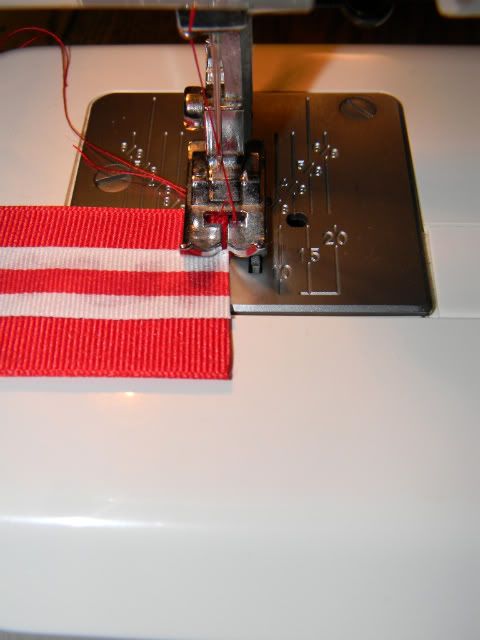
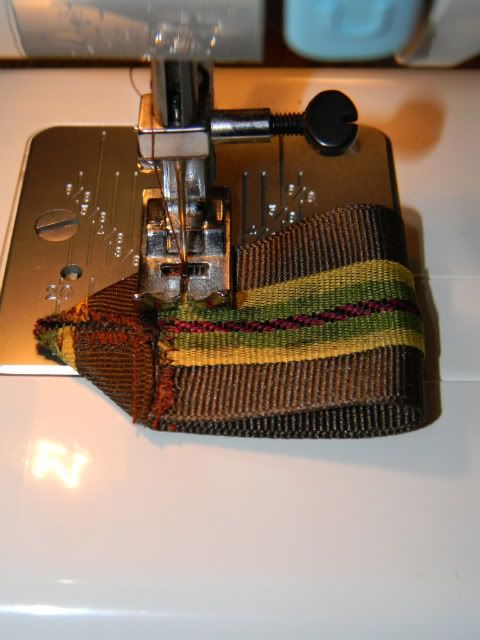
2. Zigzag stitch both raw edges of the ribbon, so that it doesn't unravel.
3. Fold the two bottom corners of the ribbon together to form a point and straight-stitch to hold them in place.
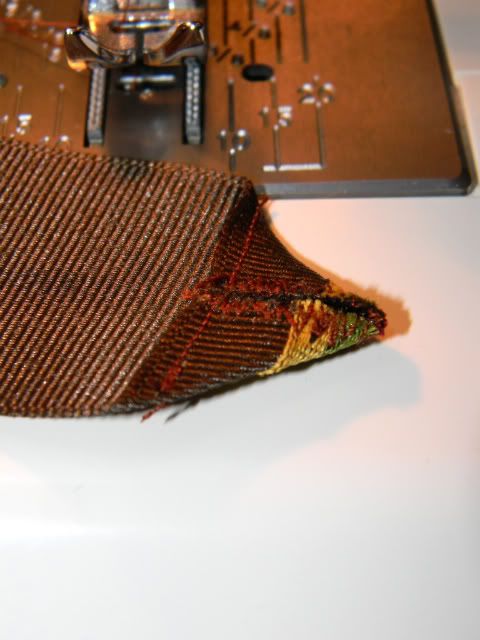
4. Fold the top of the ribbon down until it is touching the top of the triangle and straight-stitch to hold it in place.
5. Remove the adhesive backing from the pin and slide it into place inside the top of the ribbon. Firmly press the fabric to the adhesive with your fingers. Any excess plastic from the pin, can be trimmed off with a pair of scissors.
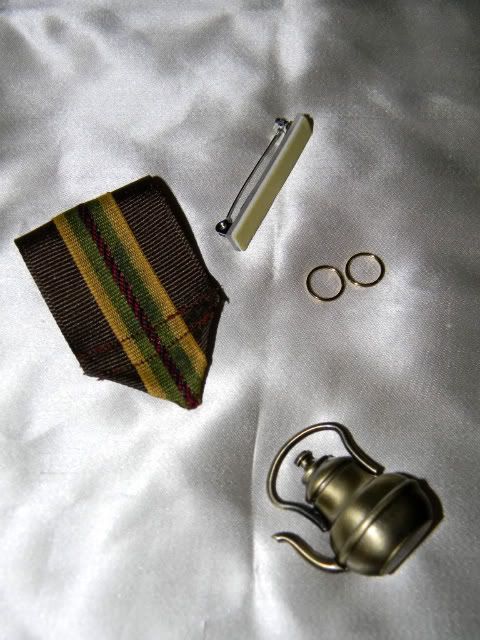
6. Feed the point at the bottom of the ribbon up through a jump ring and hand-stitch it into place on the back side of the ribbon.
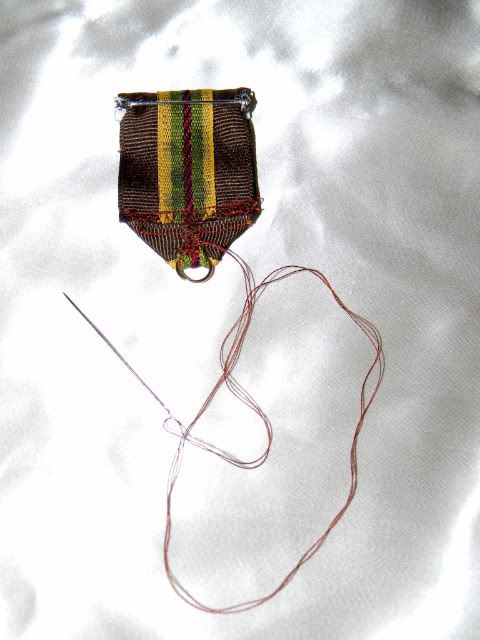
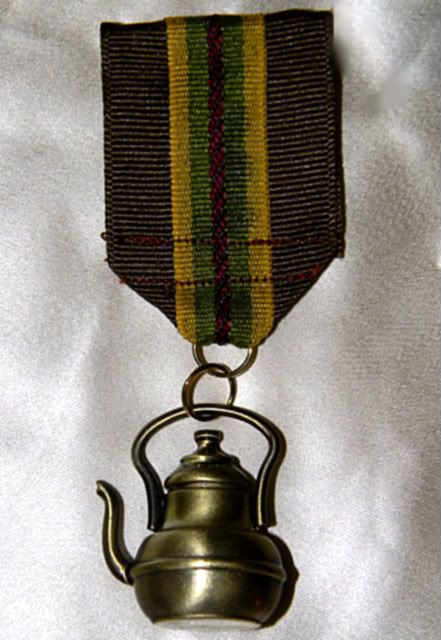
7. Depending on the loop at the top of the charm you are using, you may have to add another jump ring to the first, to make the charm hang the right direction. That was not necessary for the medal I made for Blaze. I figured that as long as I was at it, I might as well make one for myself, as well. Mine did require another jump ring.
For outstanding tea service ( The tea service medal was not an original idea. There was a shop on Etsy that was selling these and I thought it was such a cute idea that I wanted to make one for myself)

2 comments:
Very cool... Blaze's looks very steam punk:)
and yours... very sweet!
Neat project.
Thank you SOOOO much for the tutorial. I'm a newbie to steampunk, and this is just up my ally!
Post a Comment