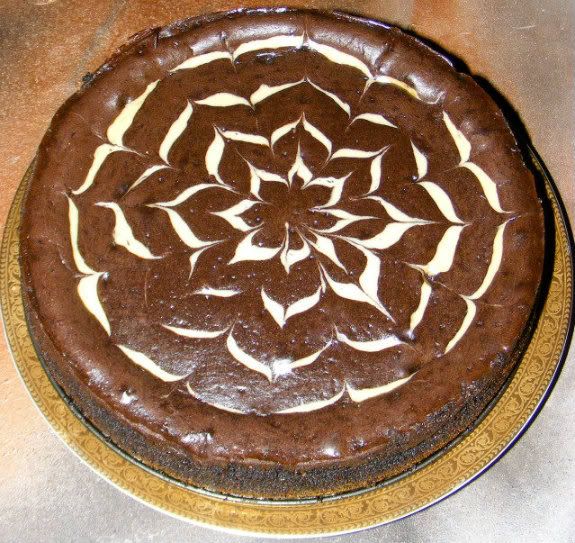
Mocha Cheesecake
Crust:
1 stick of butter melted
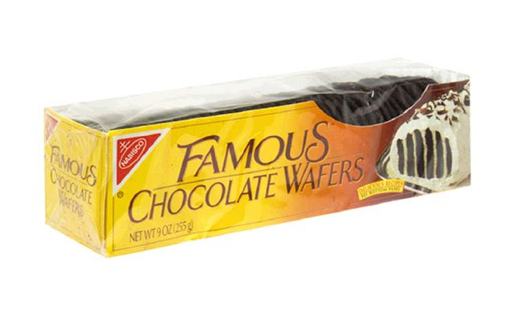
1 1/2 chocolate wafer cookie crumbs (finely crushed)
1/4 Cup freshly ground coffee beans (not brewed)
1/4 Cup sugar
Mix all of these things together and use it to cover the bottom of a large spring form pan. Pat it down firmly with your hands to make it smooth. Then set the pan in the refrigerator until the filling is ready.

Filling:
3 8 ounce packages of cream cheese
3 eggs
1 can sweetened condensed milk
1 teaspoon vanilla
2/3 Cup sugar
1/4 Cup cold, strong coffee
1/2 Cup cocoa powder
1/4 unbleached all-purpose flour
Set out the eggs and cream cheese until they reach room temp.
Preheat oven to 350 degrees F.
Put the cream cheese in a blender or food processor. Add the sweeten condensed milk and sugar and blend at low speed. Do not blend this batter on high speed because that creates too many bubbles. Turn off the blender each time you add an egg and then beat a little in-between each egg. Add vanilla and coffee . Blend.
Pour 2 cups of batter into a bowl and set aside. Add the flour to the remaining batter and blend well. Pour the batter onto the crust in the spring form pan.
Add the cocoa powder to the 2 cups of batter and stir until thoroughly blended. Make alternating circles on the top of the cheesecake using the chocolate batter. A squirt bottle, like the bear shaped ones that honey sometimes comes in, or a pastry bag works great for this. After the circles have been made. Use a butter knife to make lines from the center outward. I made eight of these lines. Then between those lines, cut lines going from the outer edge, inward. The cake is now ready for baking.
Bake at 350 for 15 minutes. Then turn down the heat to 225 and continue baking for another hour. Let it cool completely before removing it from pan. Loosen the edges from the pan with a small sharp knife, then remove the sides of the pan. Chill over night before serving.
The little slide show I made in 2008 of how to do the flower design on the top of a cheese cake (a much more colorful cheesecake):

No comments:
Post a Comment