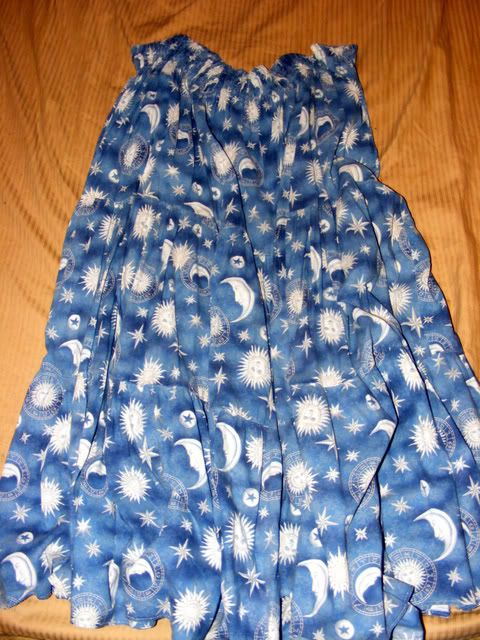
Here is a picture of the skirt, taken just yesterday:
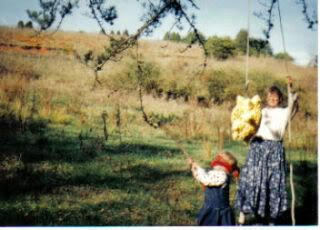
Here is a picture of me wearing the skirt on the Winter Solstice in 1994, while holding the rope attached to the sun shaped pinata the girls and I had made, while little 3 year old Nika took her turn trying to hit it:
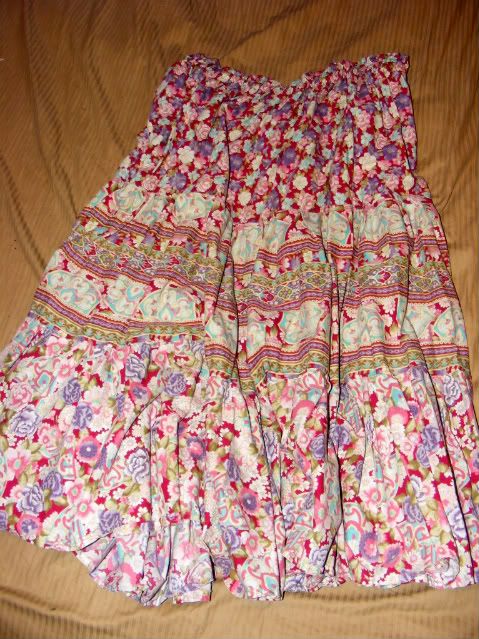
Not all of the skirts were made with just one fabric. This one has a different, complimentary print for each layer:
The instructions to make these are really quite easy. The top layer is two yards of fabric, 15 1/4 inches wide. The second layer is then 4 yards of fabric, 12 inches wide, and the third layer is 8 yards of fabric, 12 inches wide. The second and third layers are both hand-basted at the top edge in order to gather them and the pinned onto the bottom edge of the previous layer (right sides together) before sewing. The extra material in the top layer is because of the waistband. The top edge is first ironed down a 1/4 inch and then ironed down an additional 3 inches. The elastic casing is formed by sewing around the casing one inch from the top edge, leaving a gap of a couple inches. Next, sew another row of stitched 2 inches from the top, leaving the same gap, and sew a third row of stitches along the bottom edge of the folded material.
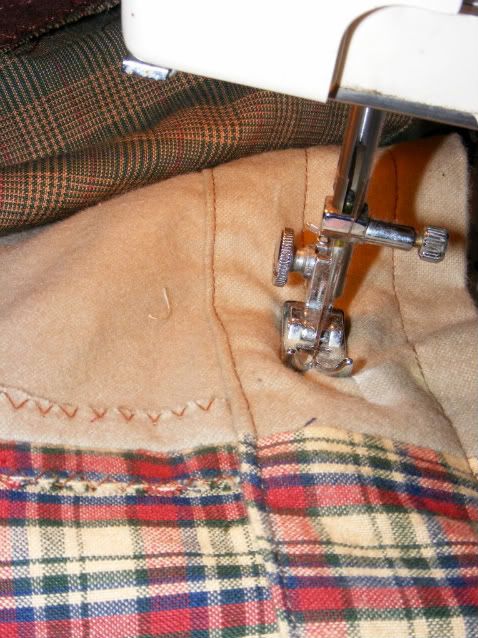
Cut three pieces of 1/4 inch elastic the same size as your waist. Start with the casing closest to the top of the waistband. Thread the elastic through the casing using a safety pin attached to the end of the elastic to help guide and pull it through the casing. Over-lap the ends of the elastic by an inch or inch and a half and sew the ends together. Pull out on the waistband to be sure that the elastic is properly in place. Then, sew up the 2 inch gap in the row of stitches that form each section of the casing.
To hem the shirt, iron the bottom edge over by a half inch and then fold that half inch over and iron again. Sew in place.
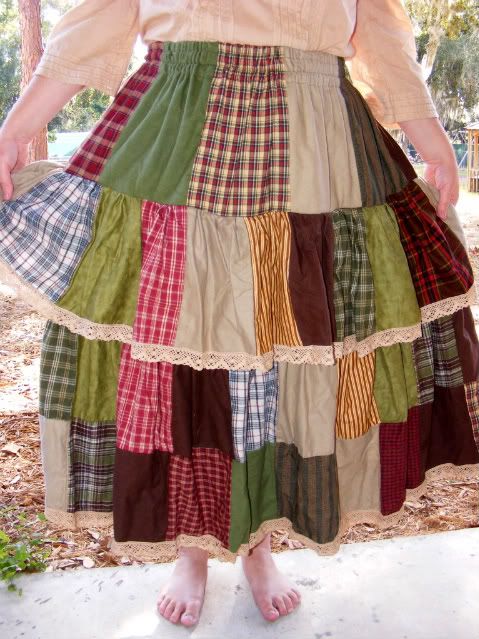
Two days ago I finished a new variation on this skirt. I made a patchwork skirt out of flannel for winter. It's a bit different. The patches in the first row are 9 inches by 13 1/4 inches. The patches in all the other rows are 9 inches by 10 inches. There are two rows that are 10 patches long, but the second row is covered by a 20 patch ruffle. Then there are two more rows that are 20 patches each, sewn to the second 10 patch piece. I also added tea-dyed cotton lace to the bottom edge of the ruffle and the hem. I had perfect timing, because cooler weather arrived yesterday.

4 comments:
I WANT. I wish I had more time for sewing. I would make one. I think I would make mine less colorful though. How do you think a black and white one would look?
I think black and white would look really good.
I'm with Ula...I WANT.
I know I've already commented, lol, but Katie and Kayla LOOOOOVE this! They wanted me to tell you. :)
Post a Comment