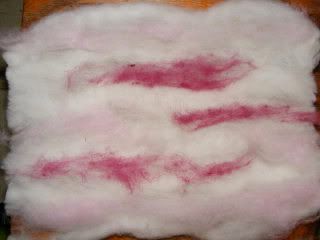
1. Lay out a piece of wool roving about a foot long and spread it out into a thin square.
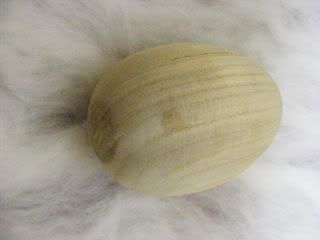
2.Wrap the wool around a wooden egg.
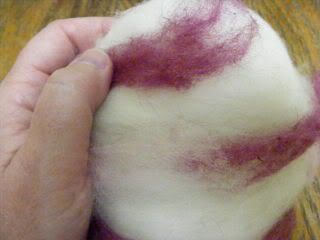
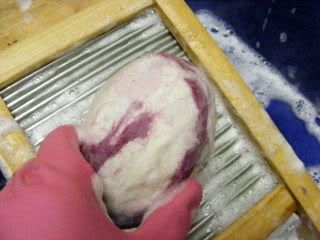
3.Wet the wool with hot water (as hot as you can stand to handle). Squirt the wool all over with dish soap. With gloved hands, rub and pat the wool to flatten it against the egg and start the felting process. Keep wetting the wool with hot water and keep patting and rubbing. Also, roll the egg up and down a washboard.
4. Dry the egg. To hurry up this process, so I could make more eggs, I put the wet eggs in the oven, set on "warn" until dry.
5. Use sharp scissors to cut a slit in the wool and ease the wool egg off of it's wooden form. It's now ready to fill, or decorative embroidery stitching can be added
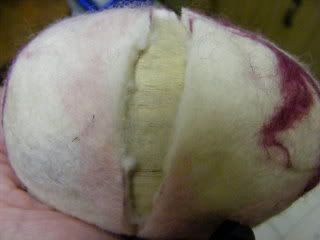
The eggs can be cut open either straight across or zig zags.
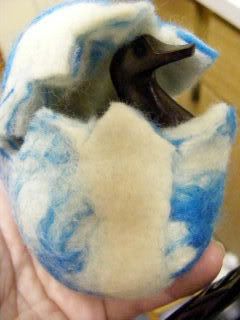
I've been filling the eggs as I finish making them.
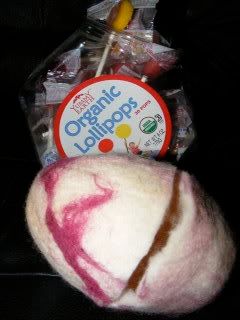
The ironwood duck and turtle came from a little shop in St. Augustine.
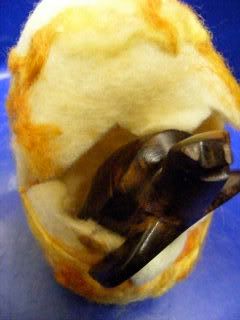
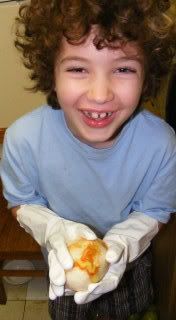
Blaze made an egg, too. Having his own pair of gloves, meant that, for once, he didn't get upset working with squishy, messy art materials.
If you would like to make decorative wool eggs that are not hollow inside, check put this tutorial I just found. Actually, if you just want to see something really cute, check out this tutorial:
http://woolpets.typepad.com/woolpets/2009/03/felted-egg-tutorial.html

2 comments:
I always wondered how they did that!
Hi! Thanks for posting the link! You've got a wonderful blog - so many creative ideas, and I love all the photos of your children having fun!
Thanks again!
Post a Comment